Welcome to the HTML/JavaScript lesson page of the obniz Starter Kit!
In the last lesson, you created your own web application and made a time signal that runs periodically and sounds a buzzer.
In this lesson, we'll take advantage of that periodic run to display the room temperature in the app status!
Create an app
7. Making a time signal: Buzzer every hour with an app, and create a new app that runs periodically every 10 minutes with an empty program.
When setting up, check the [Run when device is online] checkbox to make sure it works this time.
Once you have created the program, open [Edit Program] and create a program like the one below.
In order to "add the values from the temperature sensor to the graph," ,which was also used in 5. Graphing: Real-time graphing of temperature sensor values, let's use the sample from the temperature library.
In this case, we will use the getWait() function since we only need to get the value once by running the application.
Now, we would like to check this temperature in the application status.
The app status not only allows you to easily check if the app is running in the browser, but also allows you to view arbitrary values set by the user.
Well, where is the app status ... As I mentioned a little in the previous article, that is the ribbon of [Device].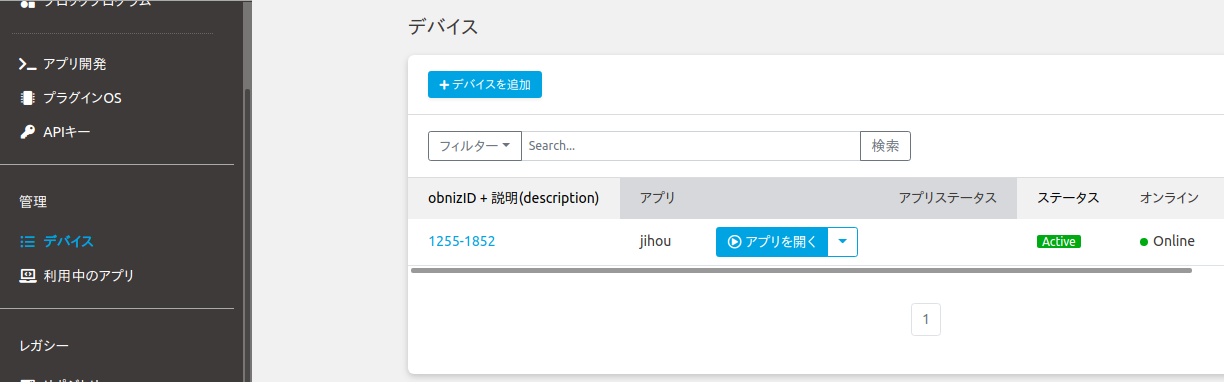
Then, how to display numerical values such as temperature here?
There is a page called App Status of Cloud Execution that explains the app status, so let's take a look.
Here is a sample program that is best fitting.
if (Obniz.App.isCloudRunning()) {
  var temp = '27'
  Obniz.App.done({
    status: 'success',
    text: `${tmp} degree`
  })
}
So it seems good to put the value obtained from the temperature sensor in this temp.
<script>
    var obniz = new Obniz("OBNIZ_ID_HERE");

    // called on online
    obniz.onconnect = async function() {

        // use Keyestudio_TemperatureSensor library
        var tempsens = obniz.wired("Keyestudio_TemperatureSensor", {signal:0, vcc:1, gnd:2});
        var temp = await tempsens.getWait();

        // check program is running & refresh status
        if (Obniz.App.isCloudRunning()) {
            Obniz.App.done({
                status: 'success',
                text: `${temp.toFixed(1)} degree`
            })
        } else {
            alert("Done.")
        }

    };

</script>
Now install this app on obniz and turn on obniz!
Check that the status is updated from [Device] and the temperature is displayed.
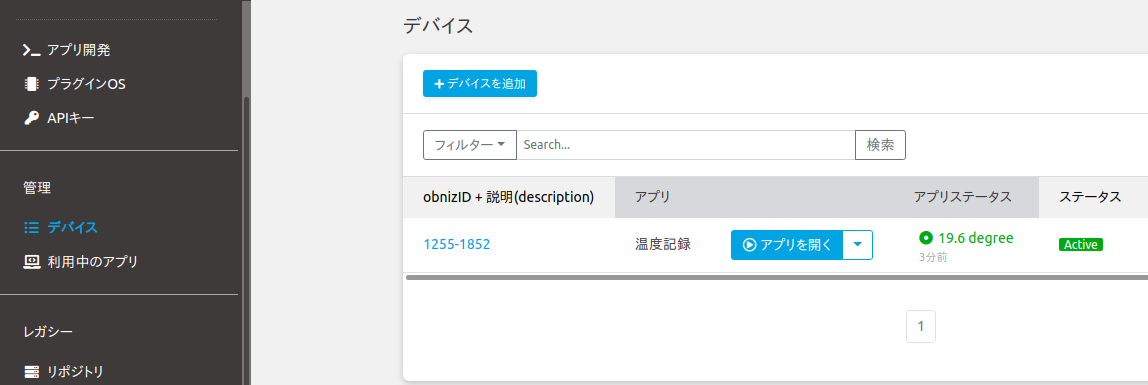
After that, check if it is updated every 10 minutes.
Let's wait patiently while drinking tea.
When you look at the status again for a while, you can see that the temperature in the status column has changed or that it has been updated from the "... minutes ago" display in the status column.
If you can, this lesson is over!
Next time, let's display the weather information obtained regularly from the Internet instead of the temperature sensor on the LED traffic light and obniz screen.
Please look forward to the next time!
Development: Show error
There is a sample that throws an error depending on the threshold on the page App status of cloud execution that you browsed earlier.
This sample seems to return an error if it is above 30 ° C, so try setting it low to intentionally give an error.
if(temp > 5) {
    Obniz.App.done({
        status: 'error',
        text: `Too hot ${temp.toFixed(1)} degree`
    })
} else {
    Obniz.App.done({
        status: 'success',
        text: `It's fine ${temp.toFixed(1)} degree`
    })
}
If you try to execute it and get the following error, it is successful.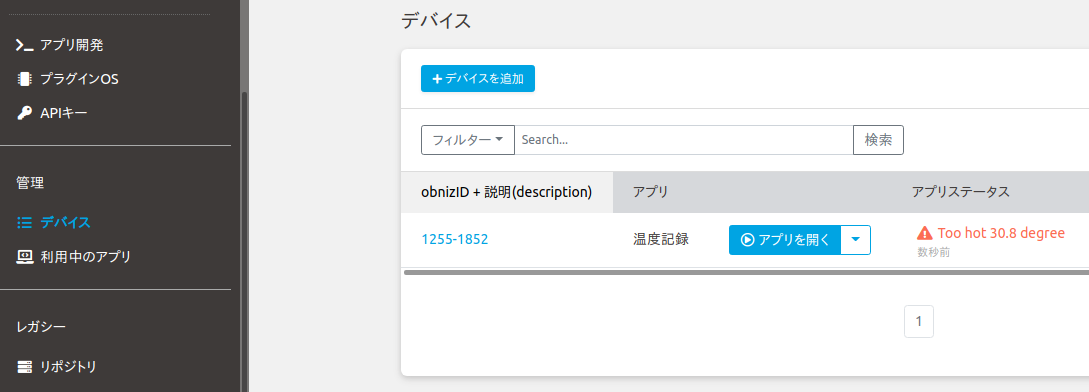
In this way, you can easily check any numerical value and notify an error if there is an abnormality.
Wouldn't it be very convenient to be able to check the temperature and other numerical values of the place and detect errors from the browser in a place where obniz is not normally accessed?
This development is over!