Welcome to the HTML / JavaScript lesson page of the obniz Starter Kit!
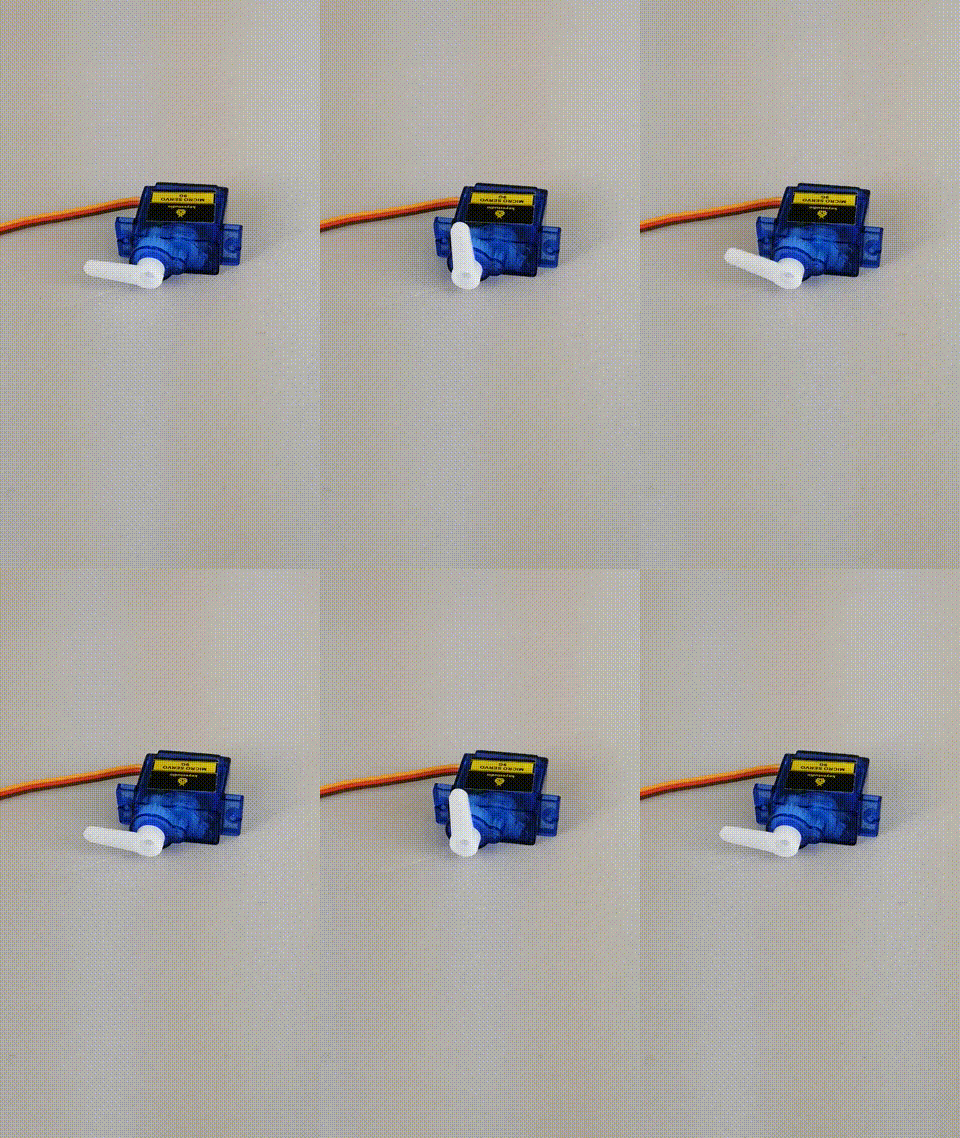
First of all, let's turn the "servo motor", which is the most visible part of the obniz Starter kit!
What is a servo motor?
For example, when the user says "Rotate to the position of 60 degrees!", It is a convenient motor that turns to the specified angle.
When you turn on the power, it keeps spinning like "Vienna", which is different from the ordinary motor you often see.
Connection
First, let's take out the servo motor from the bag.
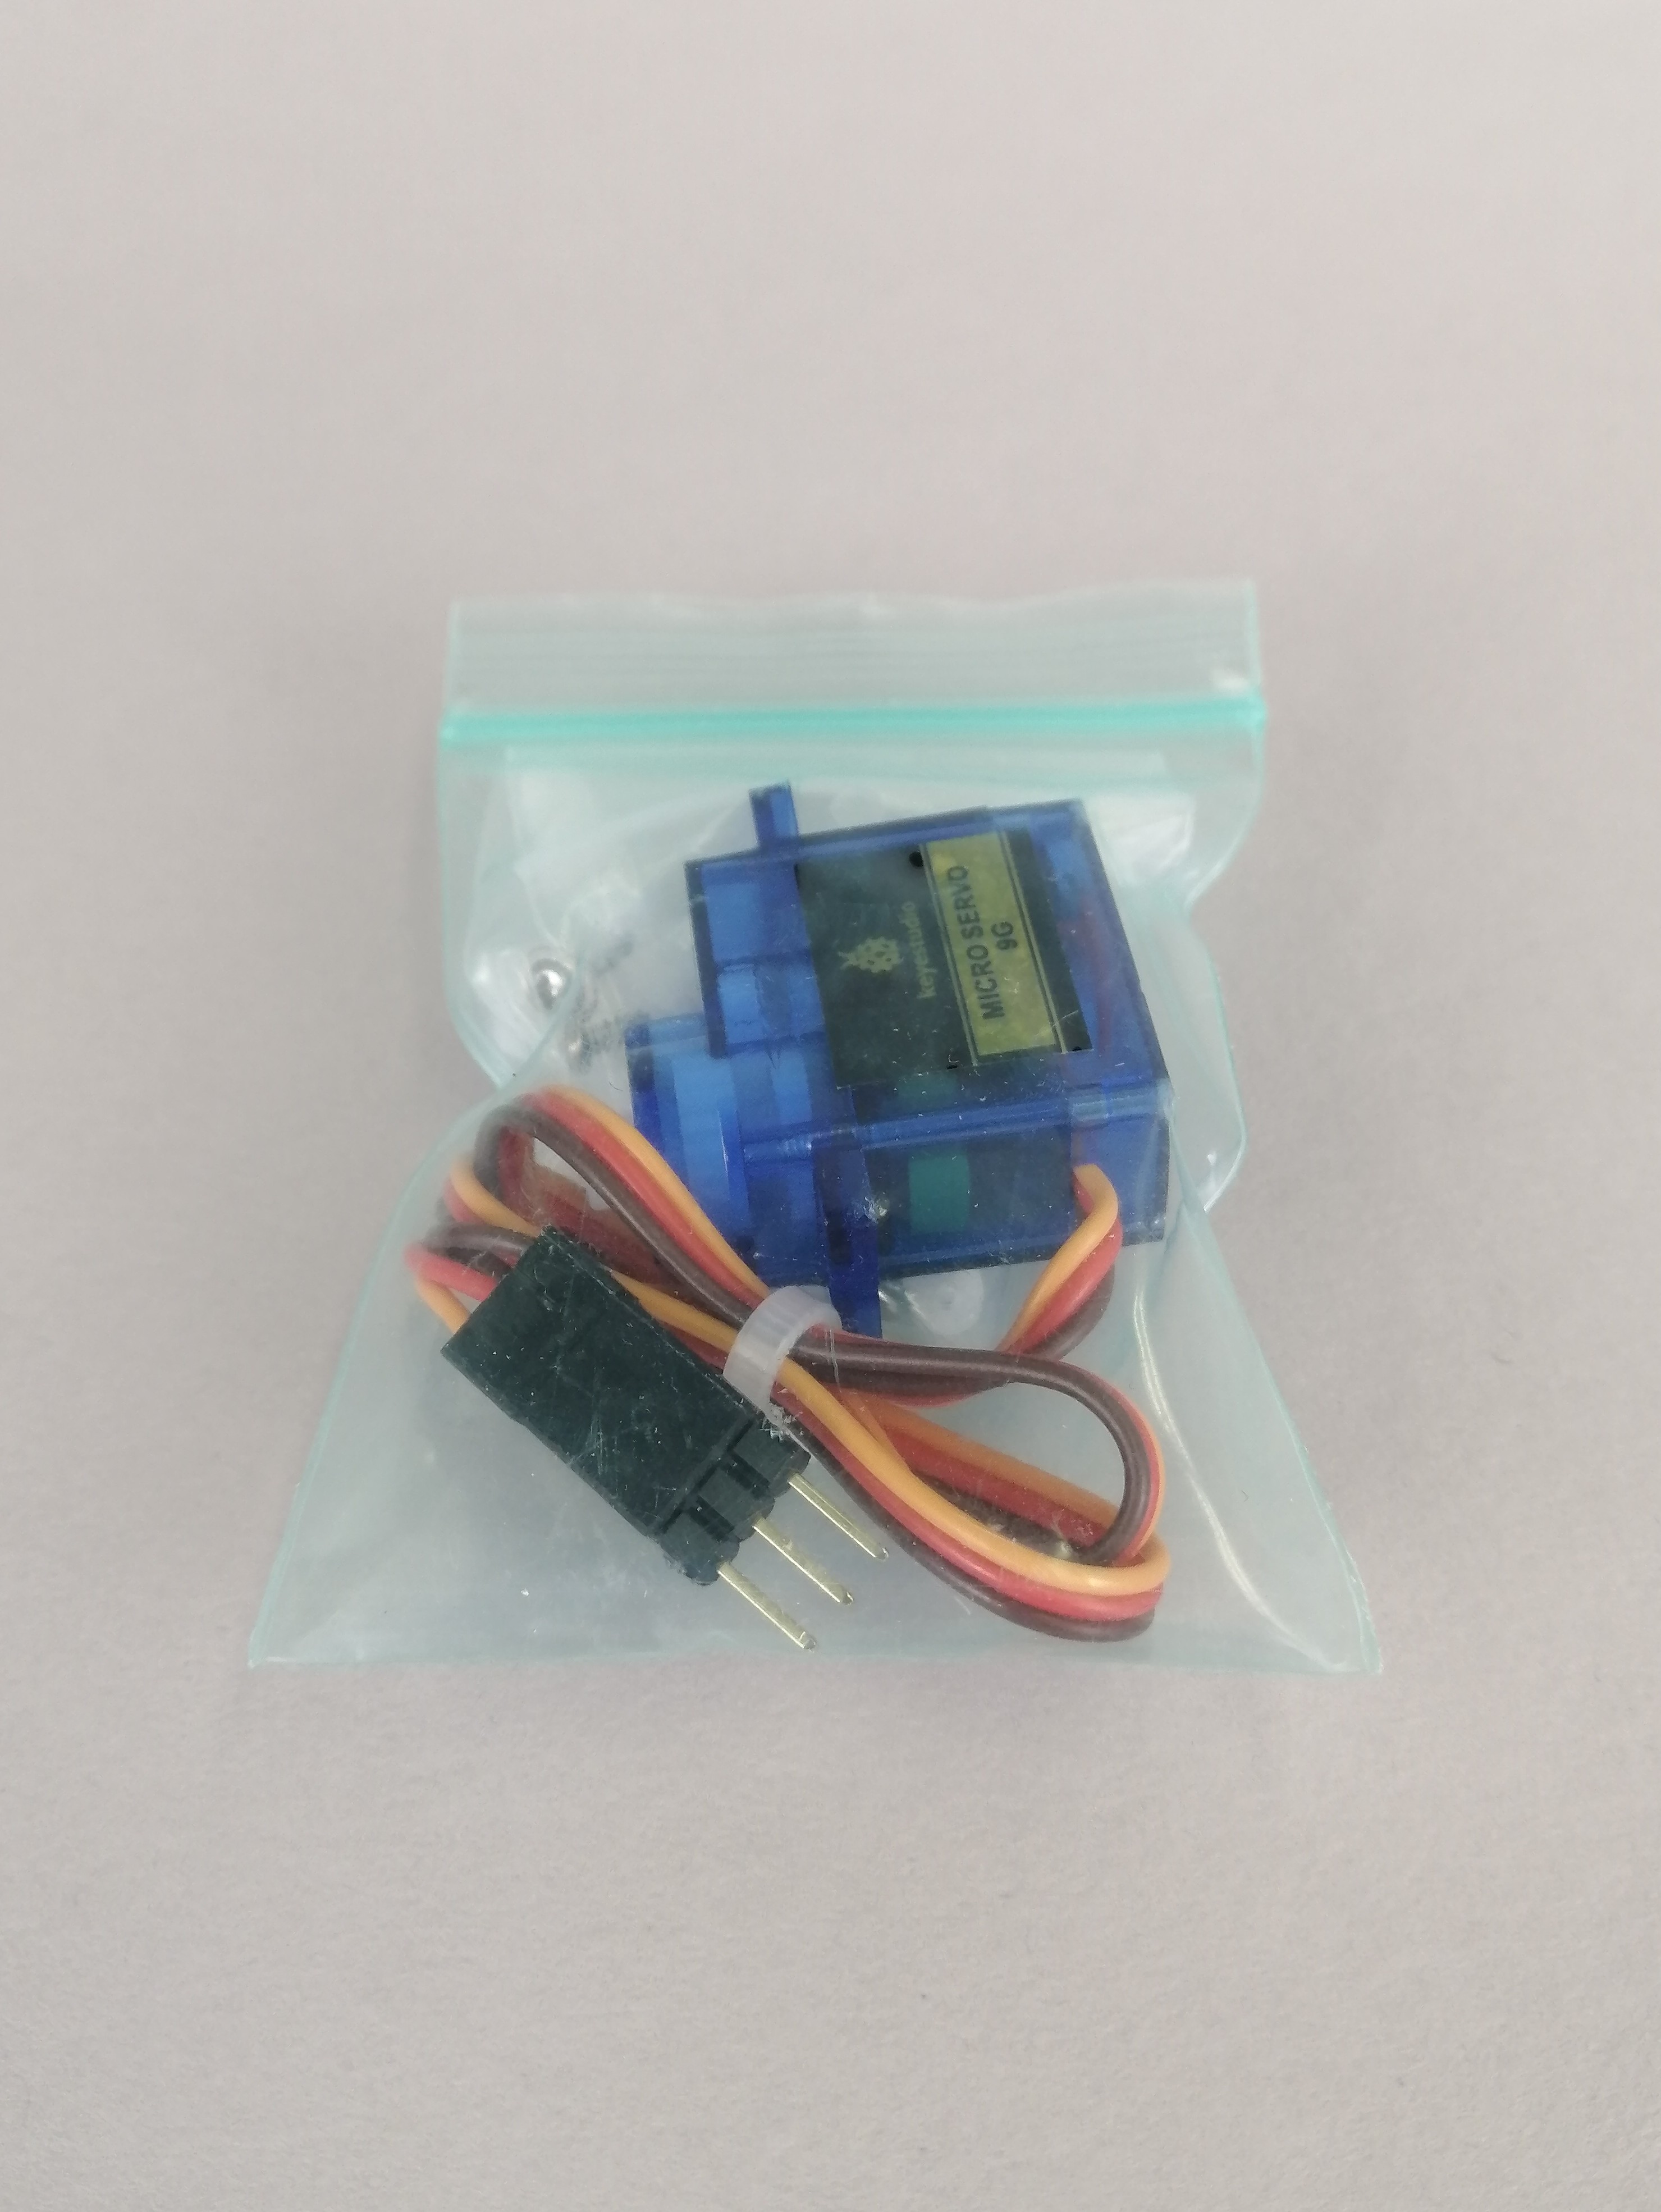
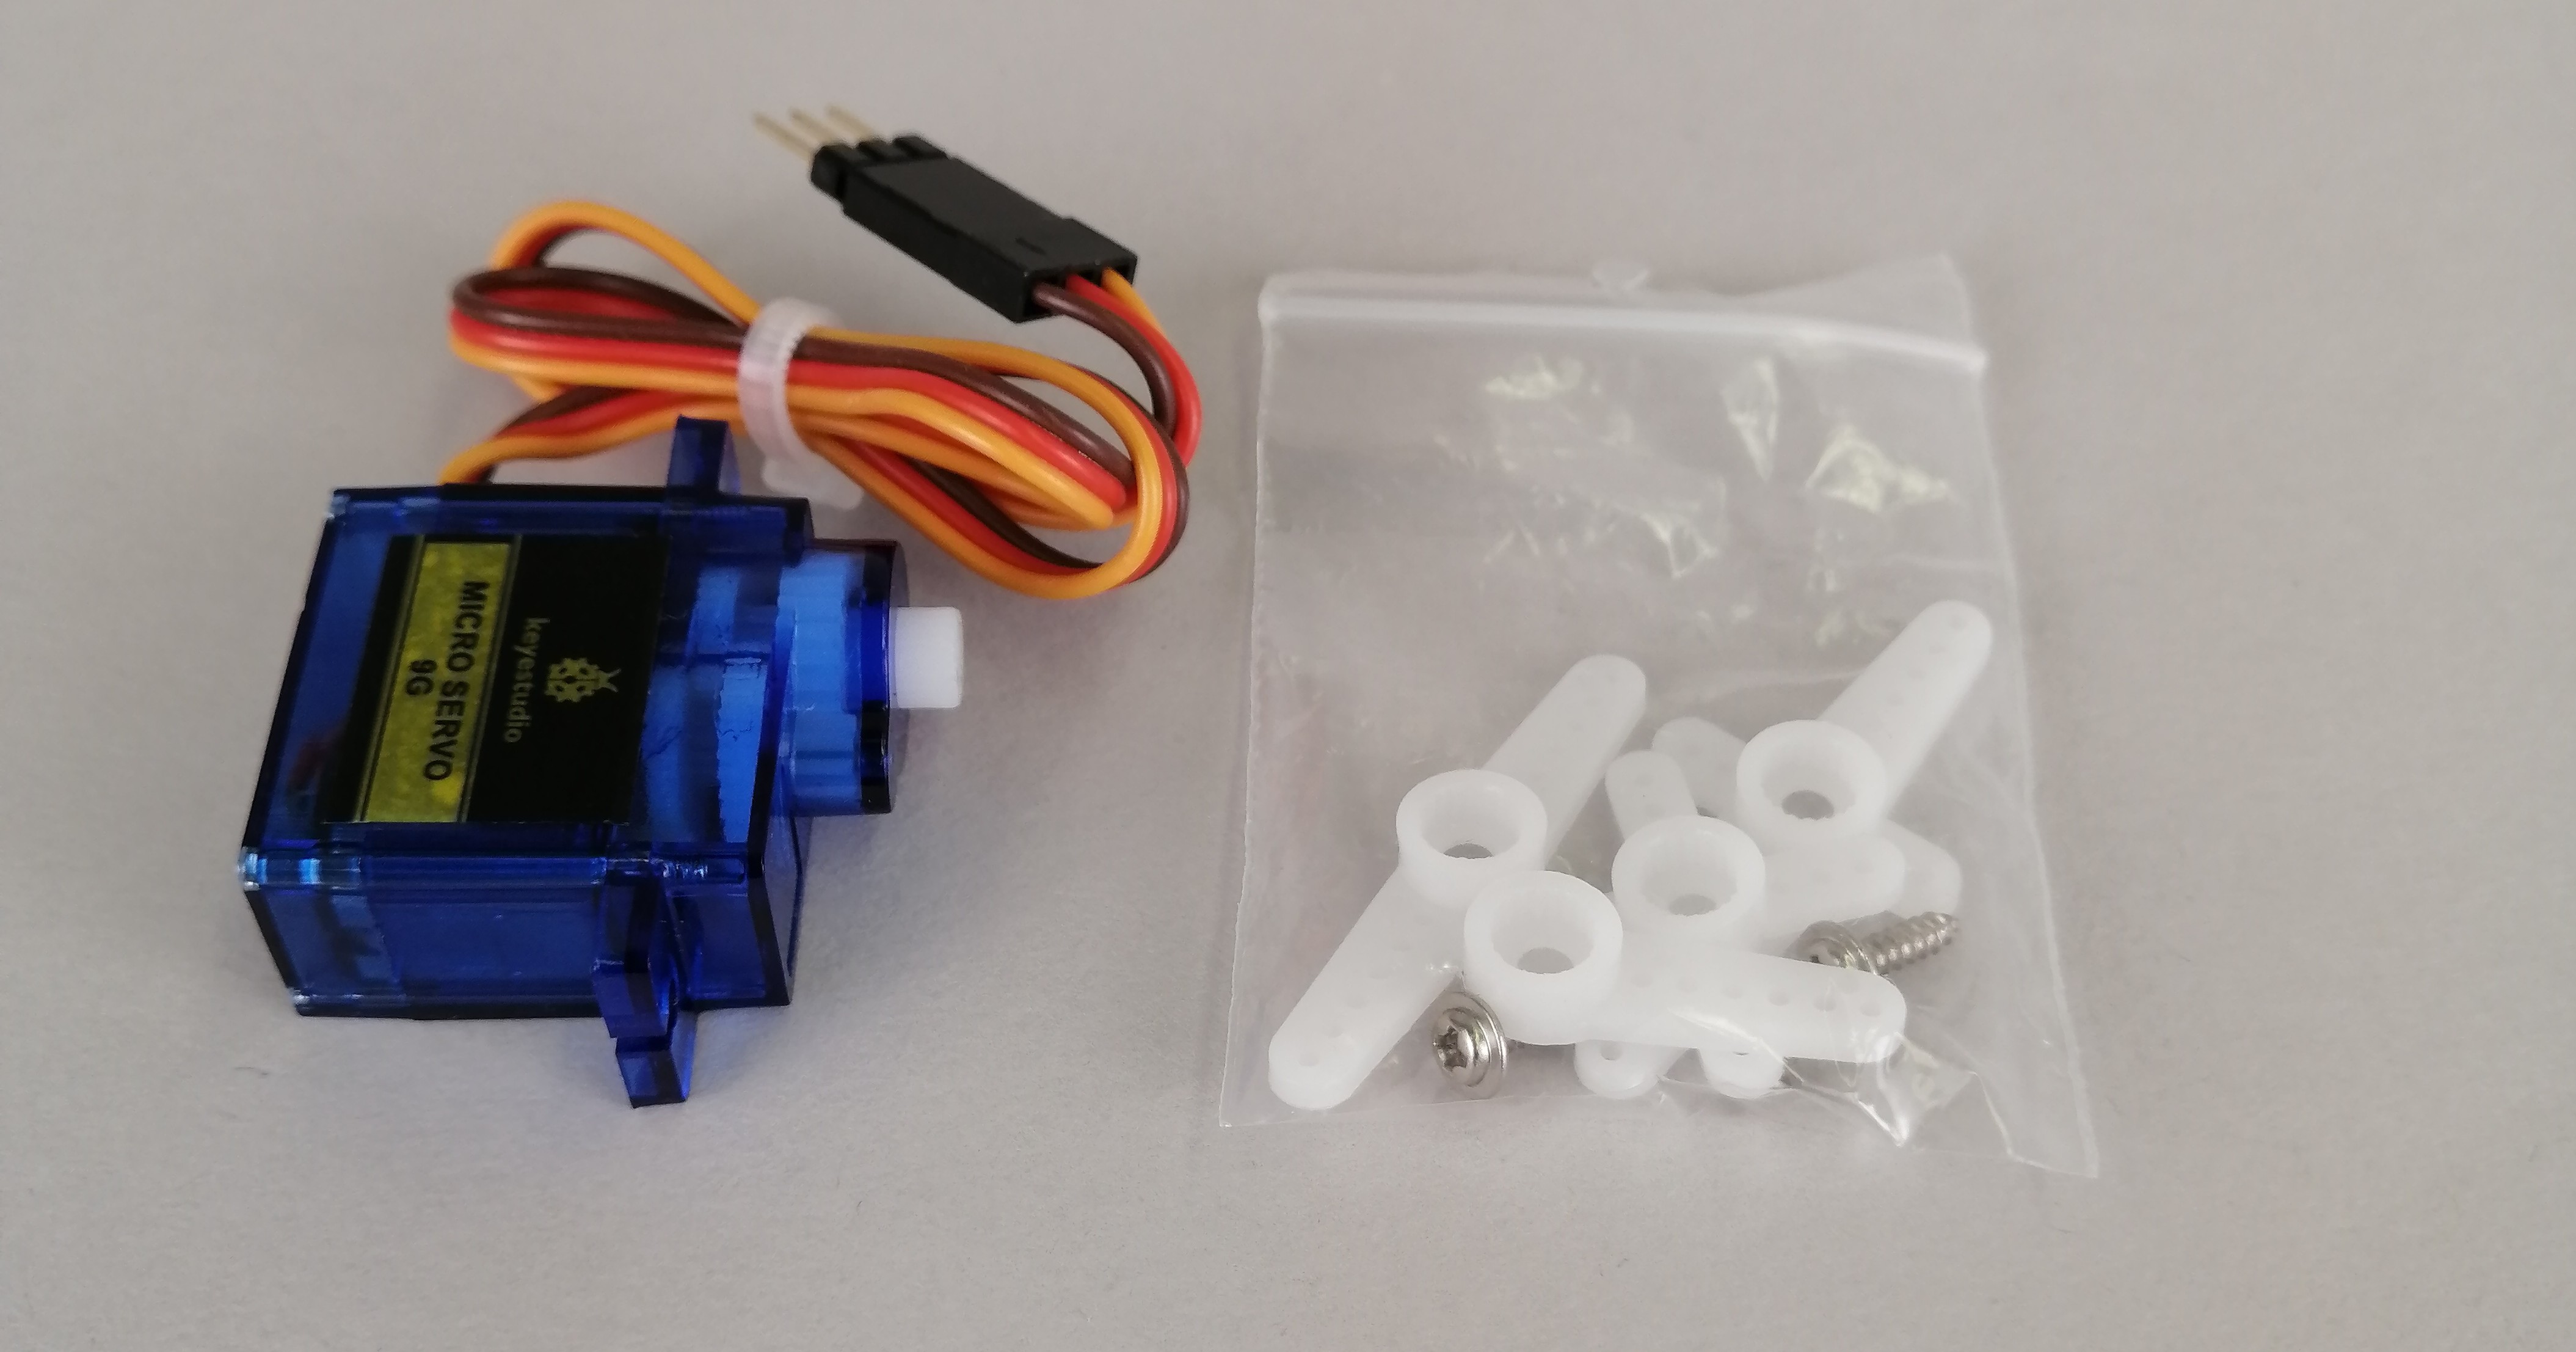
It contains parts called a servo motor and a servo horn (also called a horn).
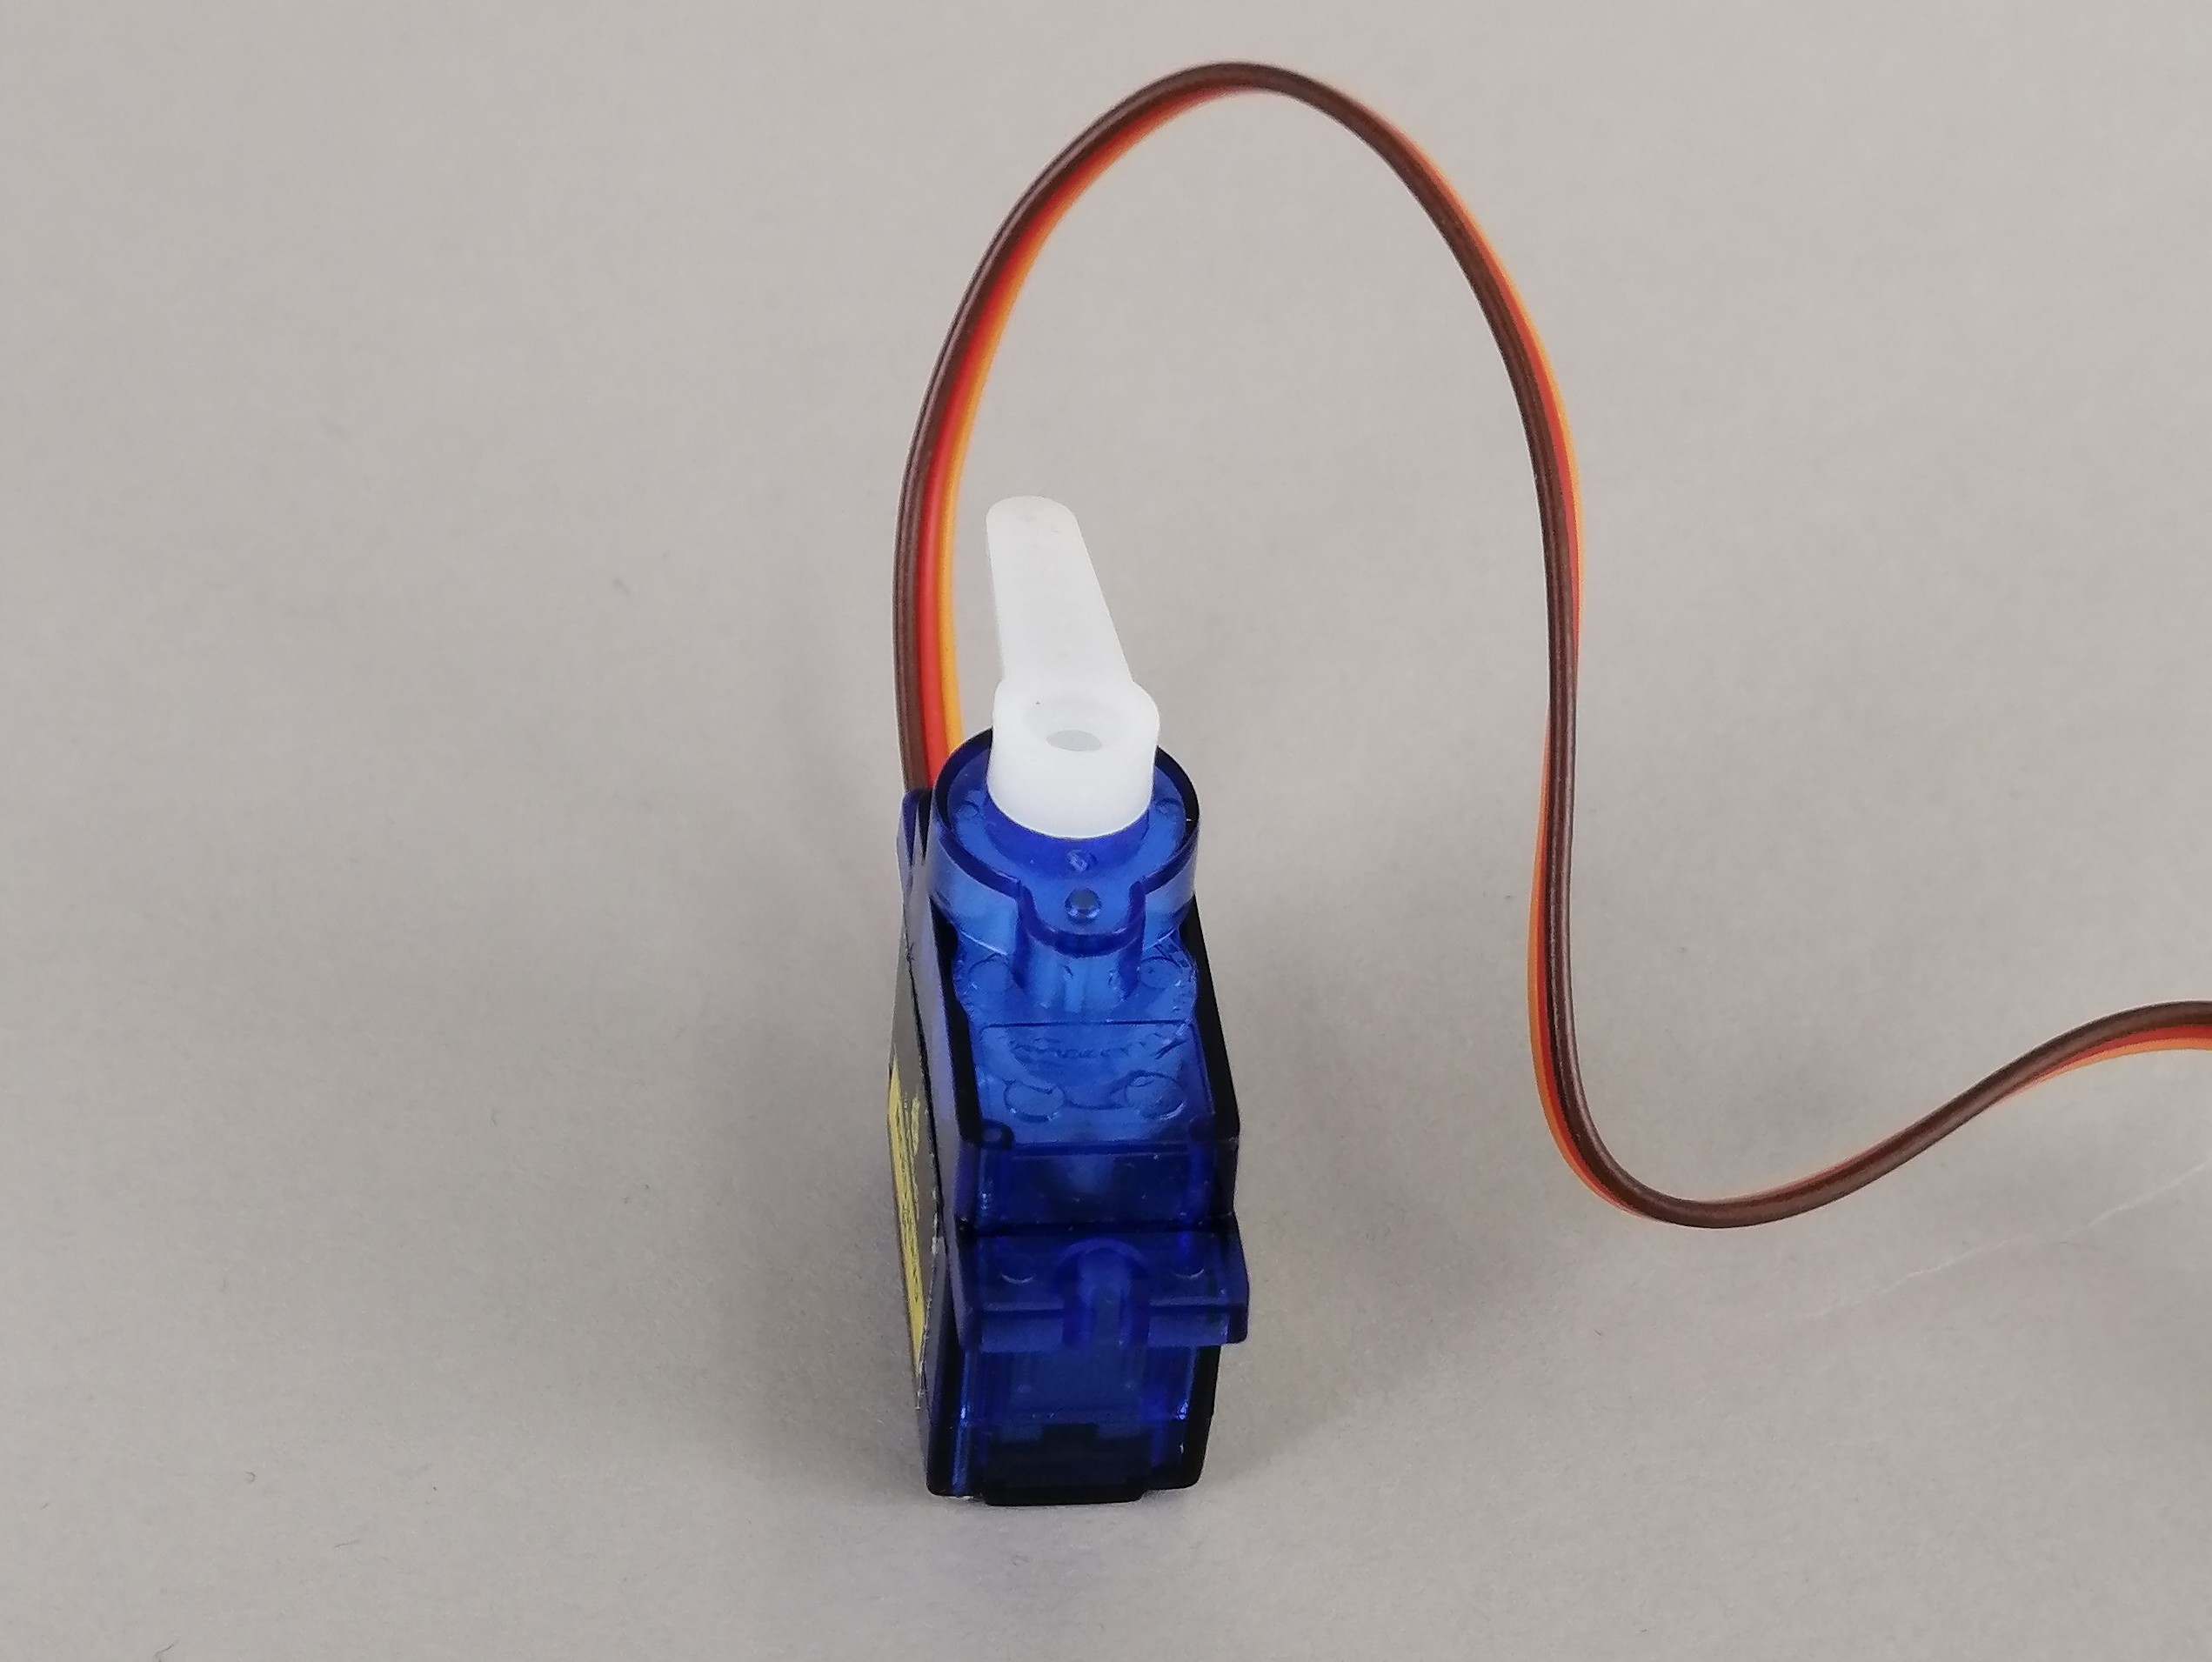
The horn is a part for attaching something first and moving the object, but if you attach it, it is easy to understand the rotation and the direction of rotation, so let's attach it.
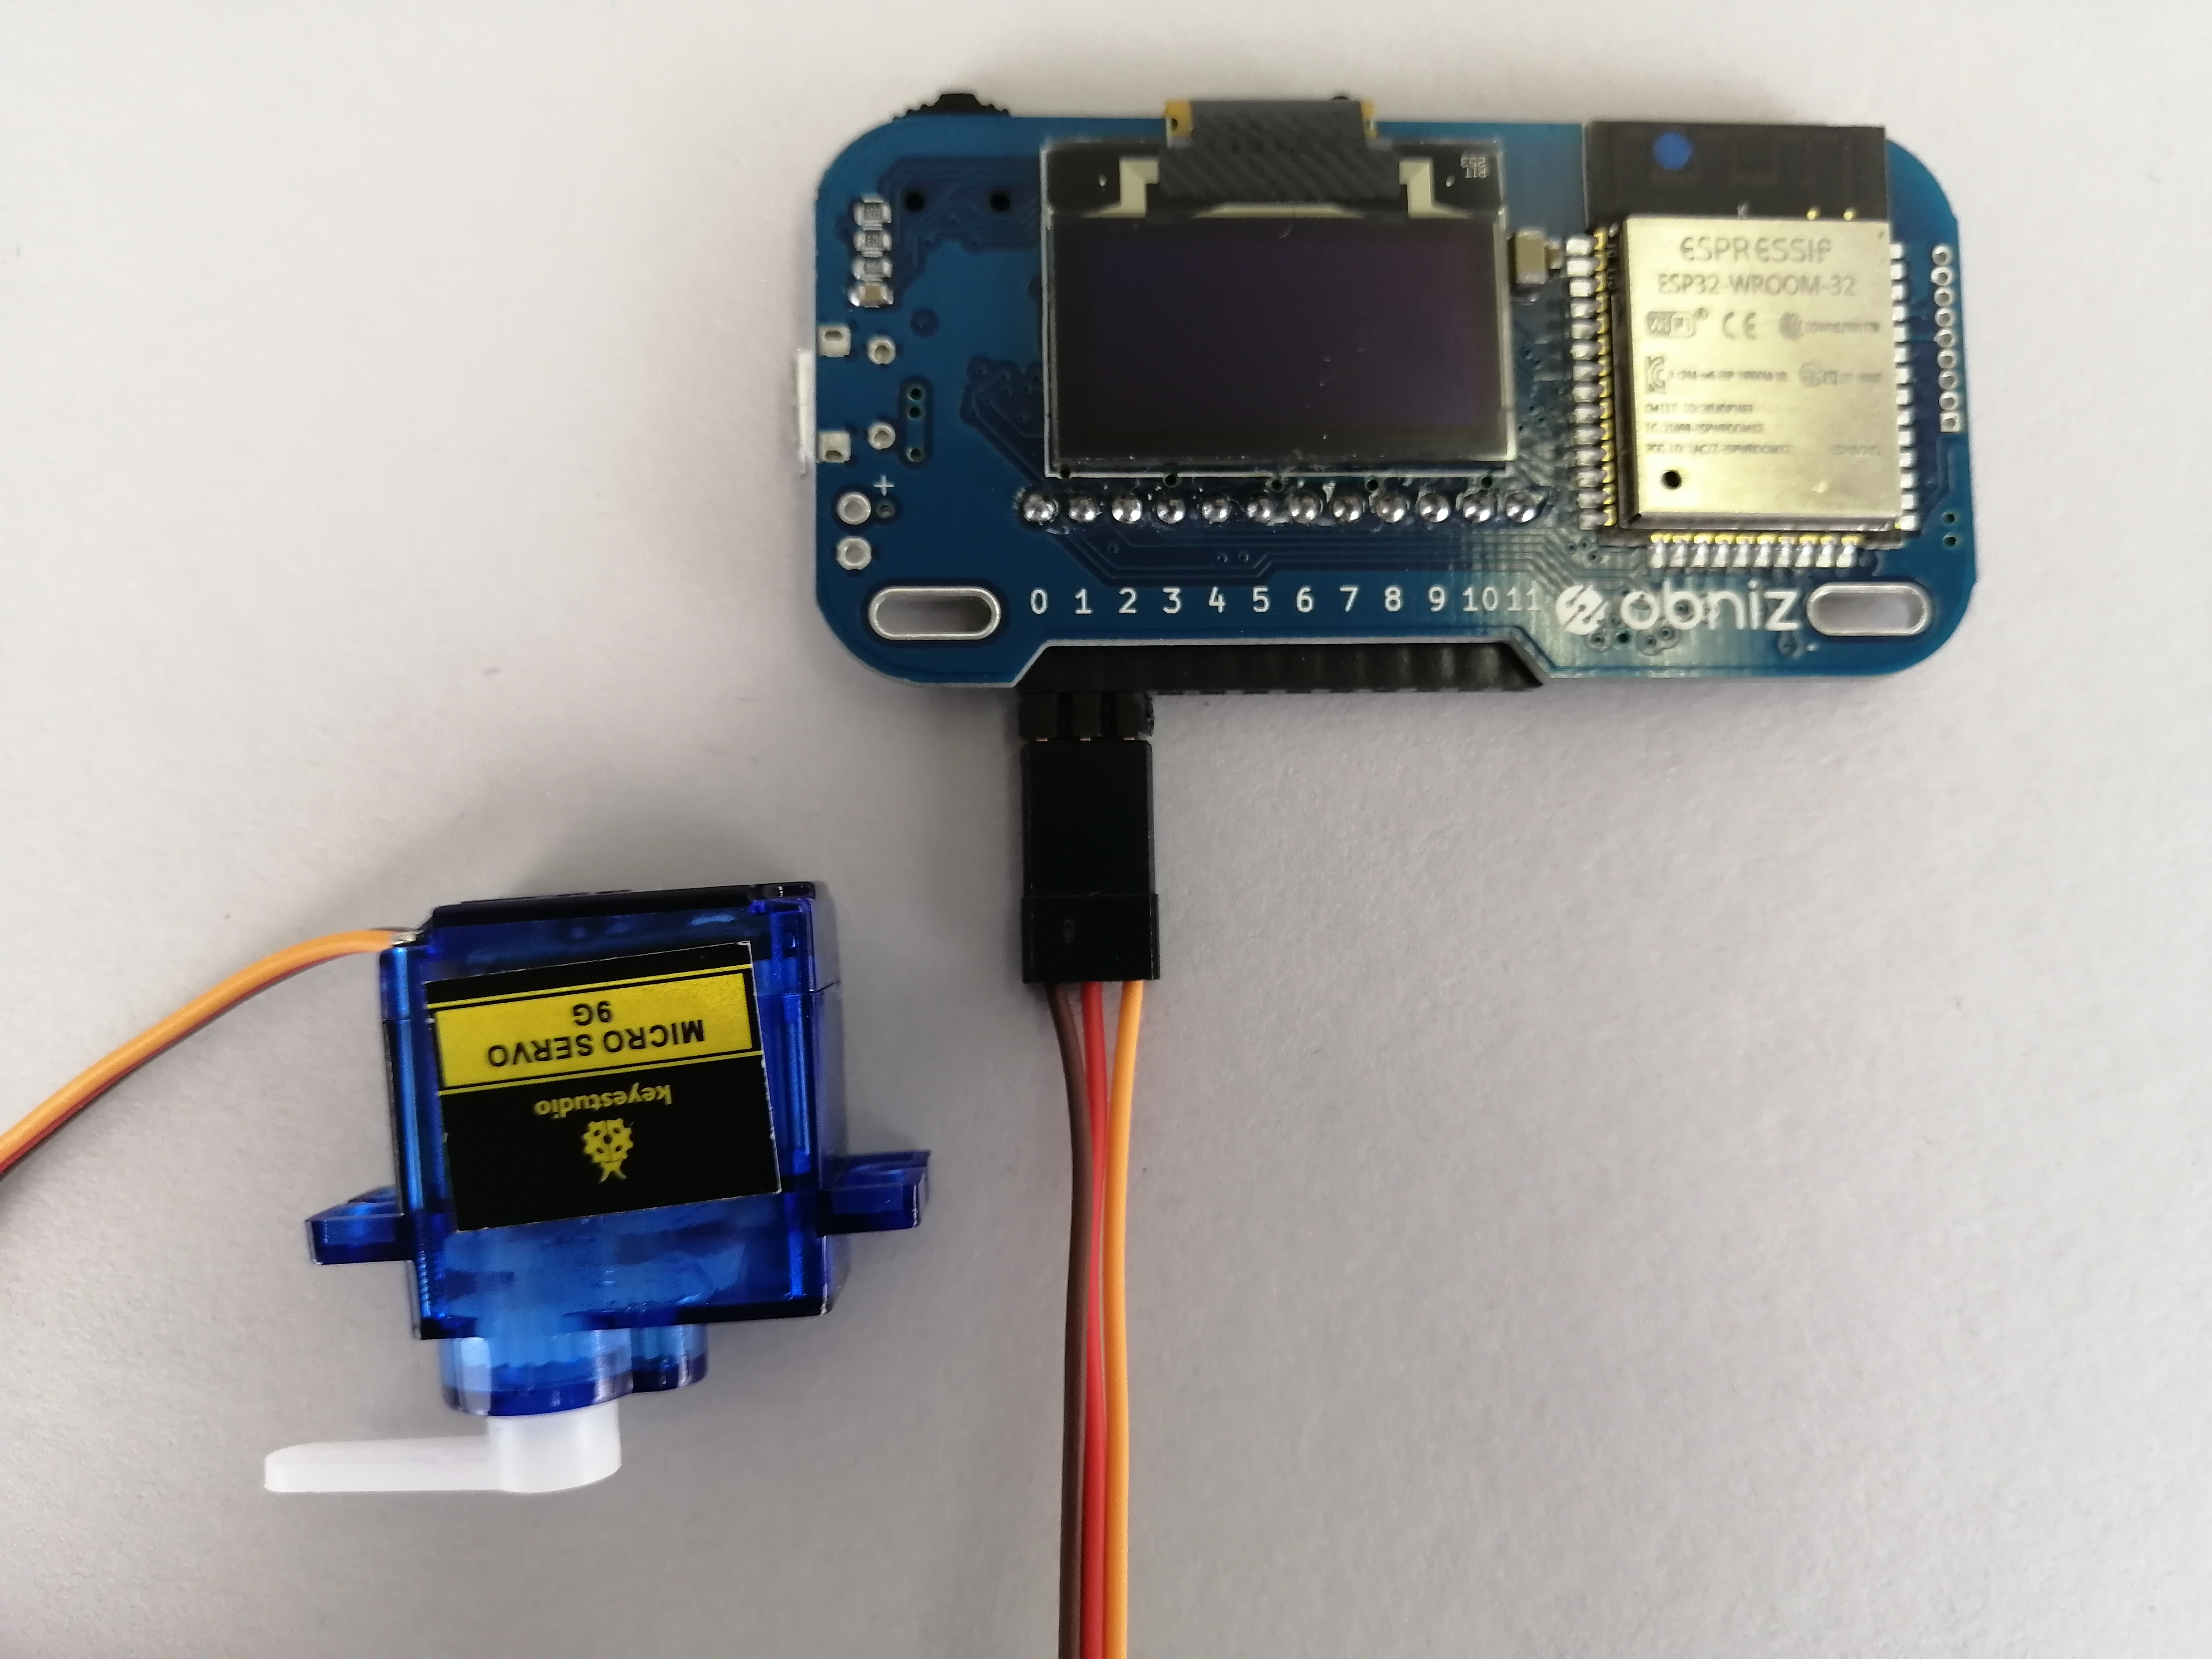
Then, let's connect with obniz.
The servo motor has three wires, which are divided into gnd (ground), vcc (power supply voltage), and signal (signal), respectively.
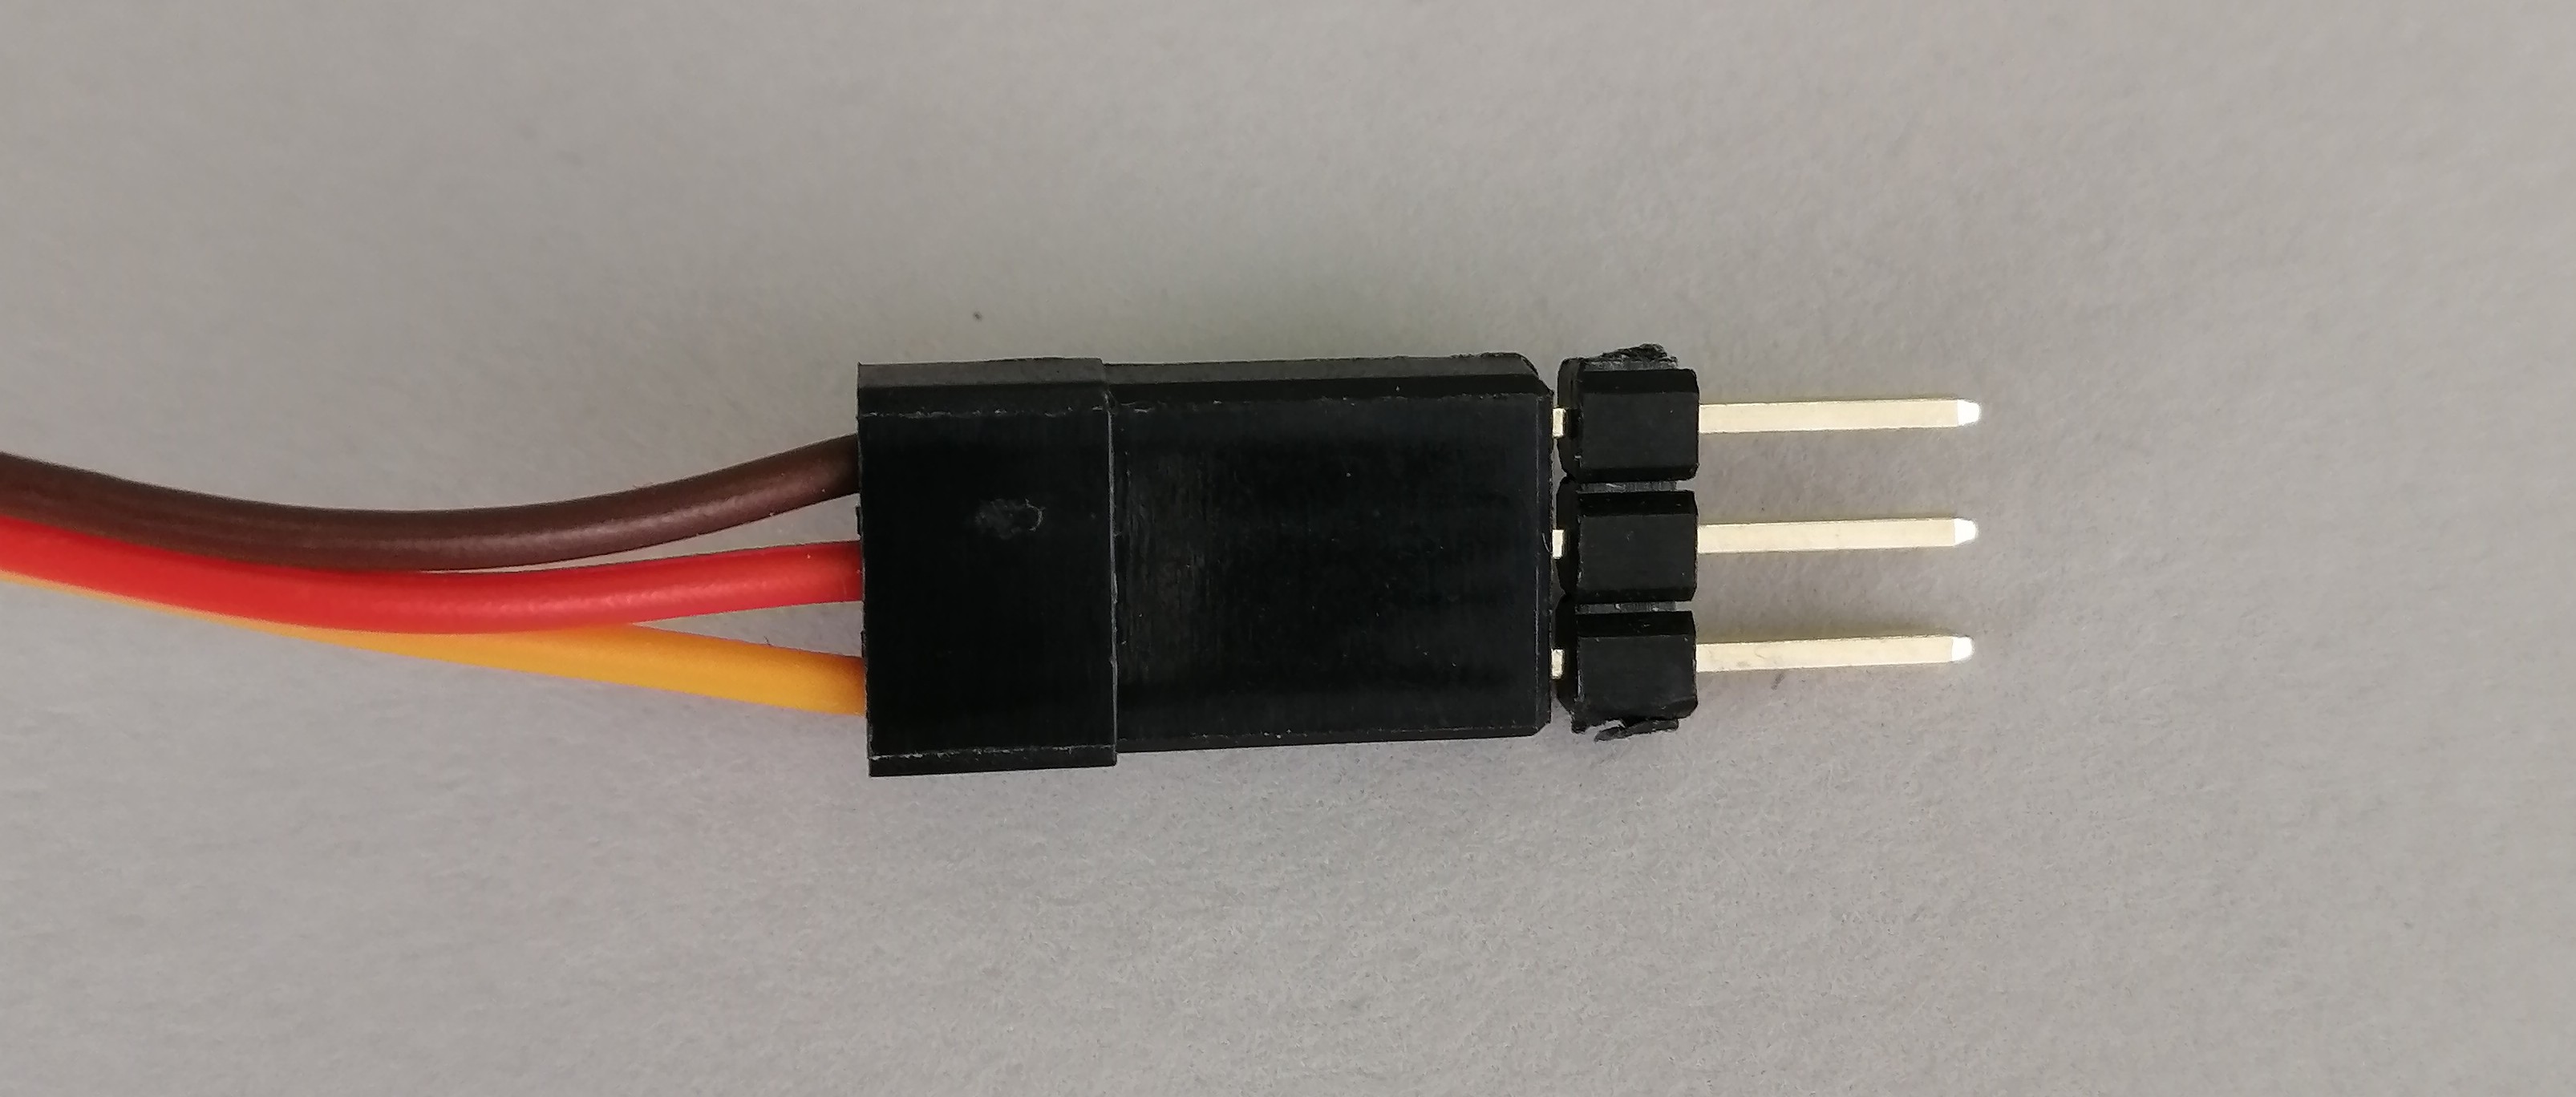
This time, connect as follows.
| obniz pin number | Servo motor wire |
|---|---|
| 0 | gnd(Brown) |
| 1 | vcc(Red) |
| 2 | signal(yellow) |
Program
Now that the connection is complete, let's write the program!
But you don't have to think hard.
Each part of the obniz Starter Kit has a "library".
This is a tool in which all the difficult processes originally required to move the servo motor are described in another place, and the user side can operate the parts by giving simple instructions using the library.
With this library, we can turn the servo motor just by specifying the angle of the servo motor!
The Servomotor Library, which can actually be accessed from the previous library, describes various ways to handle servomotors.
Now let's write a program that uses that library.
Explanation for using online editor with HTML/JavaScript, so obniz online editor If you are not confident in how to use, or if you read the program below and find it "difficult", take a look.
Other than the following two lines, it is the form when programming the basic obniz, so please concentrate on it here.
These two lines use the "library" mentioned earlier, so let's continue to practice using various parts and learn how to use them while looking at the previous page.
var servo = obniz.wired("ServoMotor", { gnd: 0, vcc: 1, signal: 2 });    //Set the library of servo motors
servo.angle(90.0);    //Set the angle to 90 degrees
<!-- HTML Example -->
<html>

<head>
    <!-- Load various environment settings -->
    <meta name="viewport" content="width=device-width, initial-scale=1">
    <script src="https://obniz.com/js/jquery-3.2.1.min.js"></script>
    <script src="https://unpkg.com/obniz@3.x/obniz.js"></script>
</head>

<body>
    <script>    //JavaScript from here
        var obniz = new Obniz("OBNIZ_ID_HERE");    //Ser your obniz ID
        obniz.onconnect = async function () {    //If obniz is connected ...
            var servo = obniz.wired("ServoMotor", { gnd: 0, vcc: 1, signal: 2 });    //Set the library of servo motors
            servo.angle(90.0);    //Set the angle to 90 degrees
        };
    </script>
</body>

</html>
Try launching this program and the servo motor should work!
If you don't get an error and say "I can't move ?!", maybe the motor was originally in the 90 degree position, so specify an angle other than 90 degrees and start it again. Let's.
Evolution: Servo motors alternate between 90 ° ↔ 0 °
Now let's modify the program a little more so that the servomotor alternates between 0 and 90 degrees.
To keep your program running, you need to use a loop.
From this document, let's use a loop of the type obniz.repeat () so that when the program is stopped, the servo motor will also stop this time.
<!-- HTML Example -->
<html>

<head>
    <!-- Load various environment settings -->
    <meta name="viewport" content="width=device-width, initial-scale=1">
    <script src="https://obniz.com/js/jquery-3.2.1.min.js"></script>
    <script src="https://unpkg.com/obniz@3.x/obniz.js"></script>
</head>

<body>

    <div id="obniz-debug"></div>    <!-- A message will appear if an error occurs -->

<script>    //JavaScript from here
        var obniz = new Obniz("OBNIZ_ID_HERE");    //Set your obniz ID

        obniz.onconnect = async function () {    //If obniz is connected ...
            var servo = obniz.wired("ServoMotor", { gnd: 0, vcc: 1, signal: 2 });    //Set the library of servo motors
            var angle = 0;    //First to 0 degrees

            obniz.repeat(async function () {    //Loop every second
                servo.angle(angle);    //Turn the servo motor every (angle)
                if (angle == 0) {    //If it is 0 degrees
                    angle = 90;    //At 90 degrees
                } else {    //If it isn't 0 degrees
                    angle = 0;    //To 0 degrees
                }
            }, 1000);    //Set loop interval to 1000ms = 1 second

        };
    </script>
</body>
</html>
As you saw at the beginning of this page, did the servo motor wave and return "Hello World!"?
This is the world of obniz that moves things from the browser.
In the next lesson, let's do various things unique to HTML / JavaScript using the working servo motor and browser!