Welcome to the HTML/JavaScript lesson page of the obniz Starter Kit!
In the last lesson, we used the regular execution of the web application to display the room temperature in the application status.
In this lesson, let's use Google Assistant to call the obniz web application from your smartphone!
IFTTT : Cooperation between obniz and Google assistant
You probably already know that you can run obniz from your smartphone via a browser.
However, this time, we would like to put Google Assistant on my smartphone and "operate obniz by voice".
Therefore, let's use IFTTT, which allows you to easily connect various Web services and devices!
Preparation: Insert Google assistant
Let's put Google assistant on your smartphone.
Search for "Google assistant" in the App Store for iPhone and Play store for Android, and install it.
As will be described later, if the application can be triggered by IFTTT, it is actually OK even if you are not a Google assistant.
Write a program for obniz
This time, let's program with the story that when you say "attach a rice cooker" with Google Assistant, the servo motor attached to obniz operates and you press the switch of the rice cooker.(You don't have to actually prepare a rice cooker.)
Let's let people know that the rice cooker is switched on by attaching an LED matrix when the servo motor moves.
In other words, this time, "Servomotor" and "LED Matrix" /Keyestudio_HT16K33/README.md) ”will be used.
See how to use each parts library from the link, and create a program such as "When the program works, rotate the servo 90 ° to turn on the rice cooker and display" O "in the LED matrix" (if possible, yourself Let's write it.
As an example, the program example is shown below.
The LED matrix is set to pins 0 to 3 and the servo motor is set to pins 9 to 11.
The LED matrix seems to have the opposite VCC and GND, so be careful and proceed by looking at the library page.
<html>

<head>
<script src="https://unpkg.com/[email protected]/obniz.js"></script>
</head>

<body>
    <div id="obniz-debug"></div>
    <script>
        var obniz = new Obniz("OBNIZ-ID-HERE"); //obniz ID here
        obniz.onconnect = async function () {

            const matrix = obniz.wired("Keyestudio_HT16K33", { gnd: 0, vcc: 1, sda: 2, scl: 3 });
            var servo = obniz.wired("ServoMotor", { gnd: 9, vcc: 10, signal: 11 });    //Set the library of servo motors

            matrix.brightness(7);
            let ctx = obniz.util.createCanvasContext(matrix.width, matrix.height);
            ctx.fillStyle = "black";
            ctx.fillRect(0, 0, matrix.width, matrix.height);
            ctx.fillStyle = "white";
            ctx.font = "10px sans-serif";
            ctx.fillText('O', 1, 7);
            matrix.draw(ctx);

            servo.angle(90.0);    //Set the angle to 90 degrees
            await obniz.wait(1000);
            servo.angle(60.0);    //Set the angle as 0 degrees
            await obniz.wait(1000);
        };
    </script>
</body>


</html>
Create a WebApp
After confirming the operation of the program, let's make the program a WebApp and set a Webhook.
Webhook is a function to access a certain URL.
Especially in obniz, you can start the obniz program via URL.
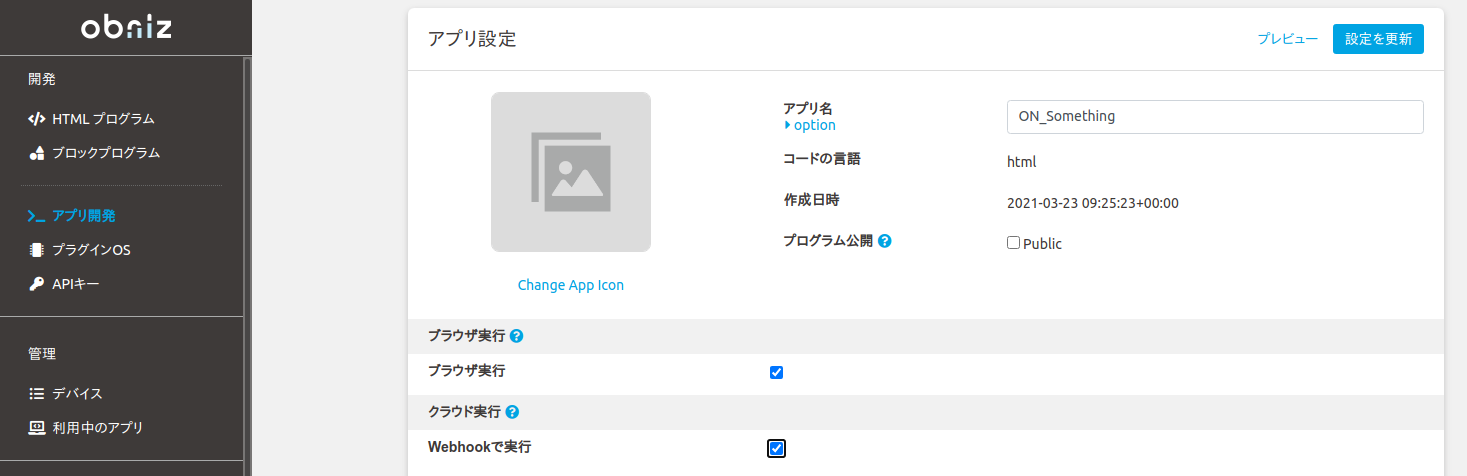
6.Create a WebAppCreate a new WebApp like the previous articles.
At this time, check "Run with Webhook" on the setting screen to enable Webhook.
After creating the program, edit the program.
Edit the program of the application from [App Development]-[Edit Program].
However, all you have to do is port the script part of the program, that is, the Java Script part, into obniz.onconnect and add Obniz.App.done to tell the WebApp that the program is complete.
<script>
    var obniz = new Obniz("OBNIZ_ID_HERE");

    // called on online
    obniz.onconnect = async function() {

        const matrix = obniz.wired("Keyestudio_HT16K33", { gnd: 0, vcc: 1, sda: 2, scl: 3 });
        var servo = obniz.wired("ServoMotor", { gnd: 9, vcc: 10, signal: 11 });    //Set the library of servo motors

        matrix.brightness(7);
        let ctx = obniz.util.createCanvasContext(matrix.width, matrix.height);
        ctx.fillStyle = "black";
        ctx.fillRect(0, 0, matrix.width, matrix.height);
        ctx.fillStyle = "white";
        ctx.font = "10px sans-serif";
        ctx.fillText('O', 1, 7);
        matrix.draw(ctx);

        servo.angle(90.0);    //Set the angle to 90 degrees
        await obniz.wait(1000);
        servo.angle(60.0);    //Set the angle as 0 degrees
        await obniz.wait(1000);

        // throw notification to app status
        Obniz.App.done({
            status: 'success',
        })

        // called while online.
        obniz.onloop = async function() {

        };
    };

    // called on offline
    obniz.onclose = async function() {

    };
</script>
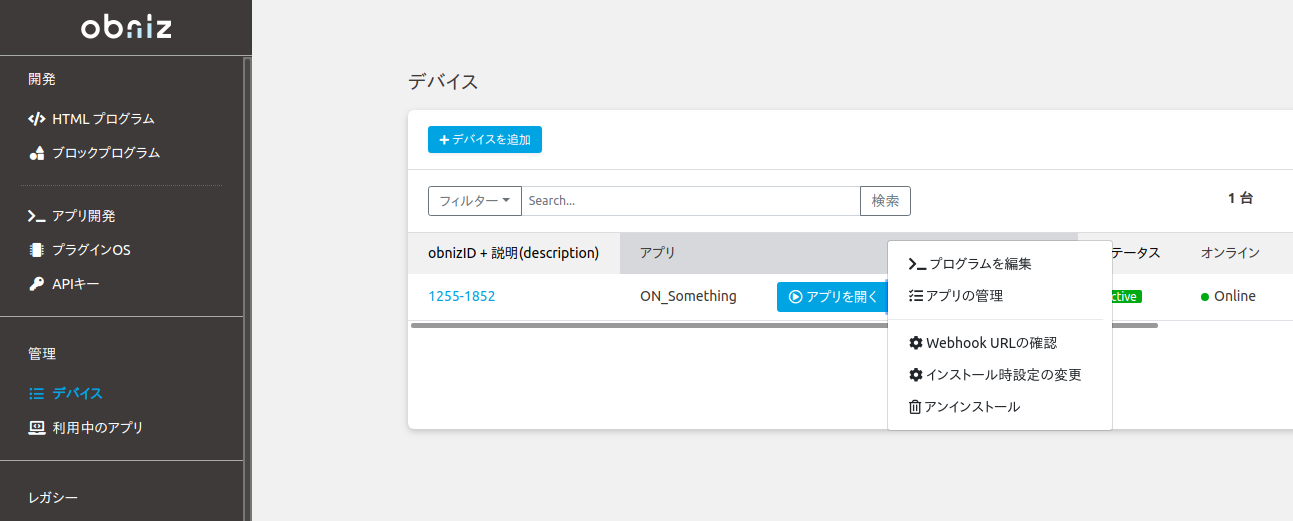
If you finish it, check the URL of the Webhook from [Device]-[Check Webhook URL].
Cooperate with IFTTT
Then, the next step is to implement the IFTTT function.
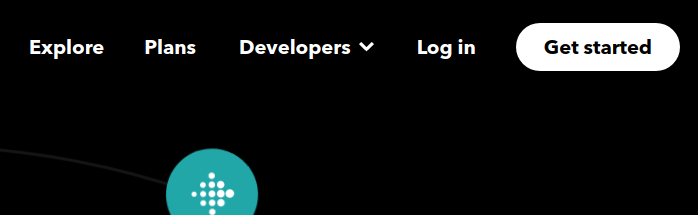
Create an account from [Get started].
If you finish it, create IFTTT from [create].
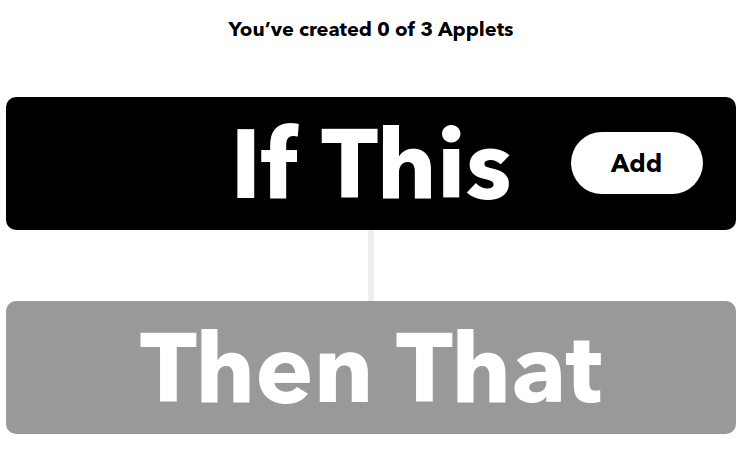
First, select the application to be used as a trigger from [If This].
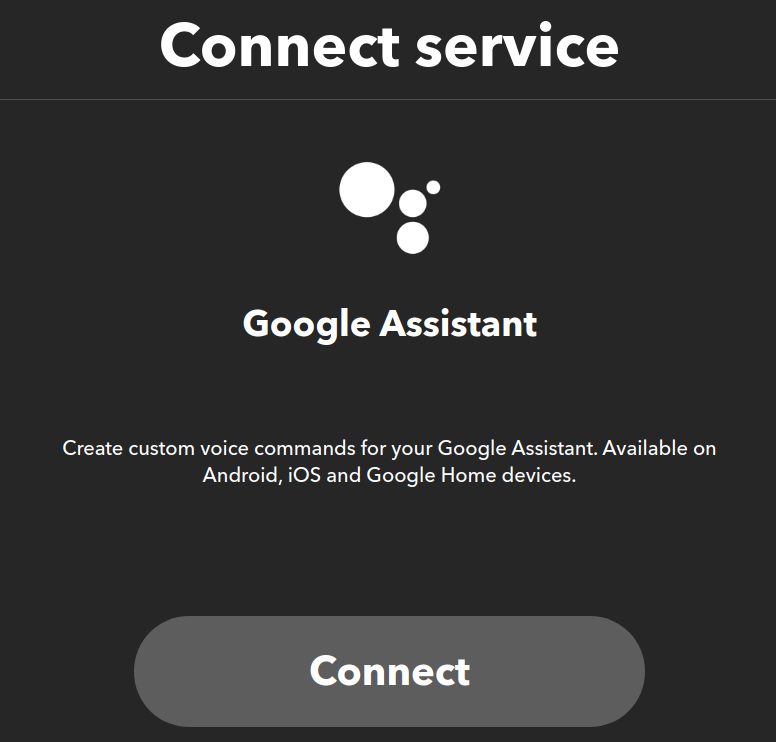
Select Google assistant and select the same Google account that you are using with Google assistant from [connect].
As mentioned earlier, you can choose an application that is not a Google assistant at this point.
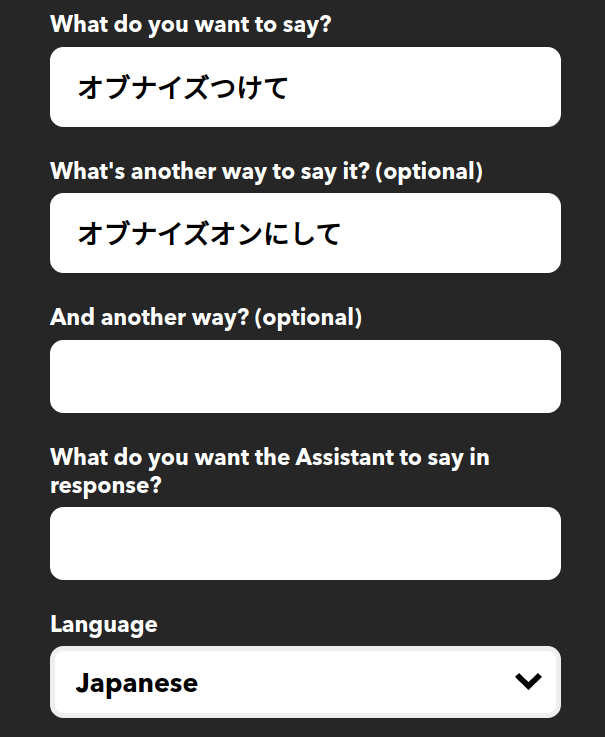
Register the phrase that will trigger something.
It's important to note that the word combination should be recognizable by the Google assistant.
As an example, the following phrase uses "obnize", but this is not a general word and it is highly likely that it will not be recognized, so it is necessary to use another phrase. (Turn on a rice cooker, etc.)
Then, this time, search for the webhook from [Then That] and select it.
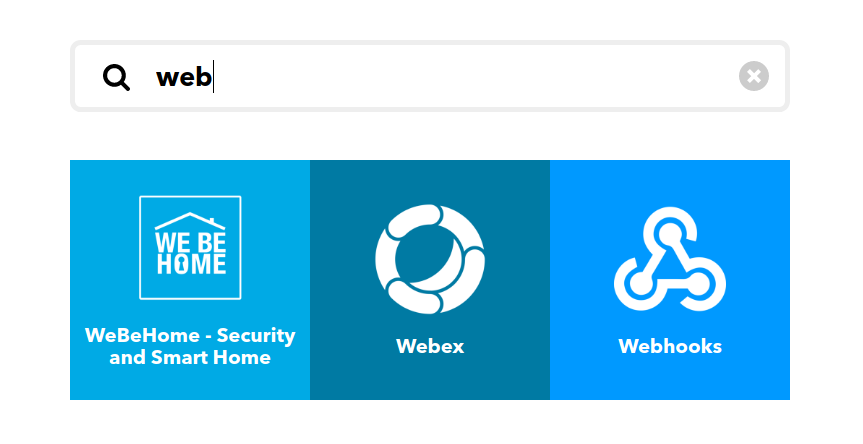
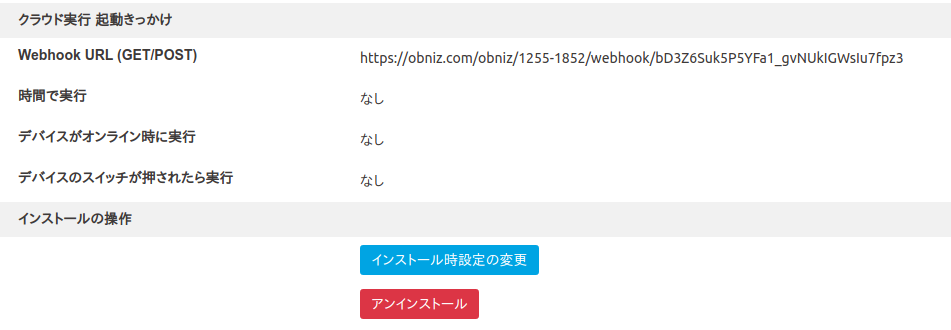
On the webhook setting screen, paste the URL of the webhook confirmed on the obniz device earlier.
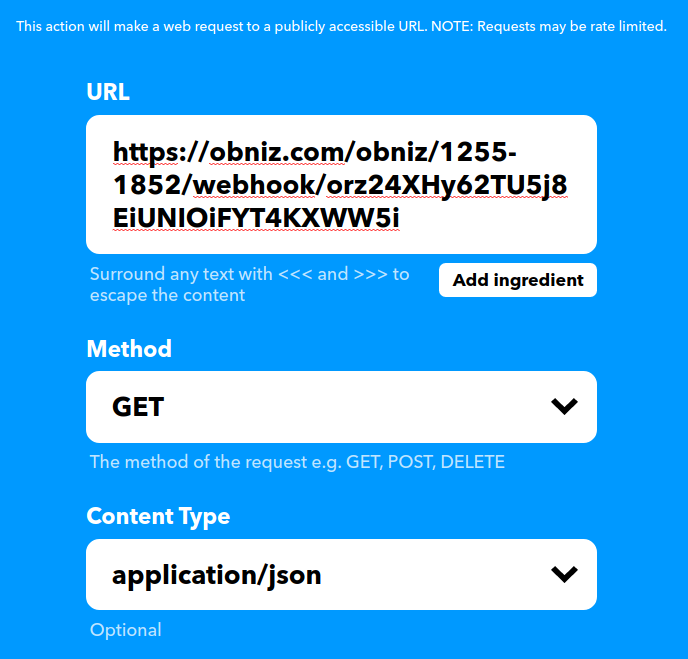
Press [finish] from [continue] to complete the creation.
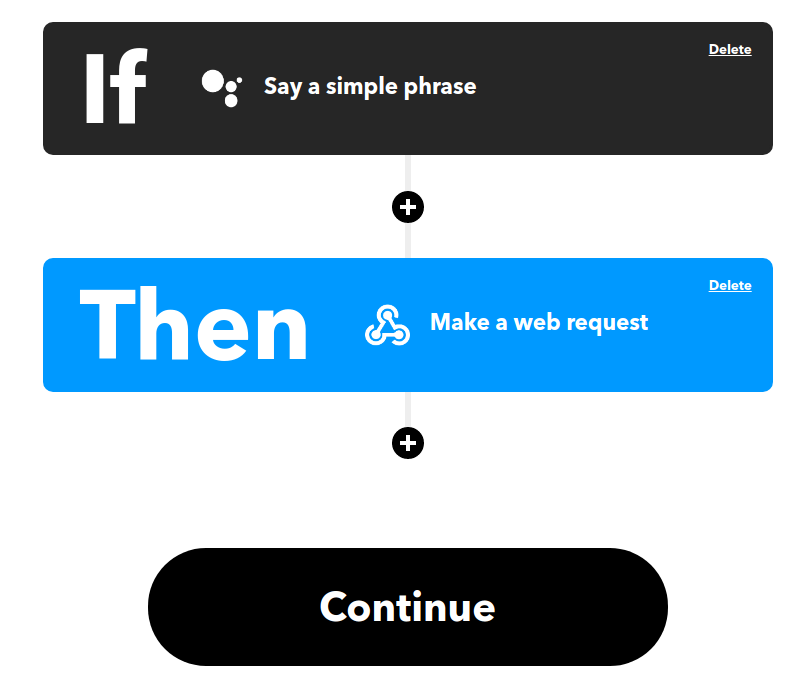
with this
Say a specific phrase with Google assistant → obniz is executed from Webhook
you were able to create the flow.
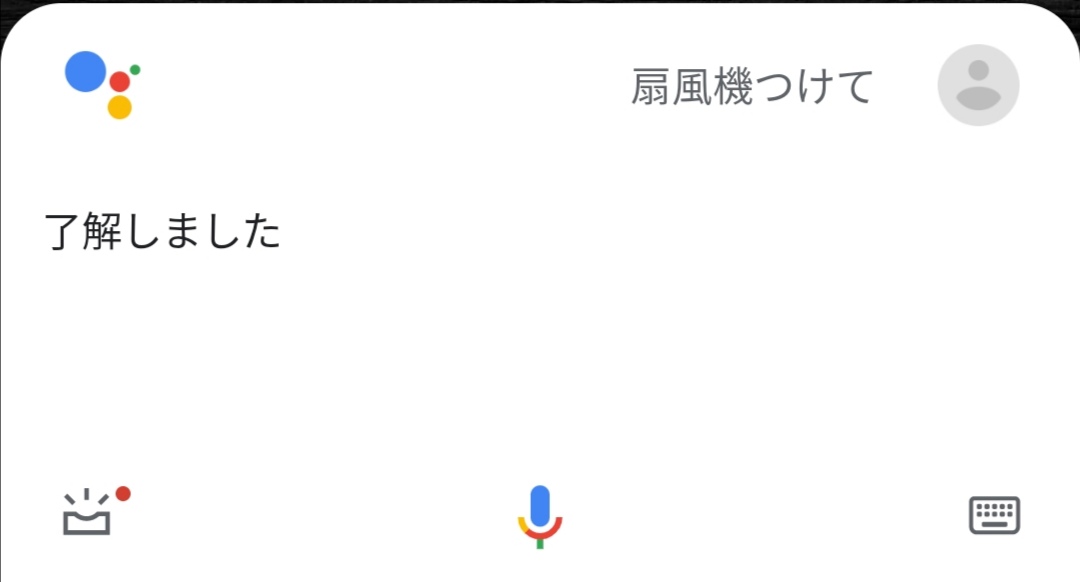
Run
Start Google assistant on your smartphone and speak your own words such as "Turn on the rice cooker".
If IFTTT reacts and the servo motor connected to obniz moves, it is successful!
If you apply this technology, you can make electrical appliances with switches all over the house.
Internet → obniz → servo motor → home appliance switch
You will be able to operate it!
This is exactly IoT, a technology that you were able to learn through the lessons of the obniz starter kit!
At the end
This is the end of the HTML / JavaScript lesson, but you already know how to use obniz to use your IoT.
From here, please try various things with obniz!
See you in an obniz article somewhere. goodbye!