Move Servo: Simply Turn the Servo Motor
From this lesson, we will use the parts of the obniz Starter Kit.
First, let's move the "servo motor" that is easy to understand.
What is a servo motor?
When you think of a motor, it may be a motor that keeps spinning when you turn it on.
Servo motors are different from such motors in that they can be rotated to a specified angle.
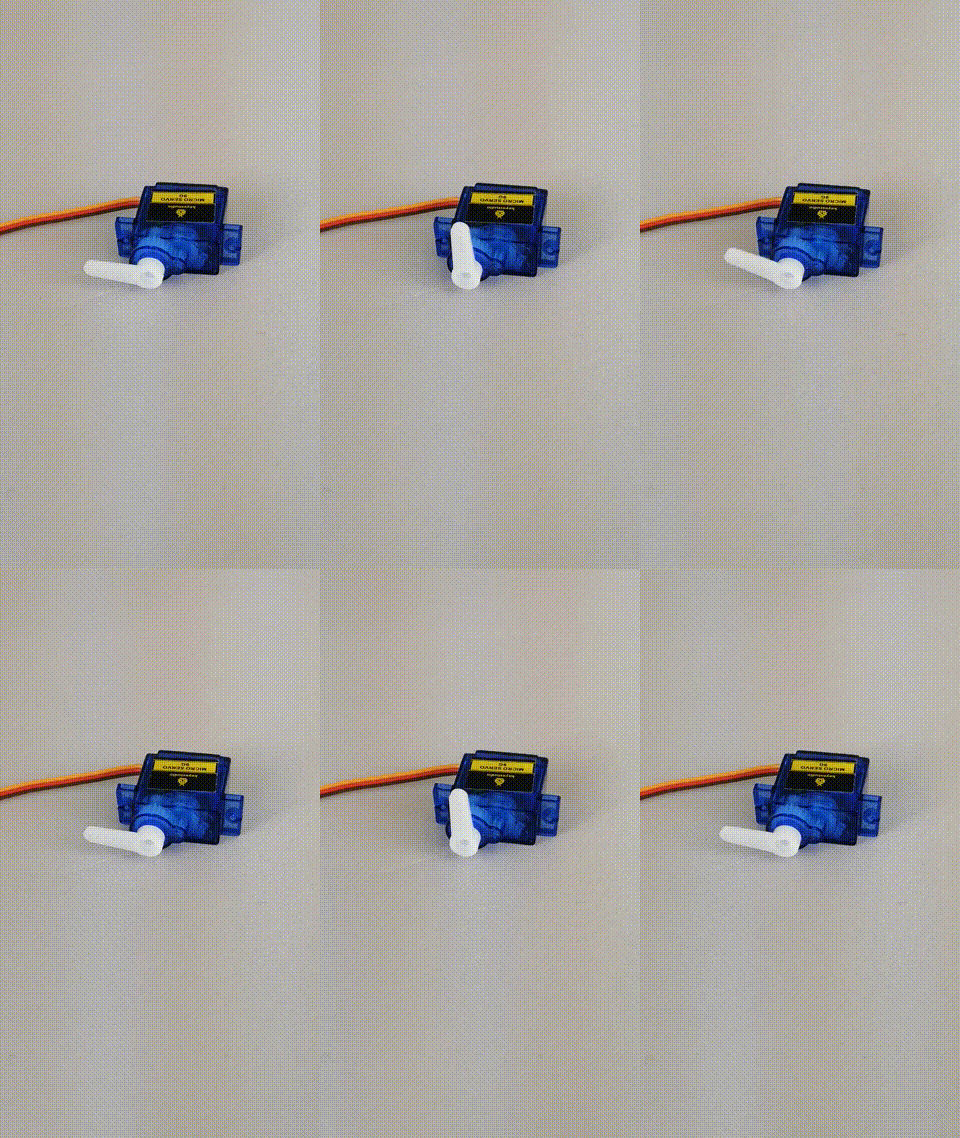
Since it can be moved to a specified angle, it is often used for joints of robots.
This time, we will try to move such a servo motor by specifying an angle.
Connection
Now, let's connect the servo motor to obniz.
First, remove the servo motor from the bag.
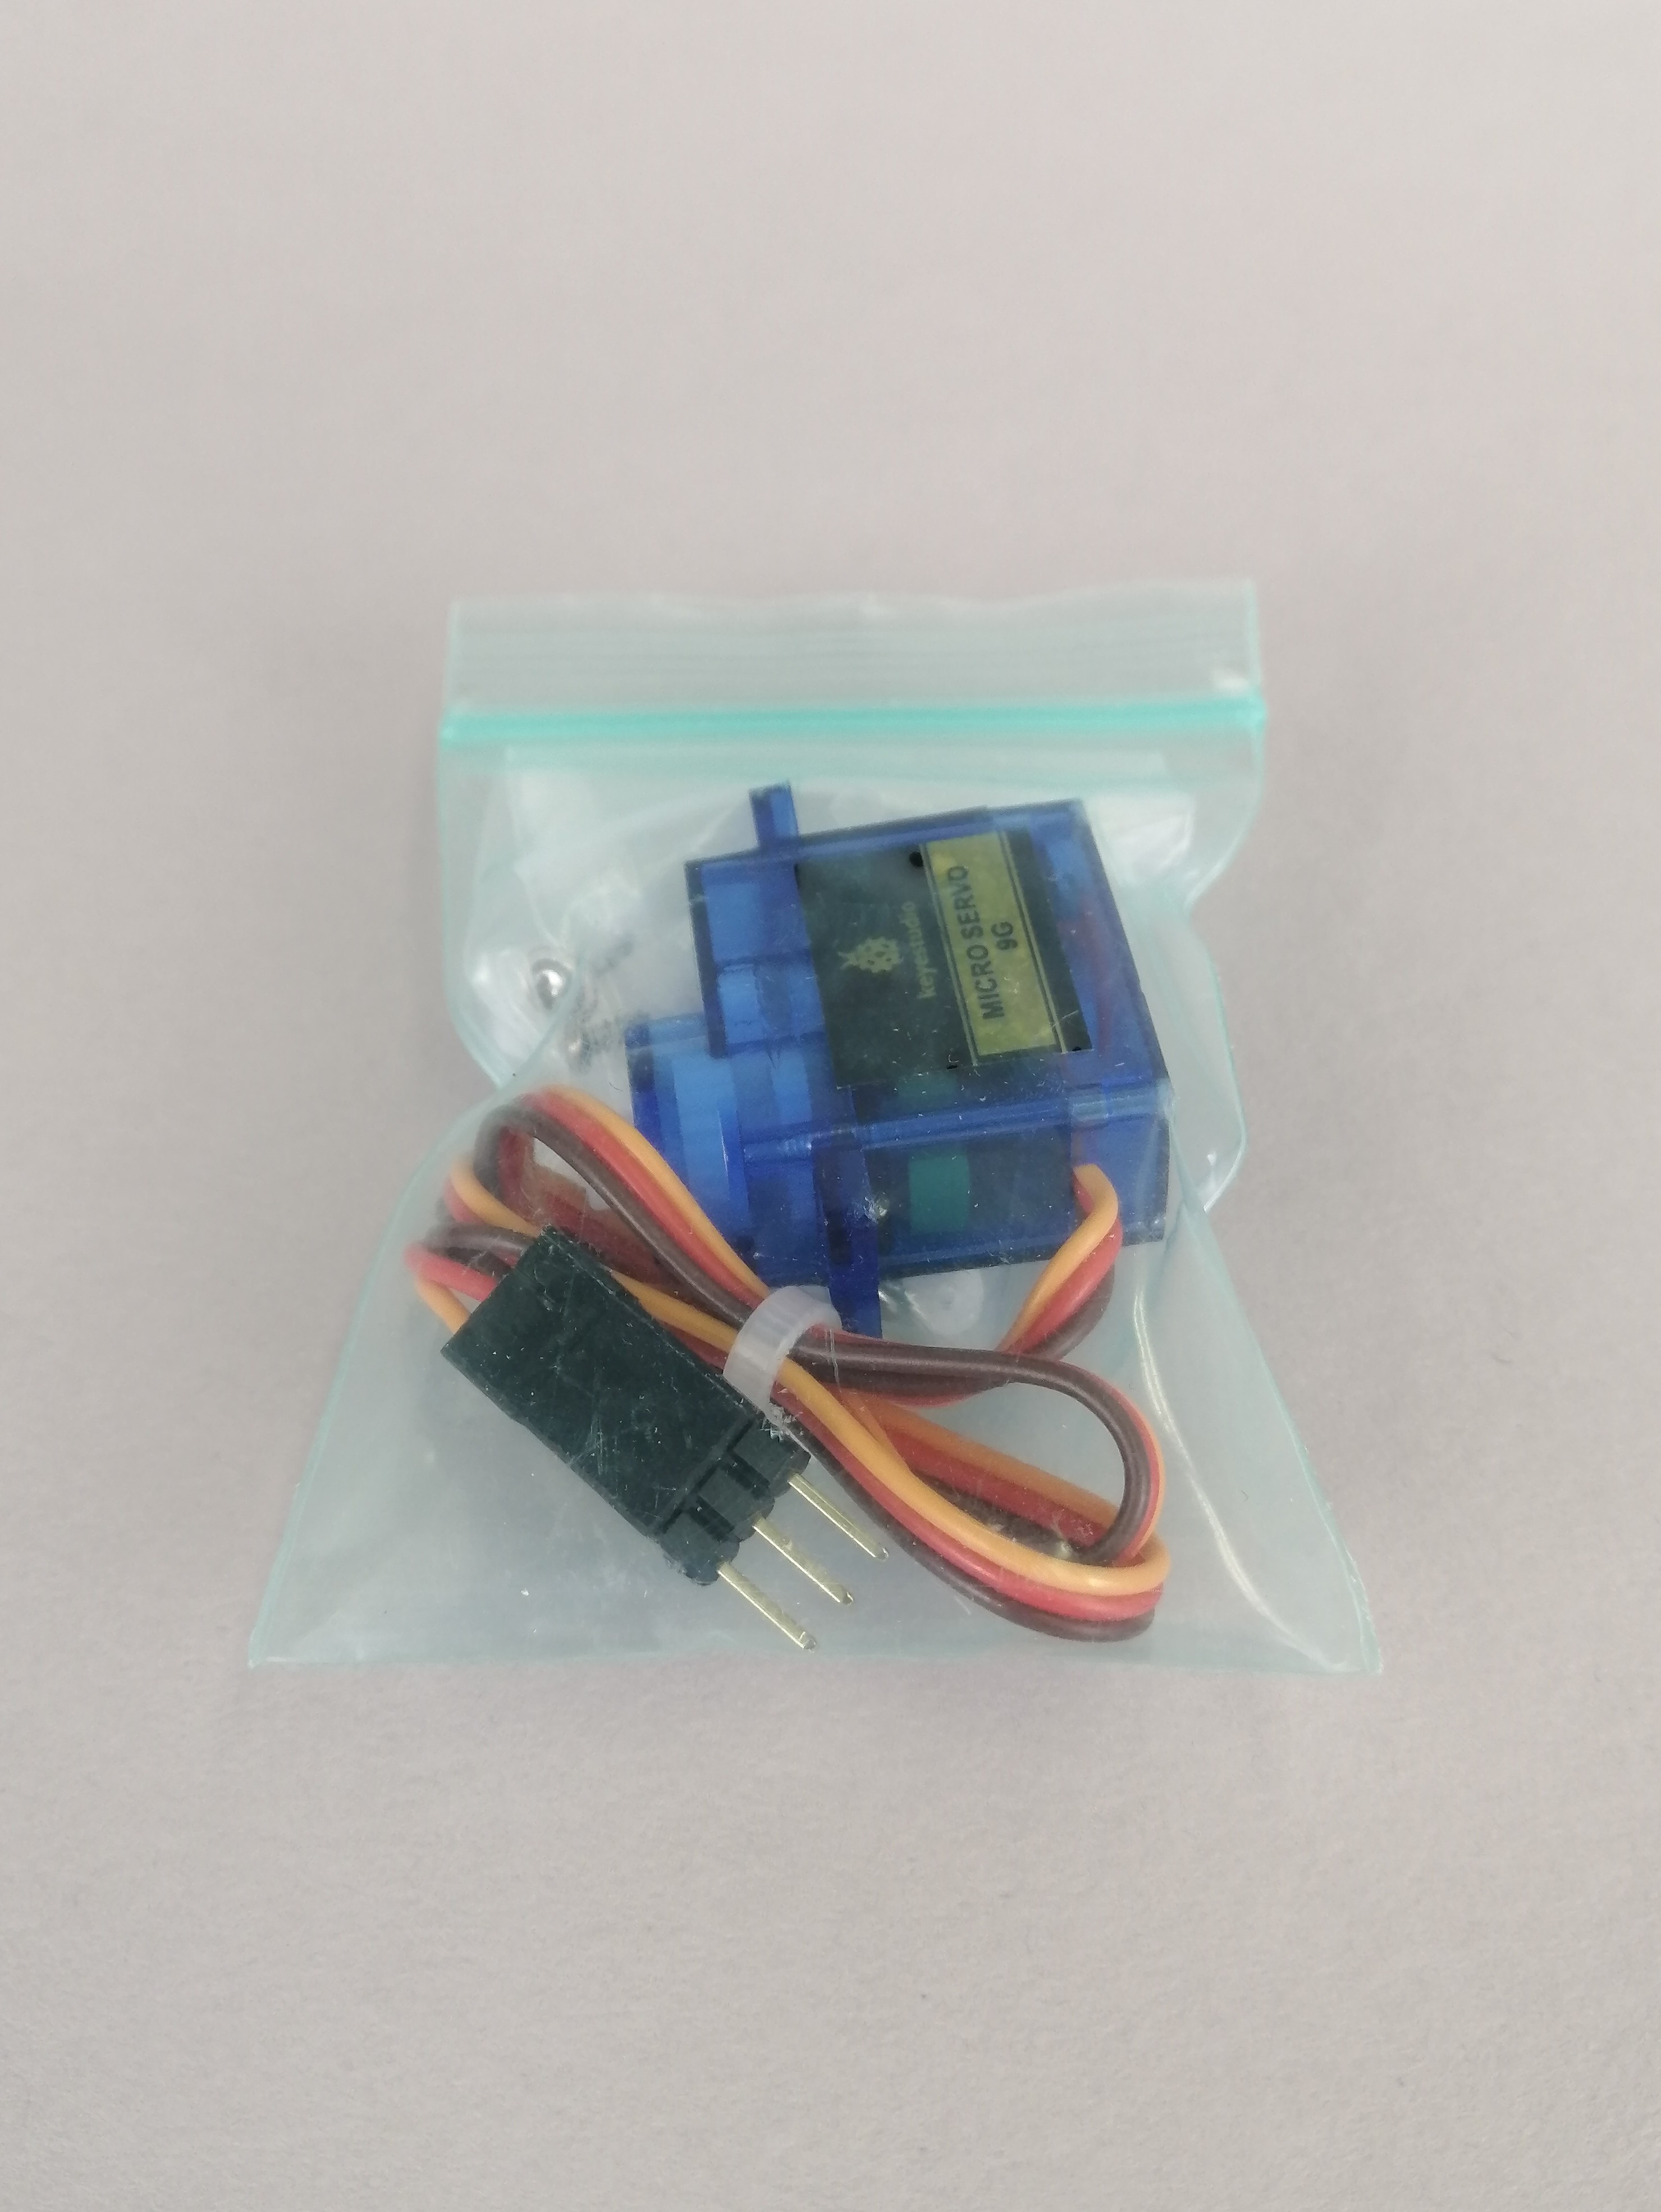
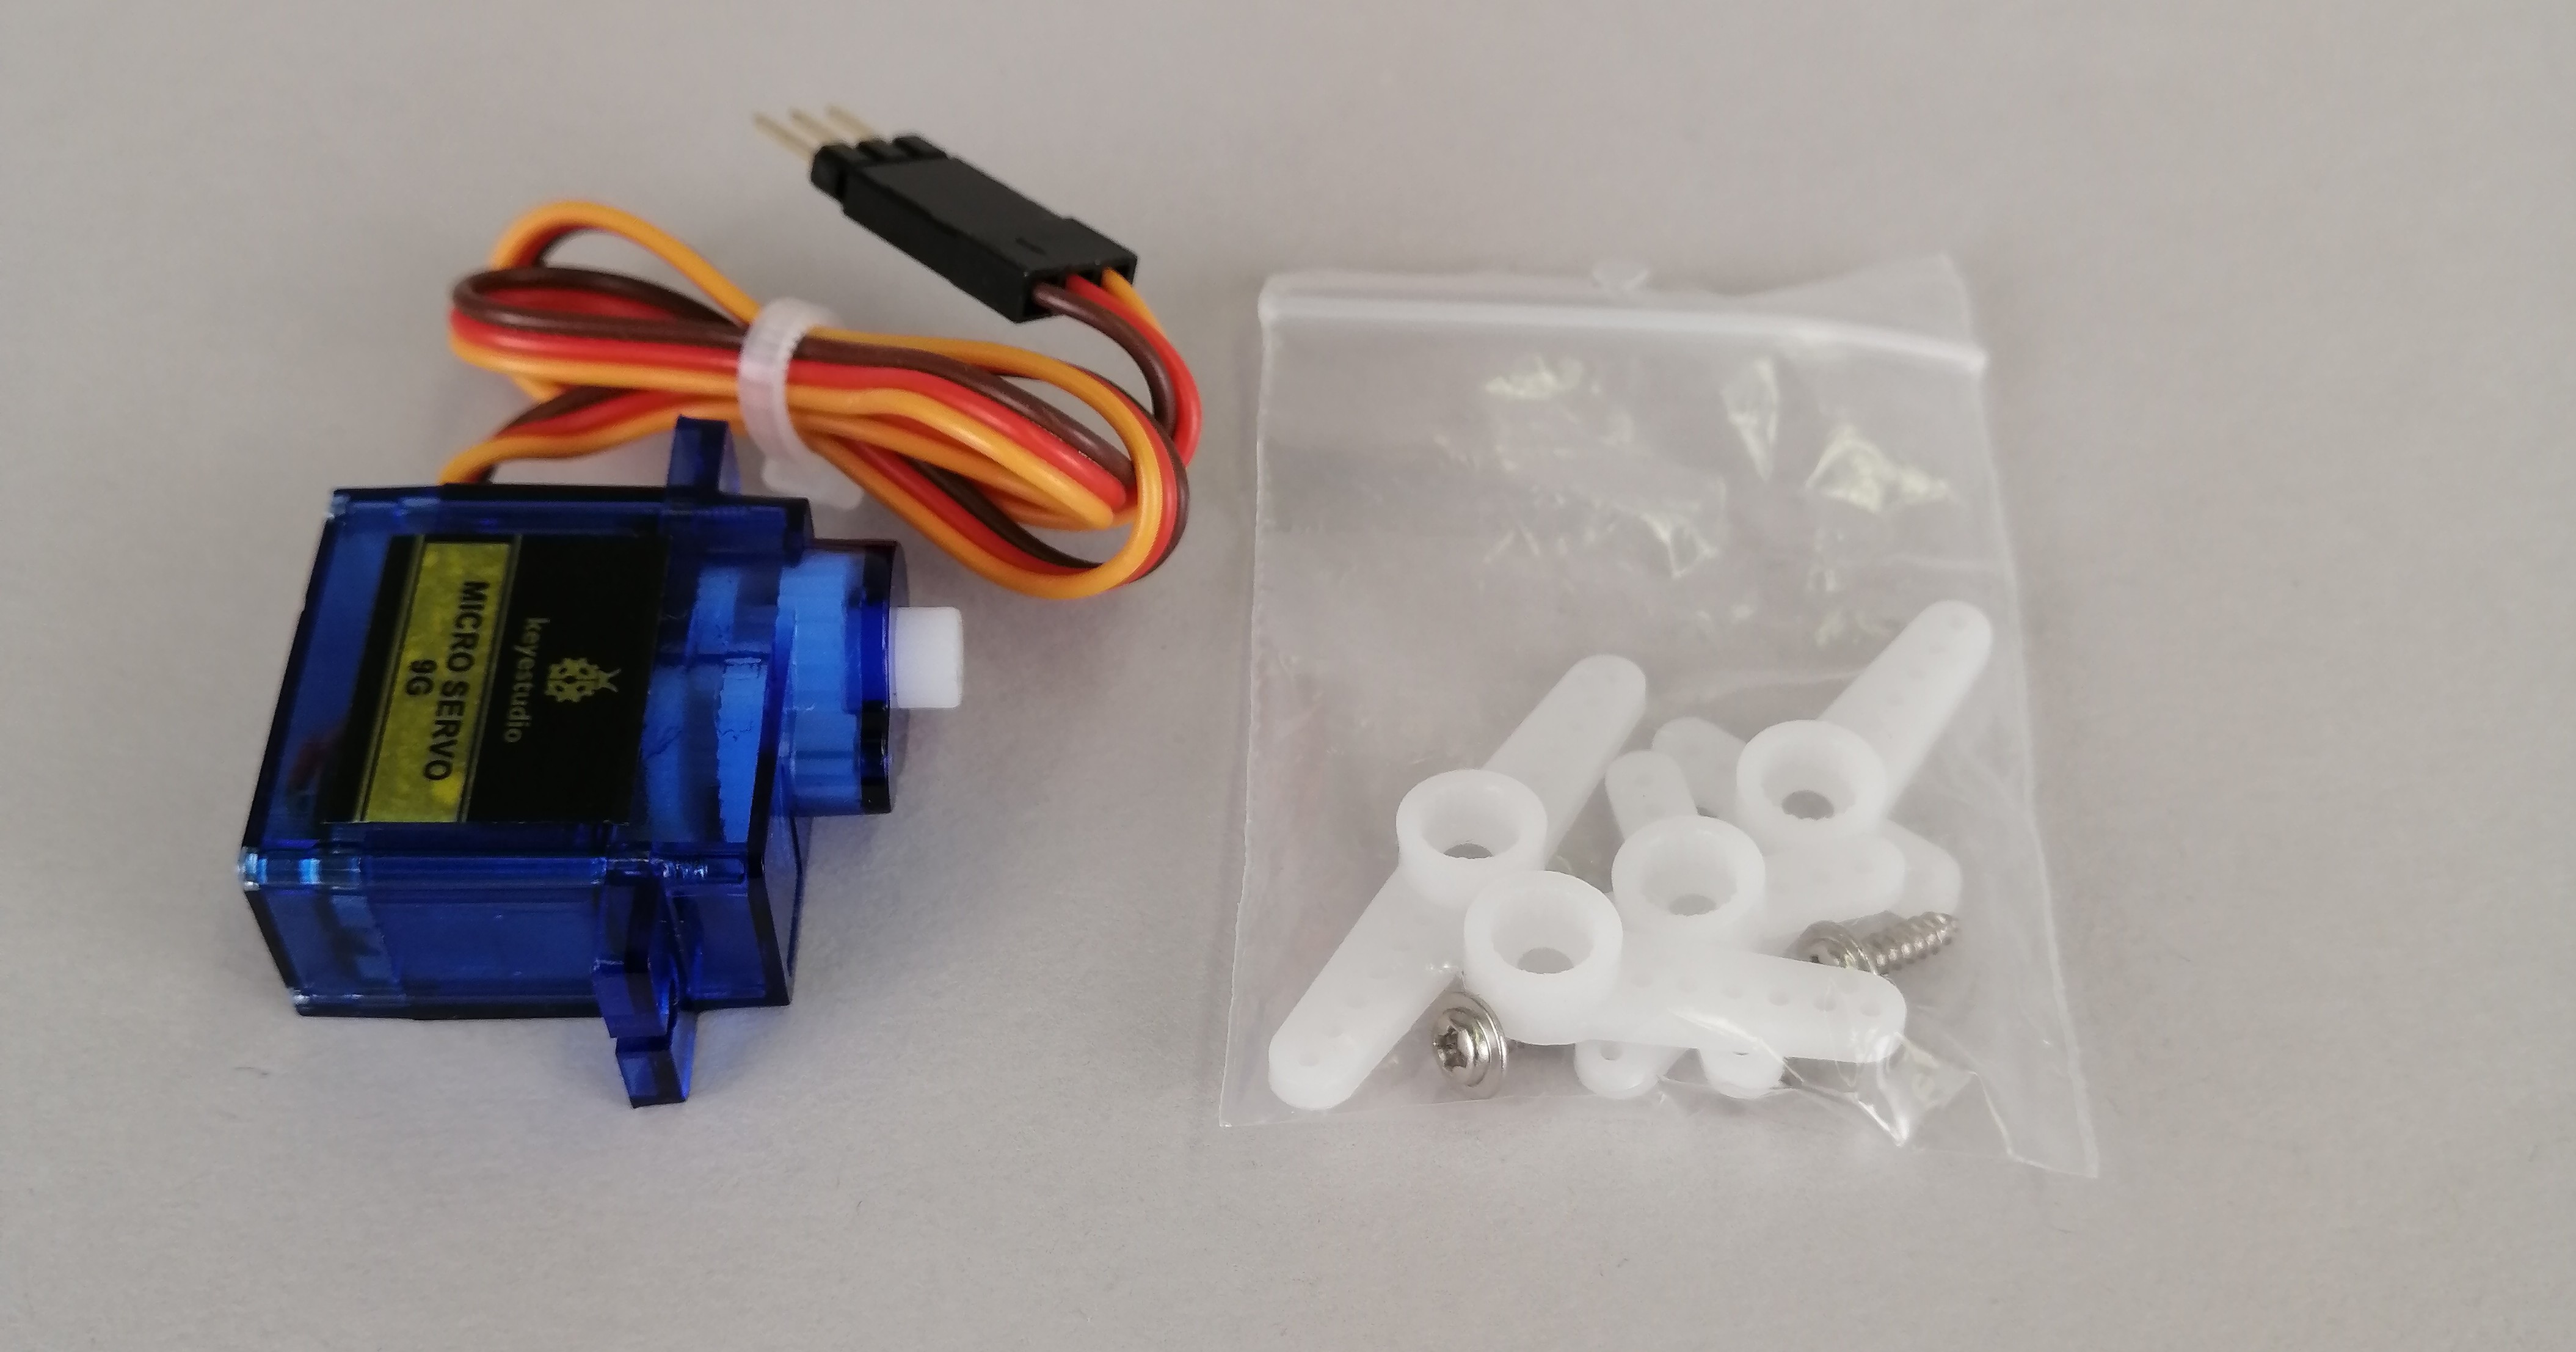
It contains parts called a servo motor and a servo horn (also called a horn).
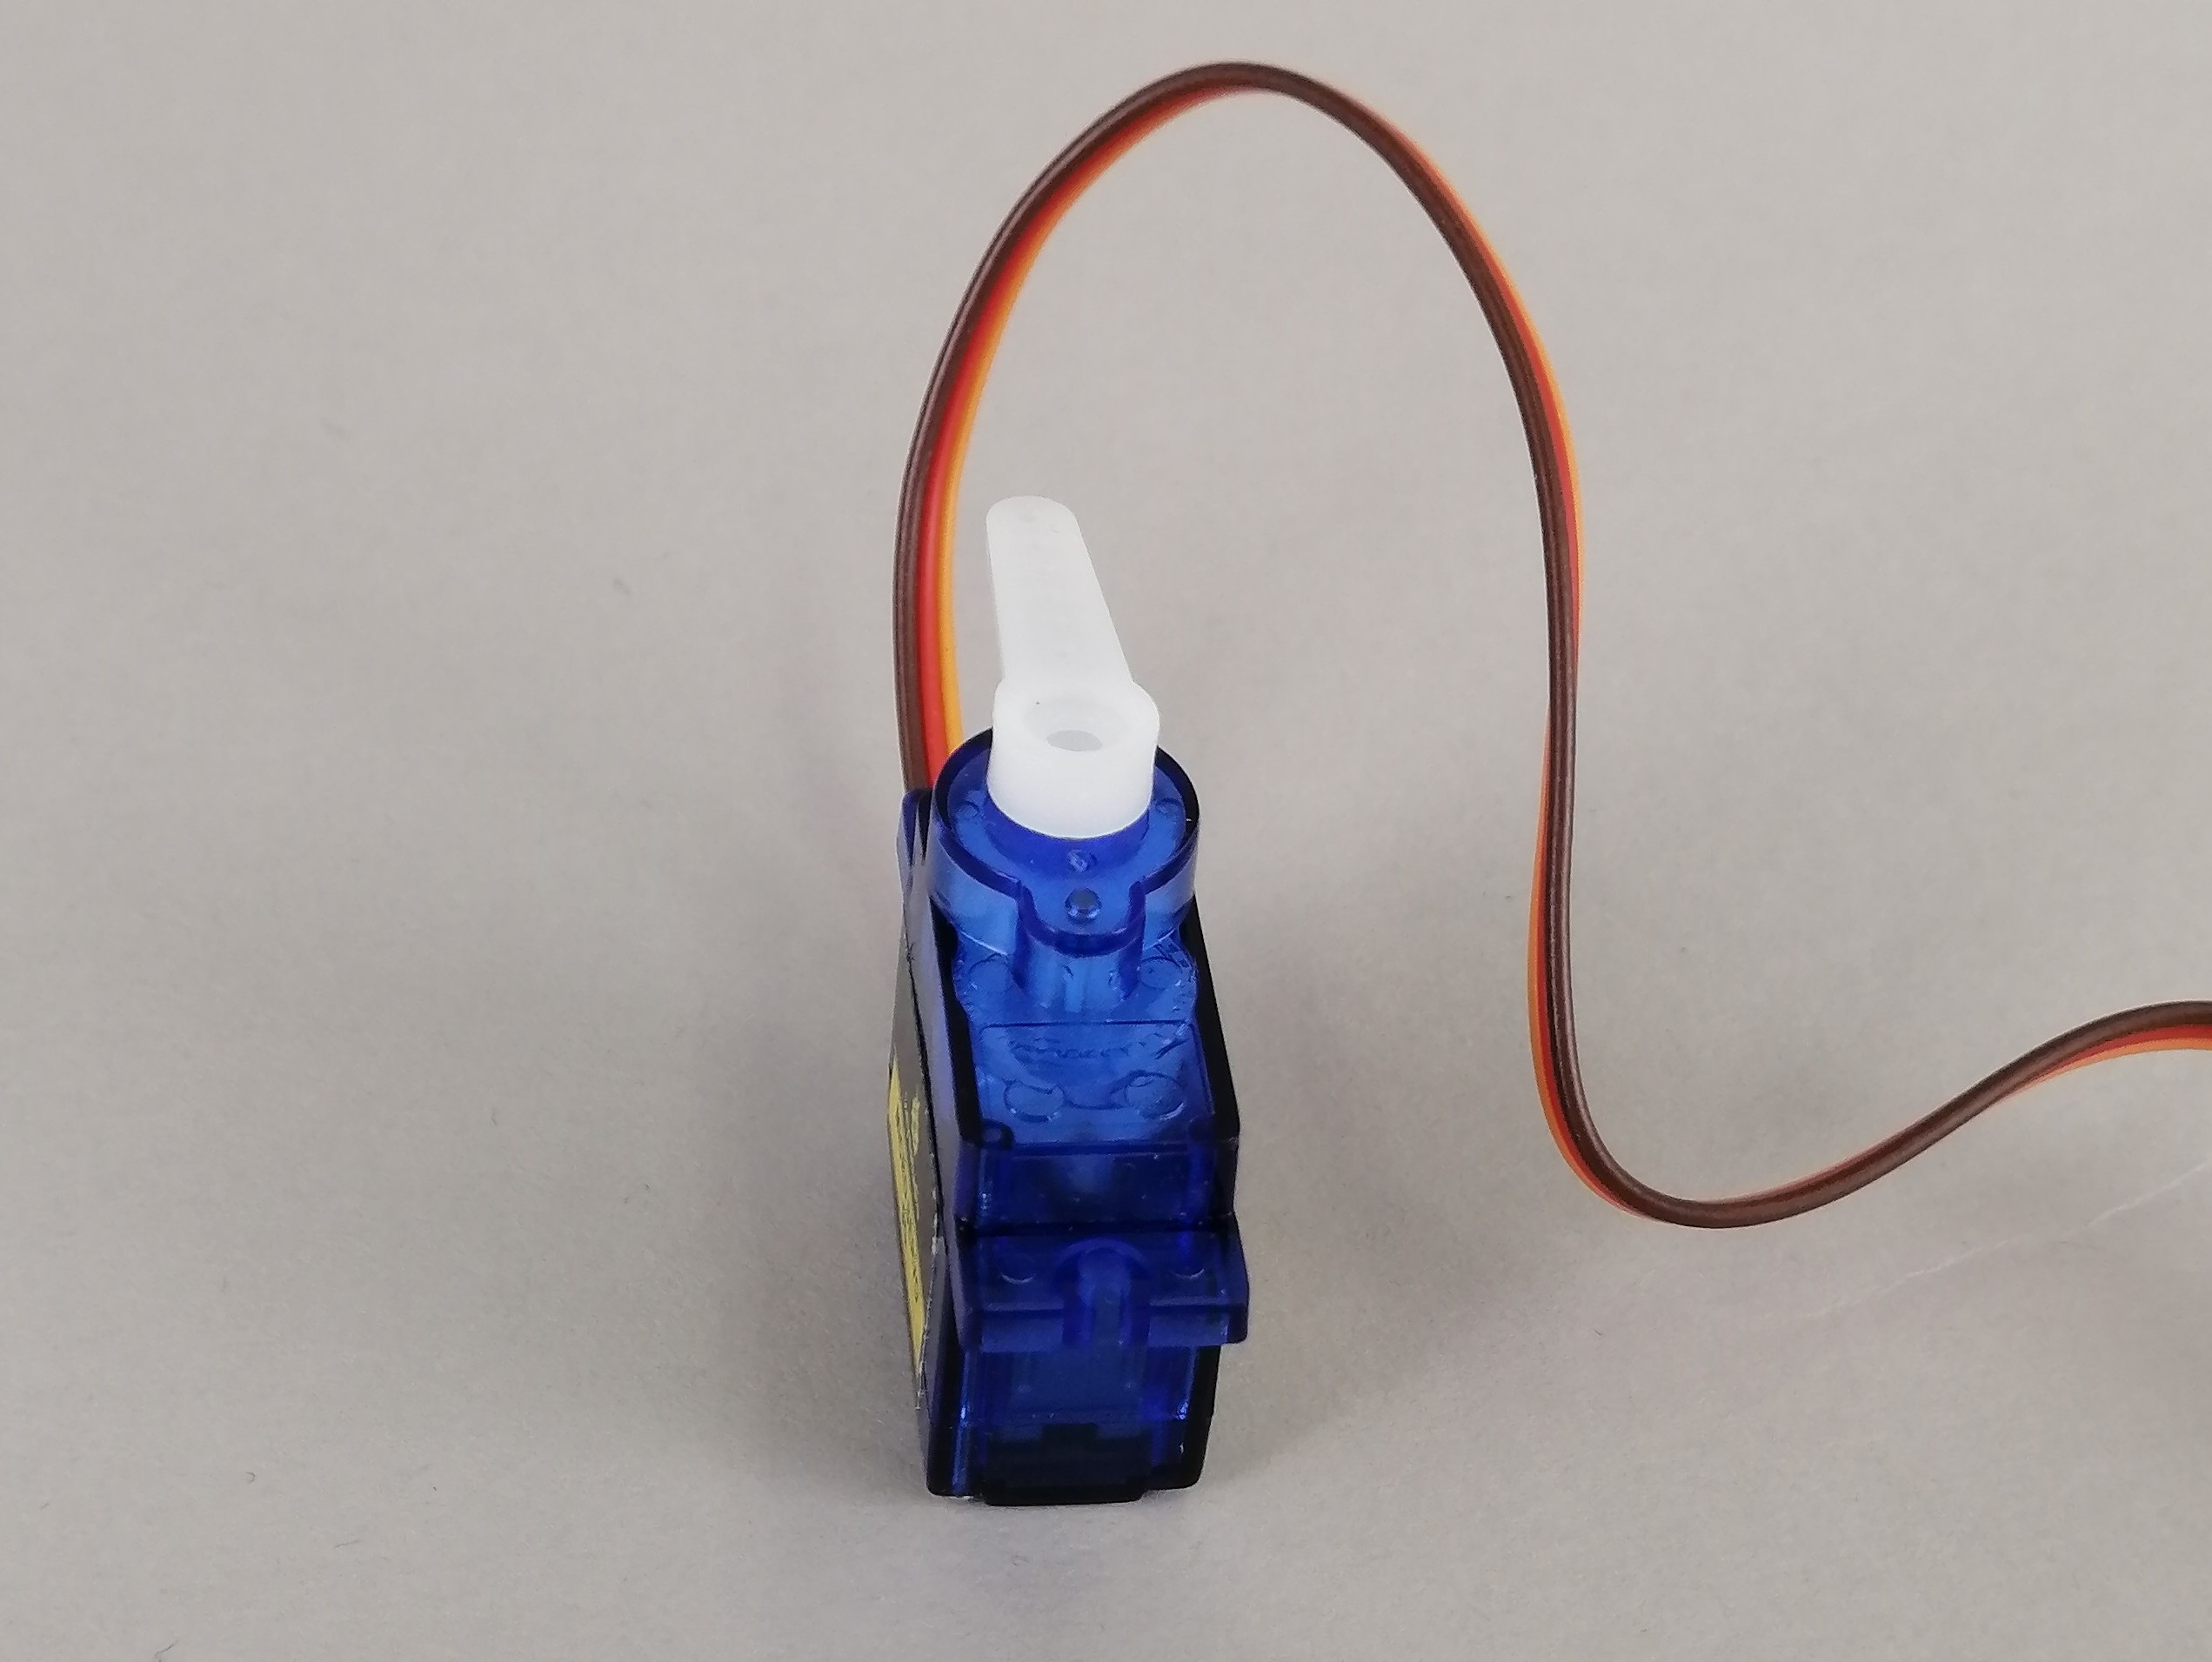
The horn is a part for attaching something first and moving the object, but if you attach it, it is easy to understand the rotation and the direction of rotation, so let's attach it.
Then, let's connect with obniz.
The servo motor has three wires, each of which is divided into gnd (ground), vcc (power supply voltage), and signal (signal).
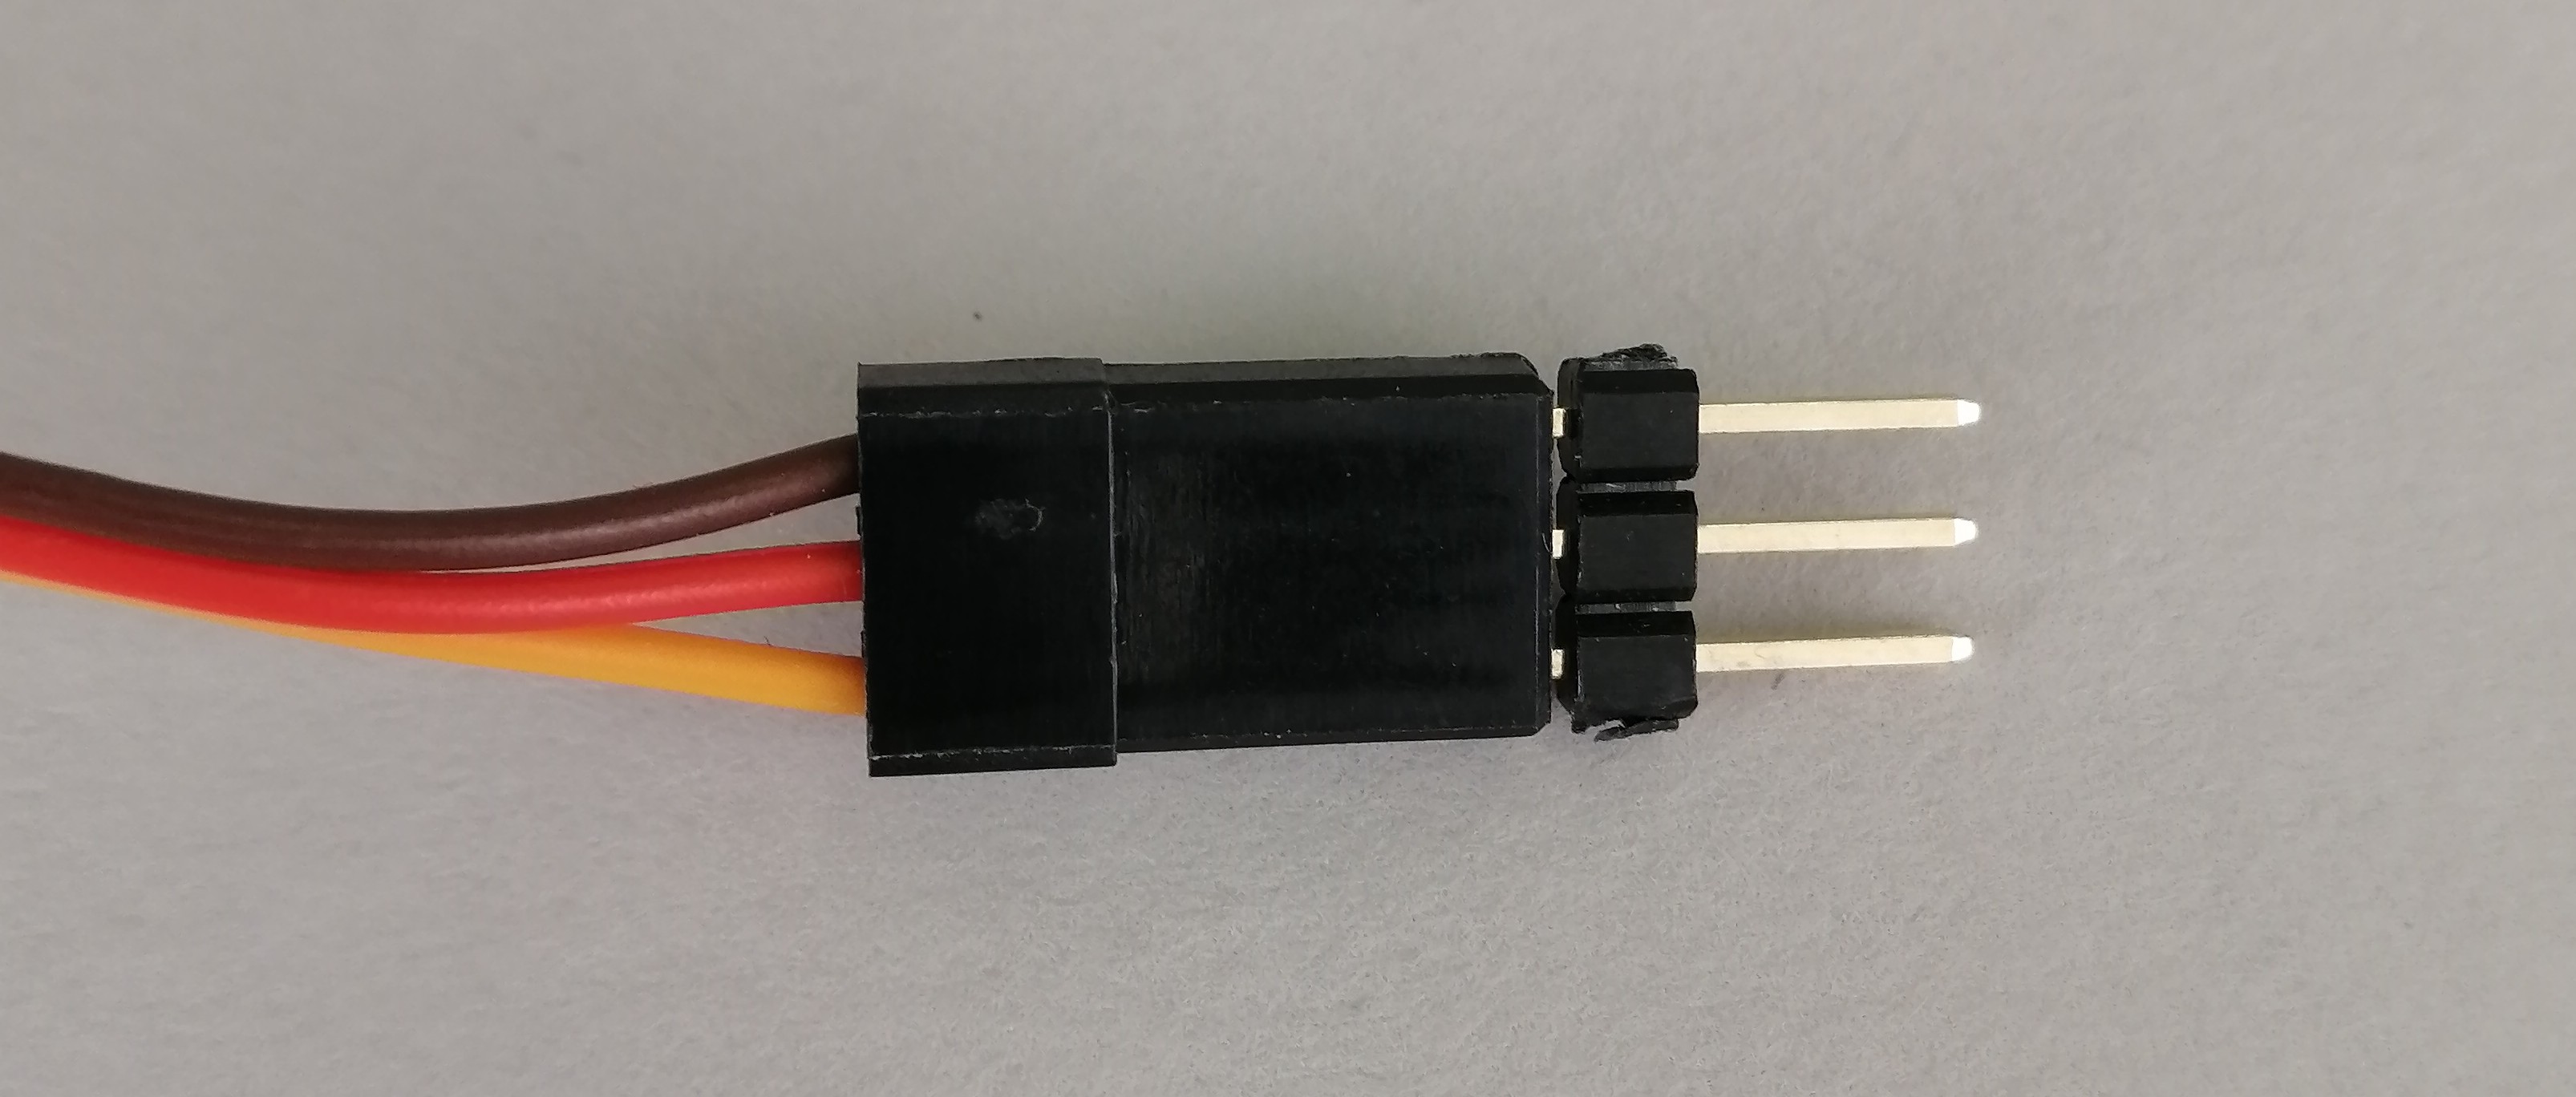
This time, connect as follows.
| obniz pin number | Servo motor wire |
|---|---|
| 0 | gnd(Brown) |
| 1 | vcc(Red) |
| 2 | signal(Yellow) |
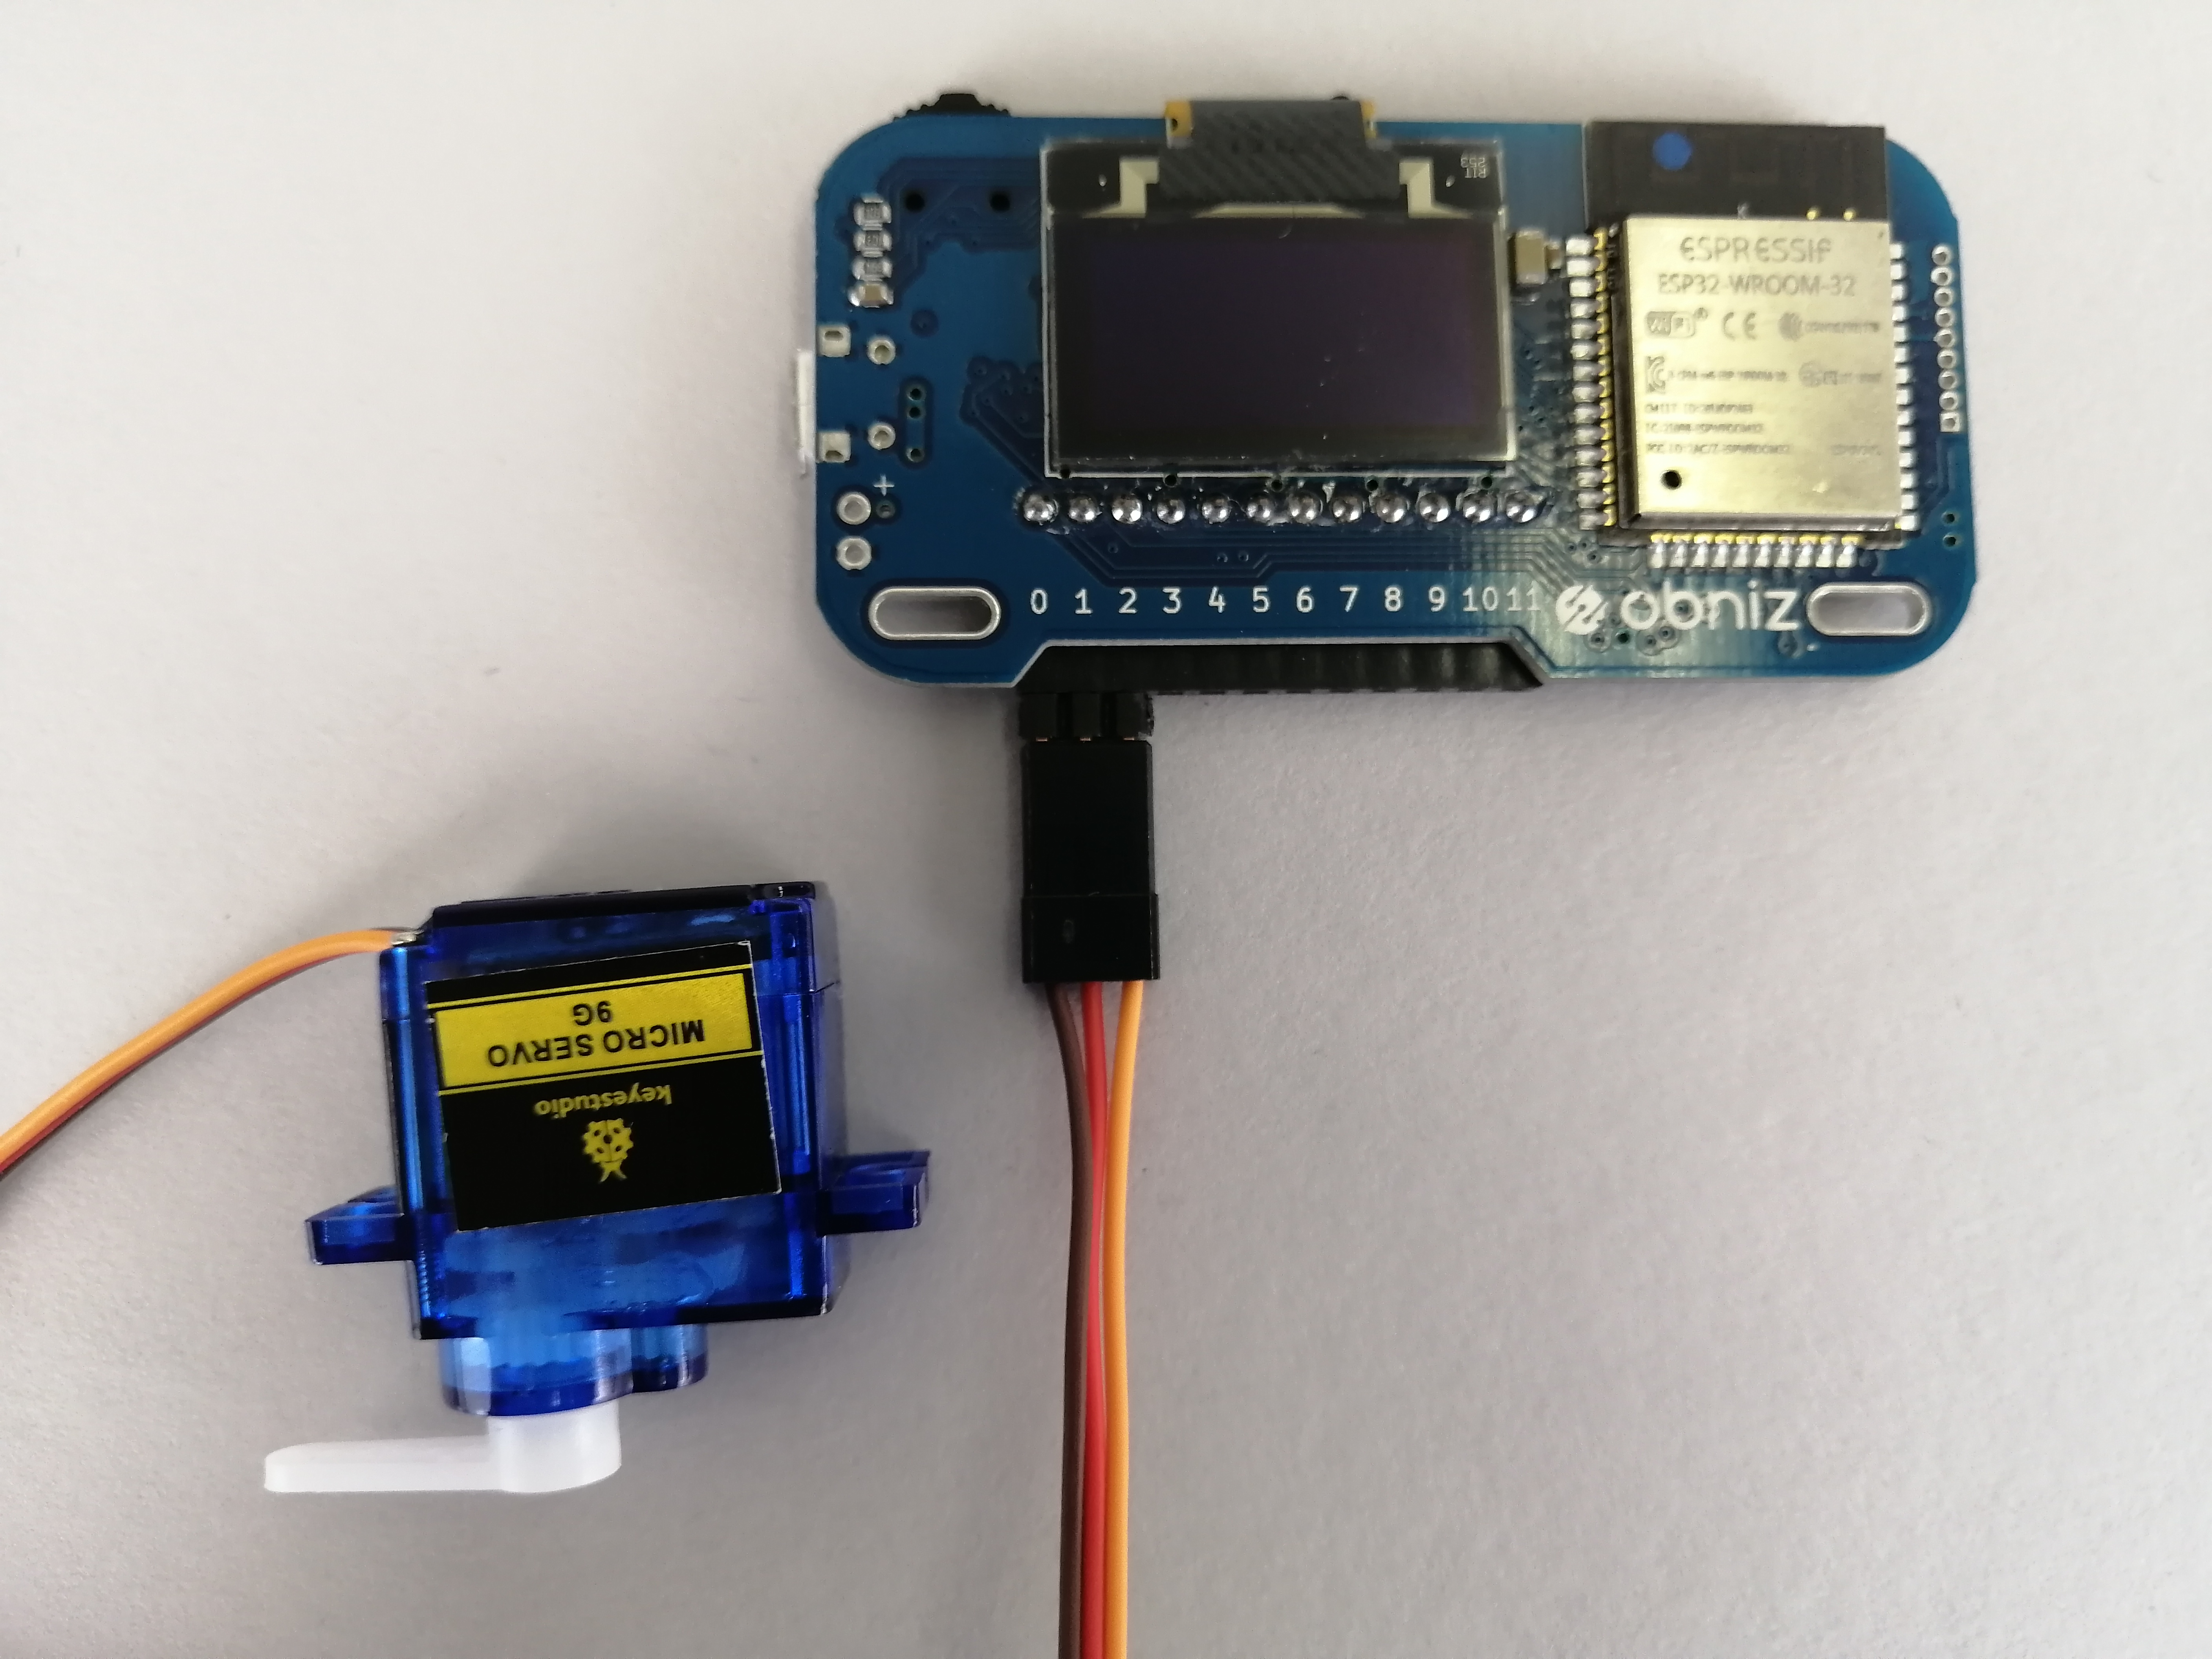
Program
Next, let's create a program to rotate the servo motor.
The "Let's program all together" introductory to block programming explains how to use the block editor.
If you don't know how to operate, please refer to here.
If you select the "Kit" category on the left, three categories will appear: "AIRobot Kit", "IoT Home Kit", and "Starer Kit". Try opening the third "Starter Kit".

It contains blocks for using the Starter Kit parts. In future lessons, you will be able to select and use blocks from here.
This time scroll to the bottom and use the "ServoMotor" block.
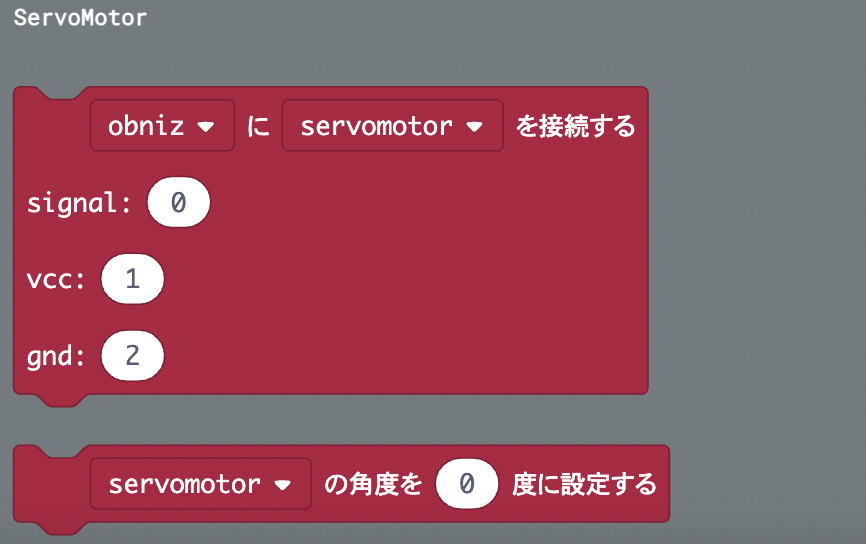
Arrange these blocks and create a program like the one below.
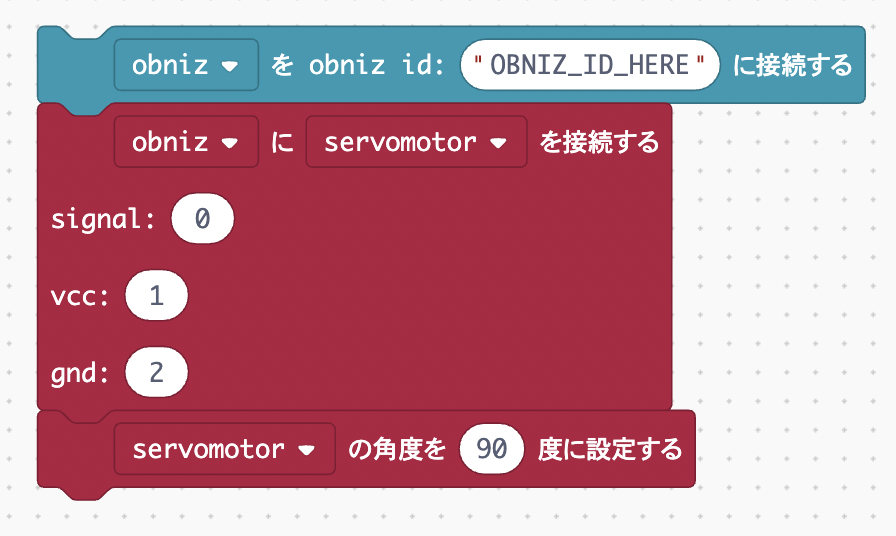
When you run the program, the servo motor should work.
If it doesn't move, the servomotor angle may have been 90 degrees originally, so specify a different angle and try again.
Development: Alternately move servo motors
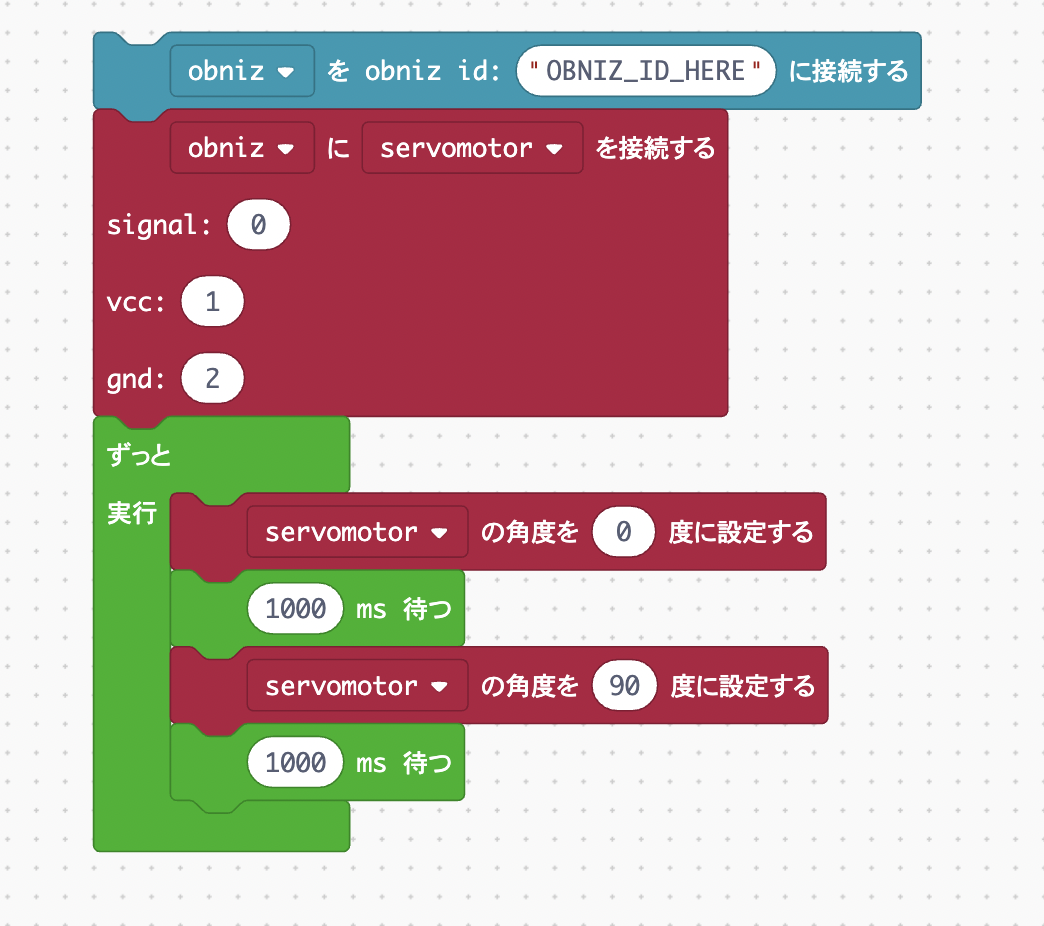
Let's modify the program a little more so that the servomotor alternates between 0 and 90 degrees.
Use loop blocks to keep your program running all the time.
Reference: To move the block all the time
This time, we will use the "Run all the time" block and the "Wait" block to create a program in which the servo motor goes back and forth between 0 and 90 degrees every second.
Note that the unit of the "wait" block is ms (milliseconds), so enter 1000 (ms) to wait 1 second.
Did it work?
In a block program, you can easily move various things just by combining blocks in this way.
Now that you can move the servo motor, let's try to operate this servo motor on the browser!