Move the servo with the slider: Let's turn the servo motor to the right and left with the slider displayed in the browser.
Now that you can move the servo motor in Last lesson, let's move the servo motor using the browser.
By moving the slider on the browser, you can freely change the angle of the servo motor.
What is a browser?
A browser is an application that you use to browse websites.
You are watching this lesson article or doing a block program on your browser screen.
In the block program editor, when you press the execute button, the following screen will be displayed.
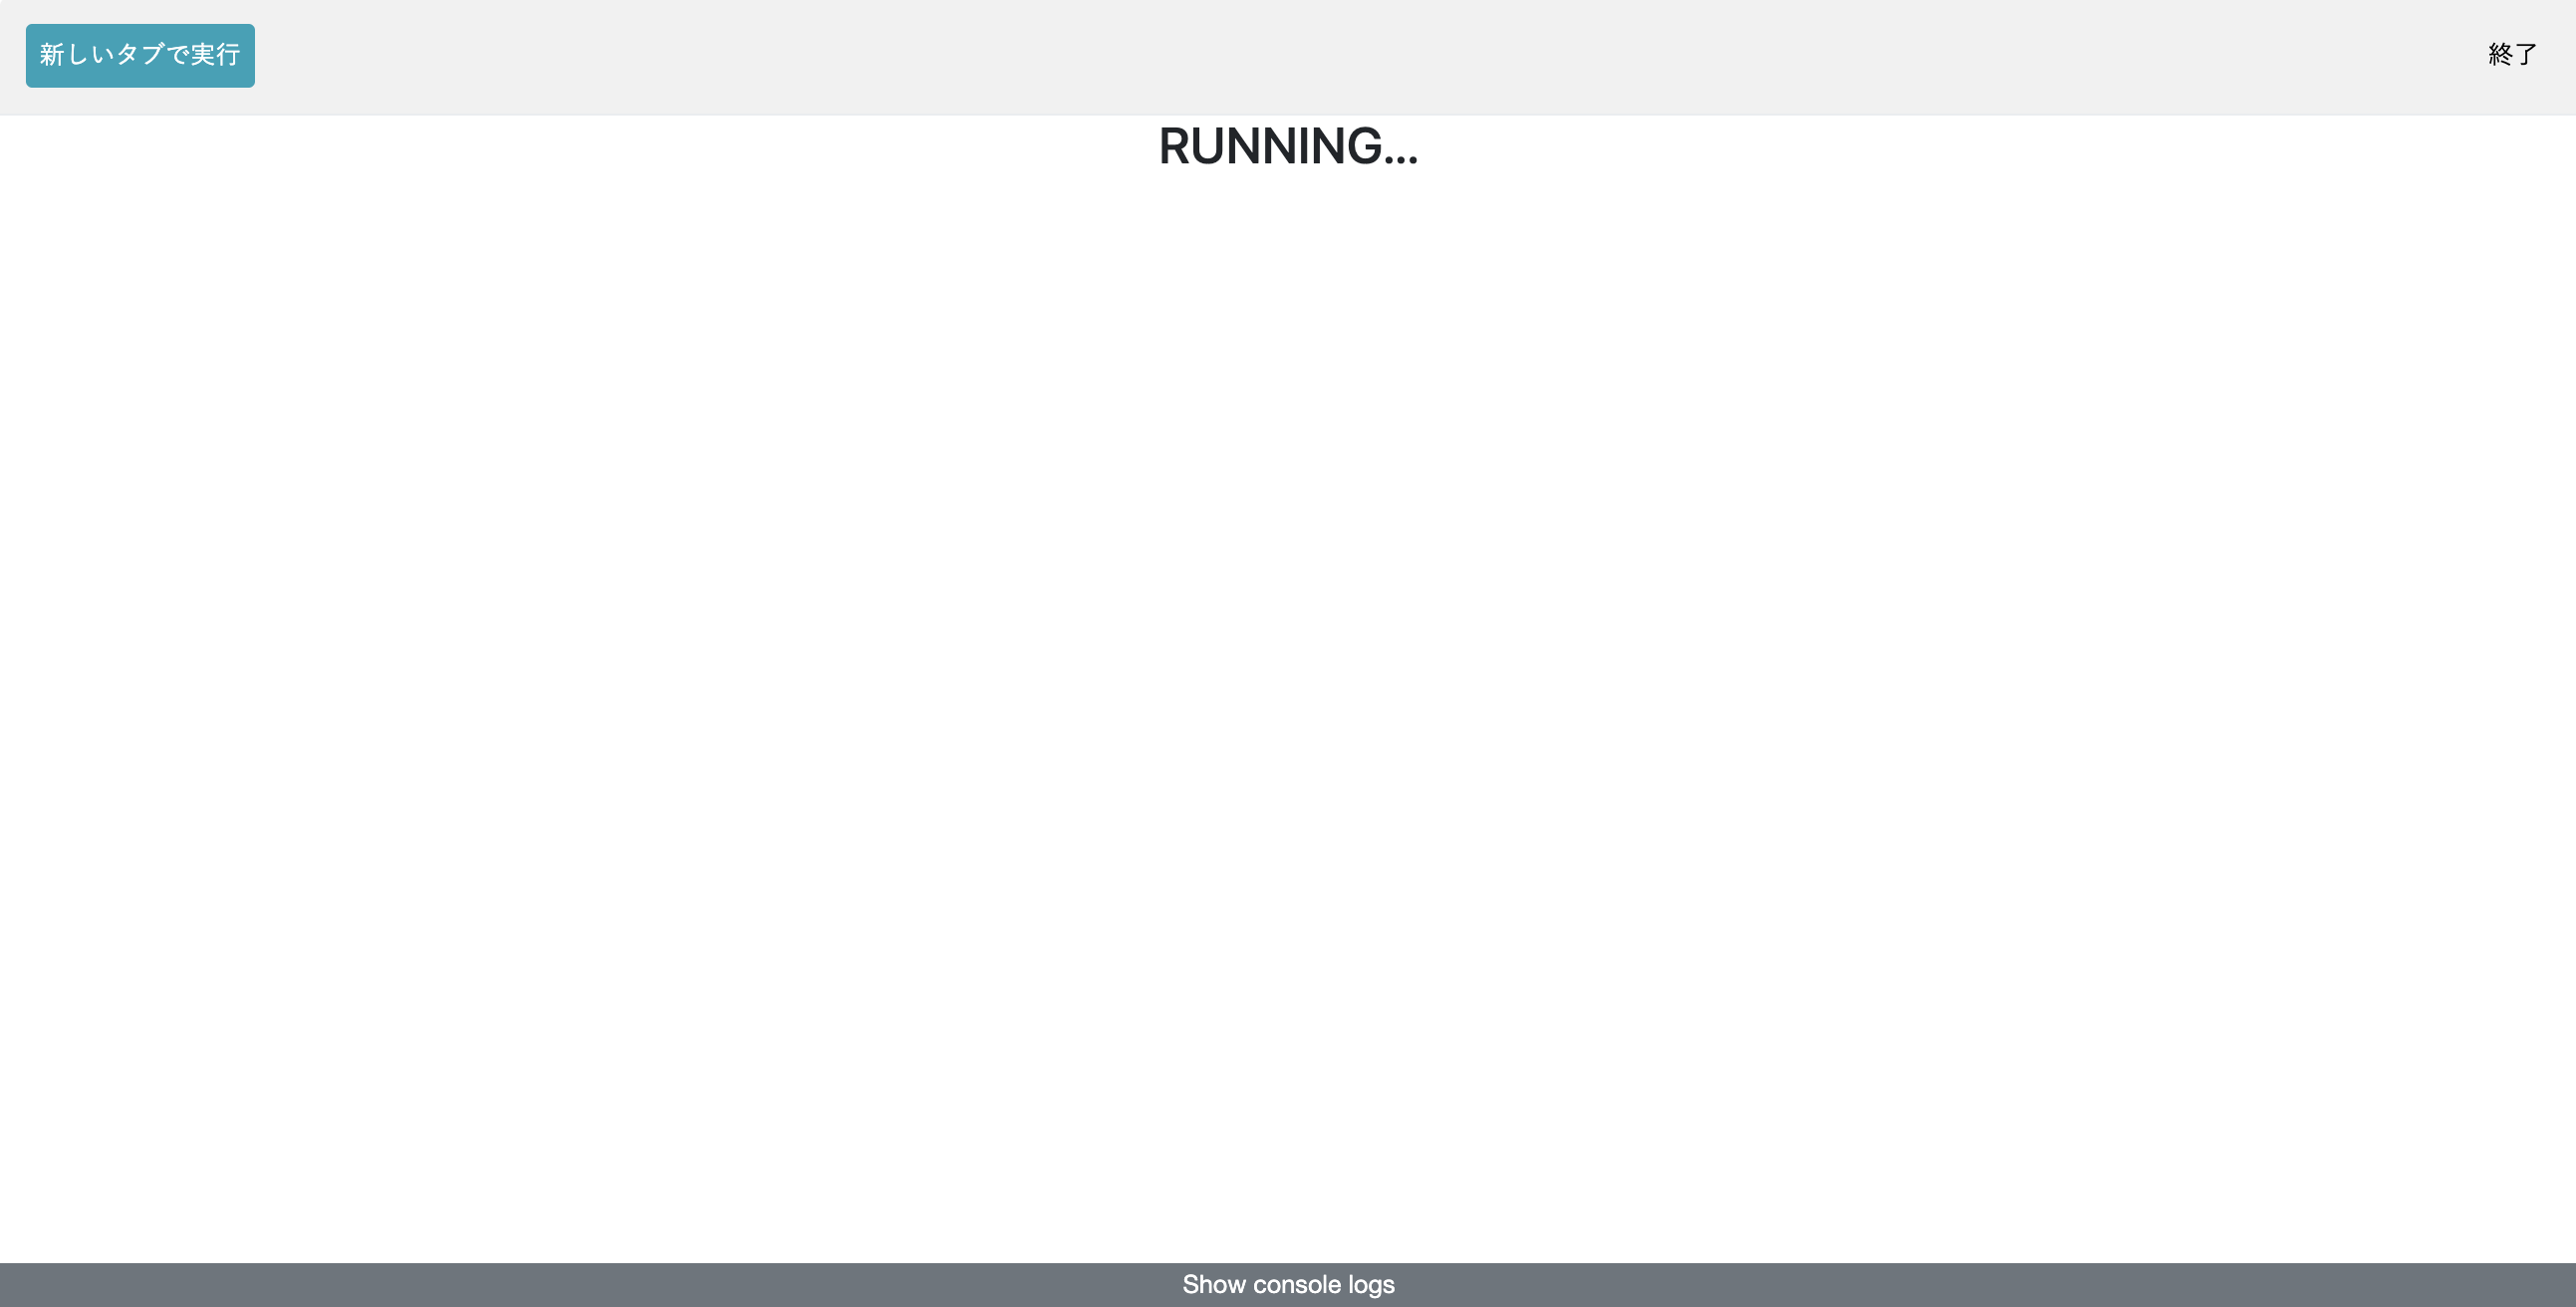
Displaying the slider on the browser means displaying the slider on this screen.
This time, let's make the following screen so that you can operate the servo motor!
UI block
Block programs include UI blocks that can display various things on the browser.
First, let's open the "UI" category and take a look.
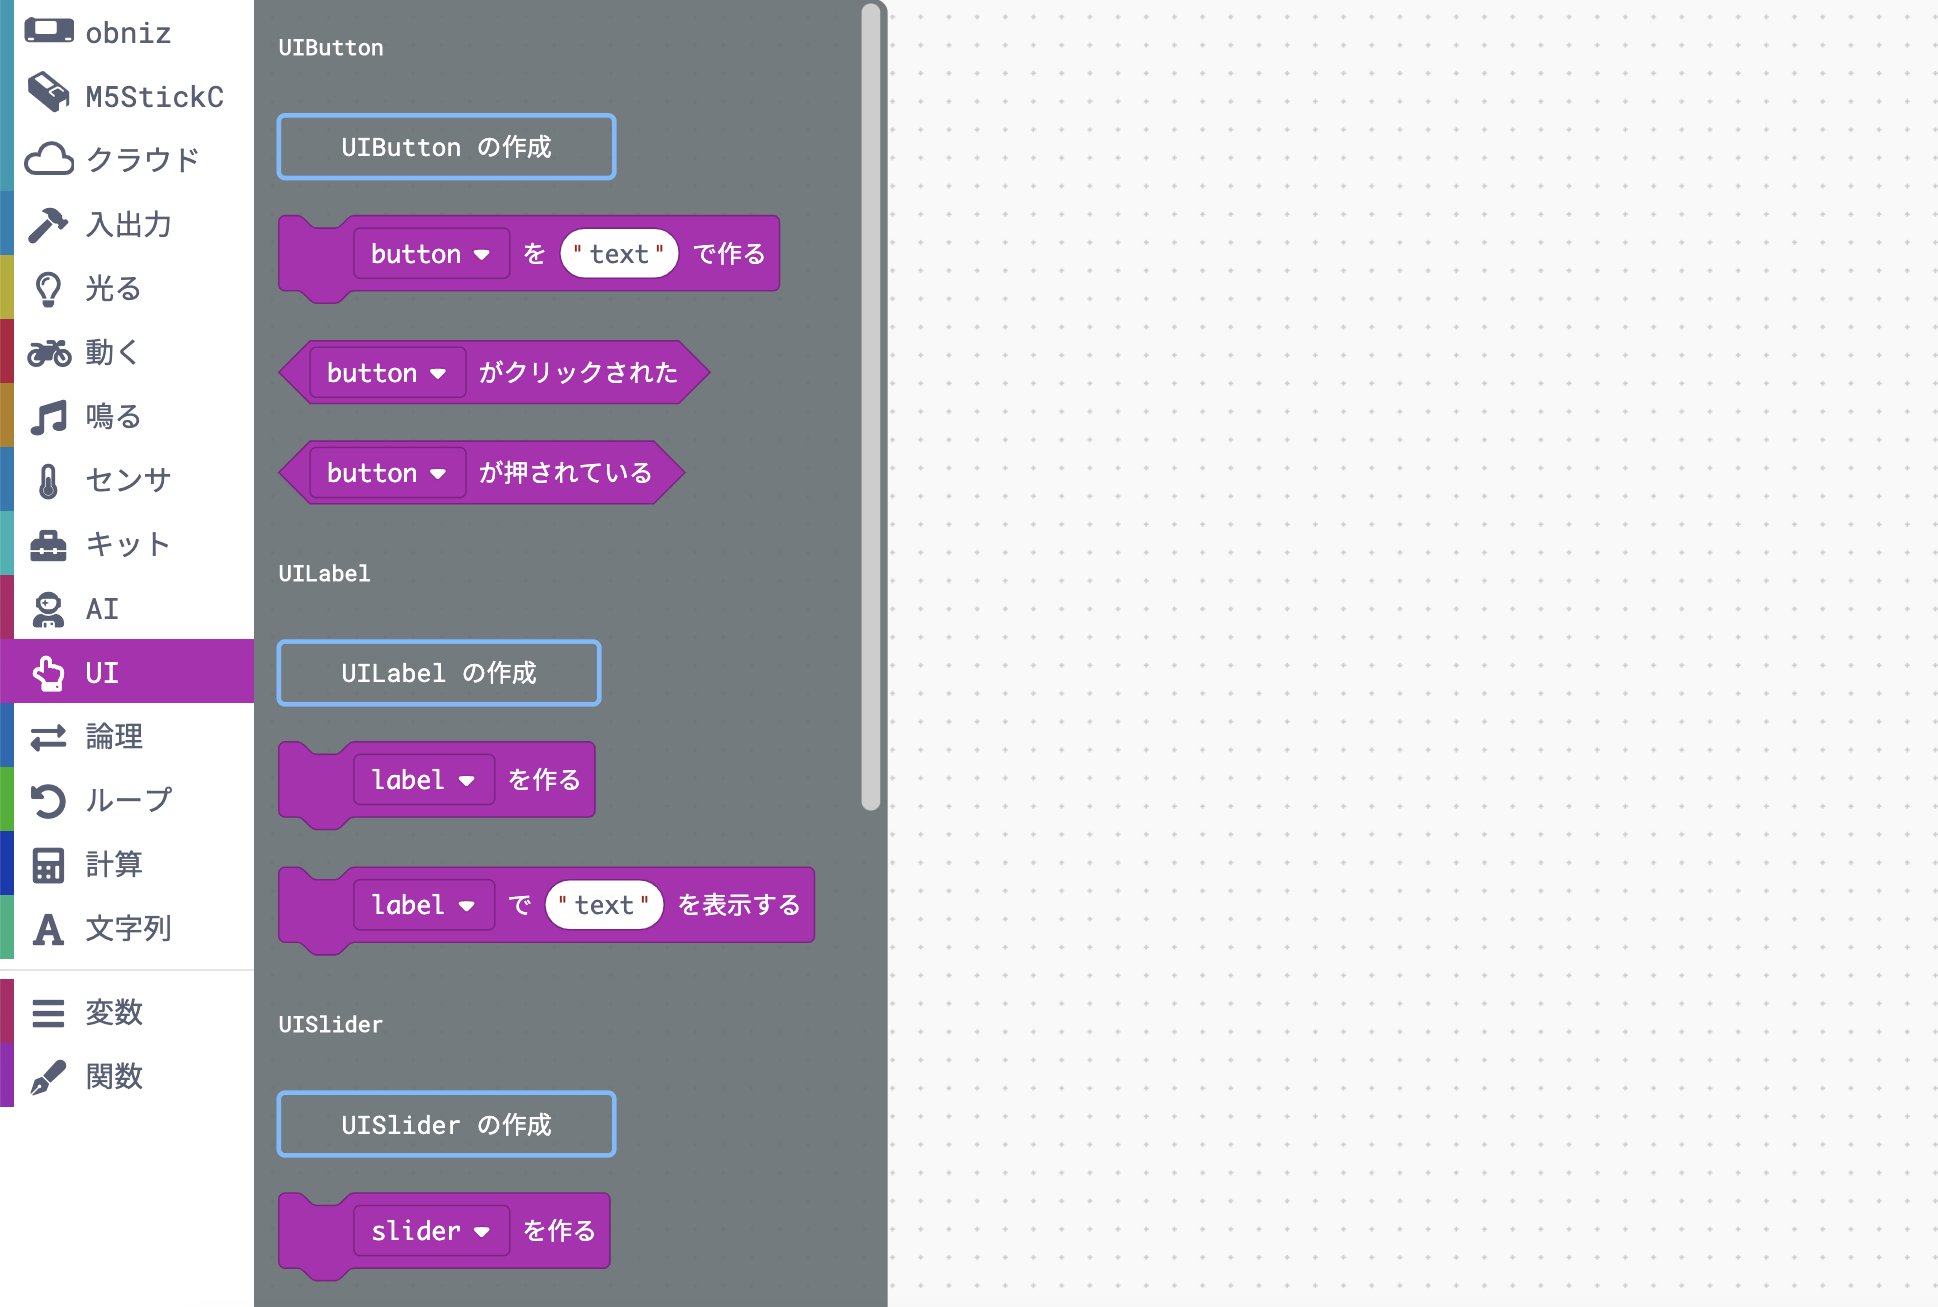
There are five types: UI Button, UI Label, UI Slider, UI Image, and Debug.
The following is displayed in each browser (light blue letters are comments for explanation).
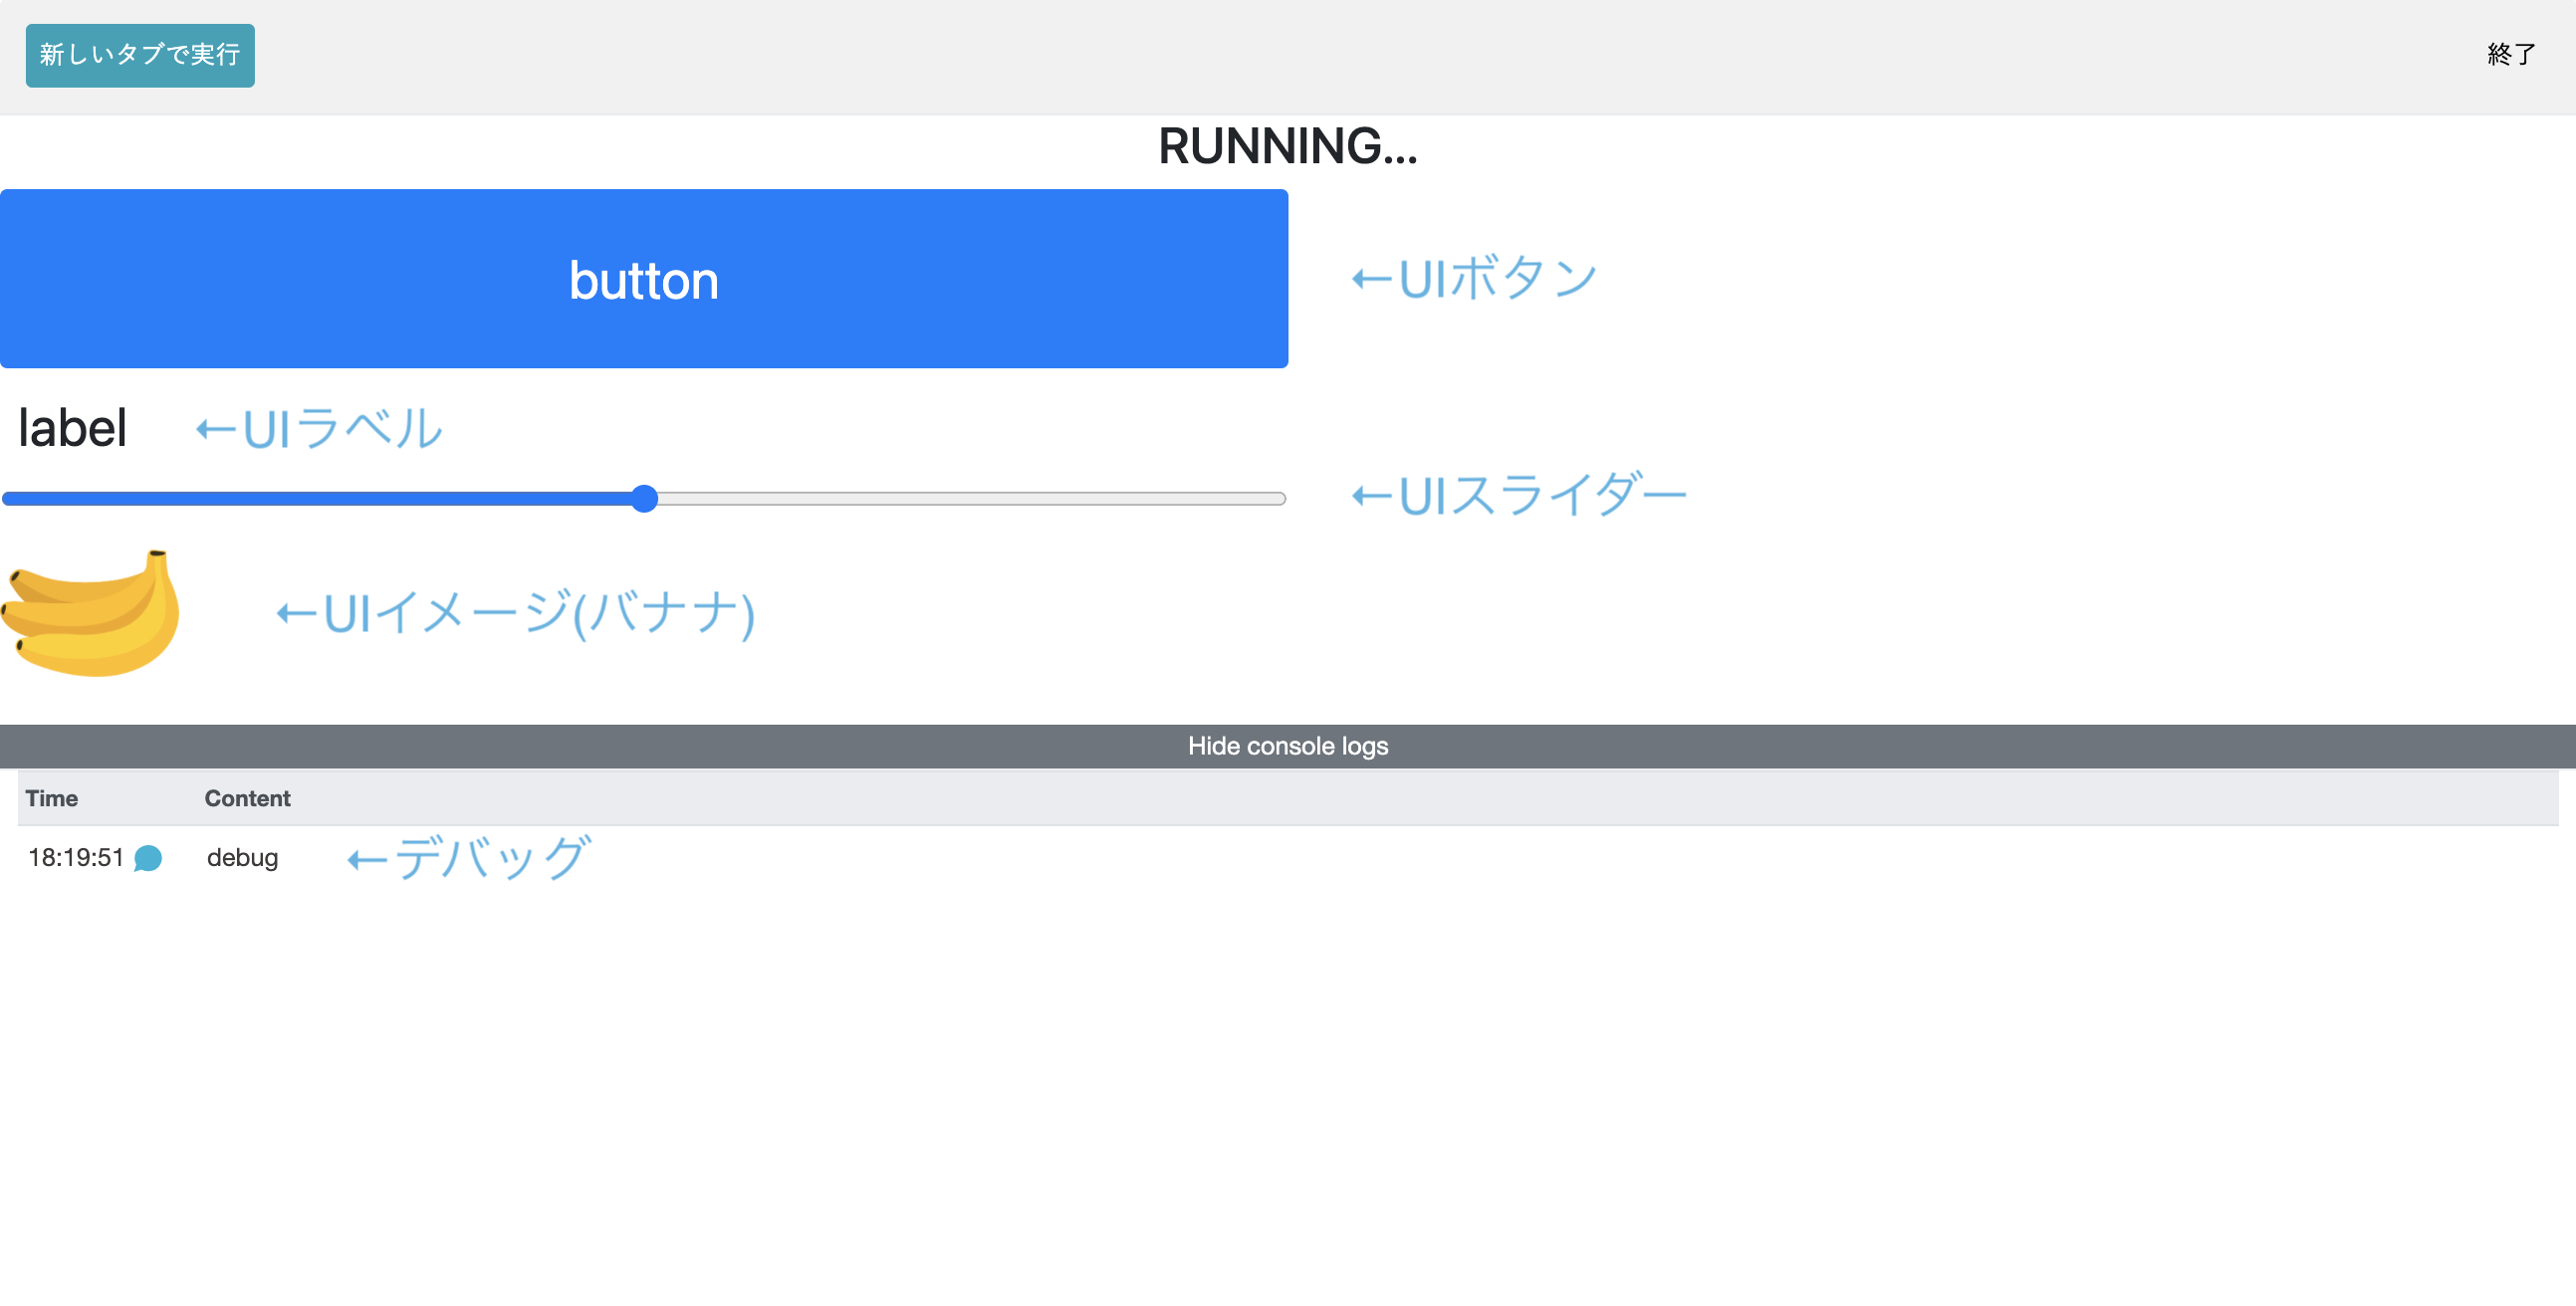
We will create an operation screen using the UI slider and UI label in this (I will also use debugging in the middle of the lesson).
If you want to use UI buttons, please read "Let's work with UI buttons" in the introduction to block programming.
UI slider
First, let's use the UI slider.
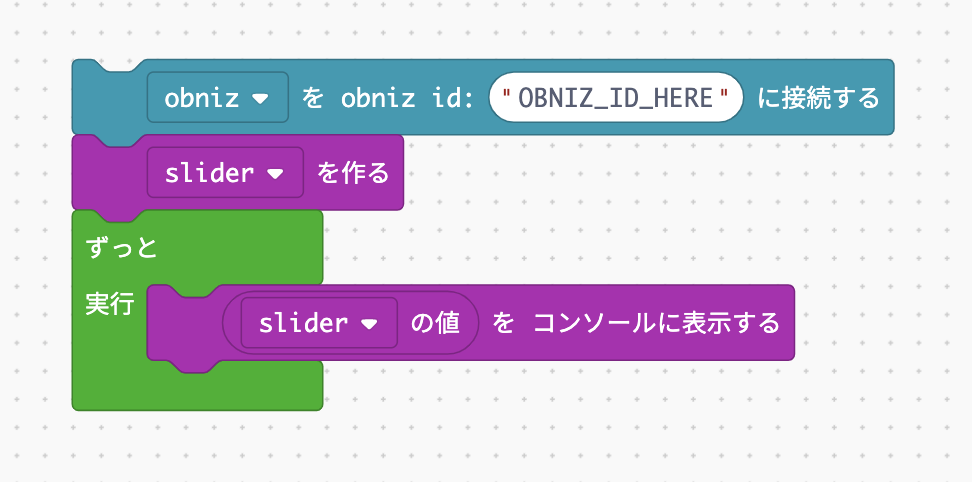
Bring blocks from UISlider and Debug and try to create a program like the one below.
In the "text" of "Display" text "on the console", we put the "slider value" block of UISlider.
(It is easier to put it in if you bring it so that the finger or mouse holding the block can put it in the place you want to put it in)
Let's run it.
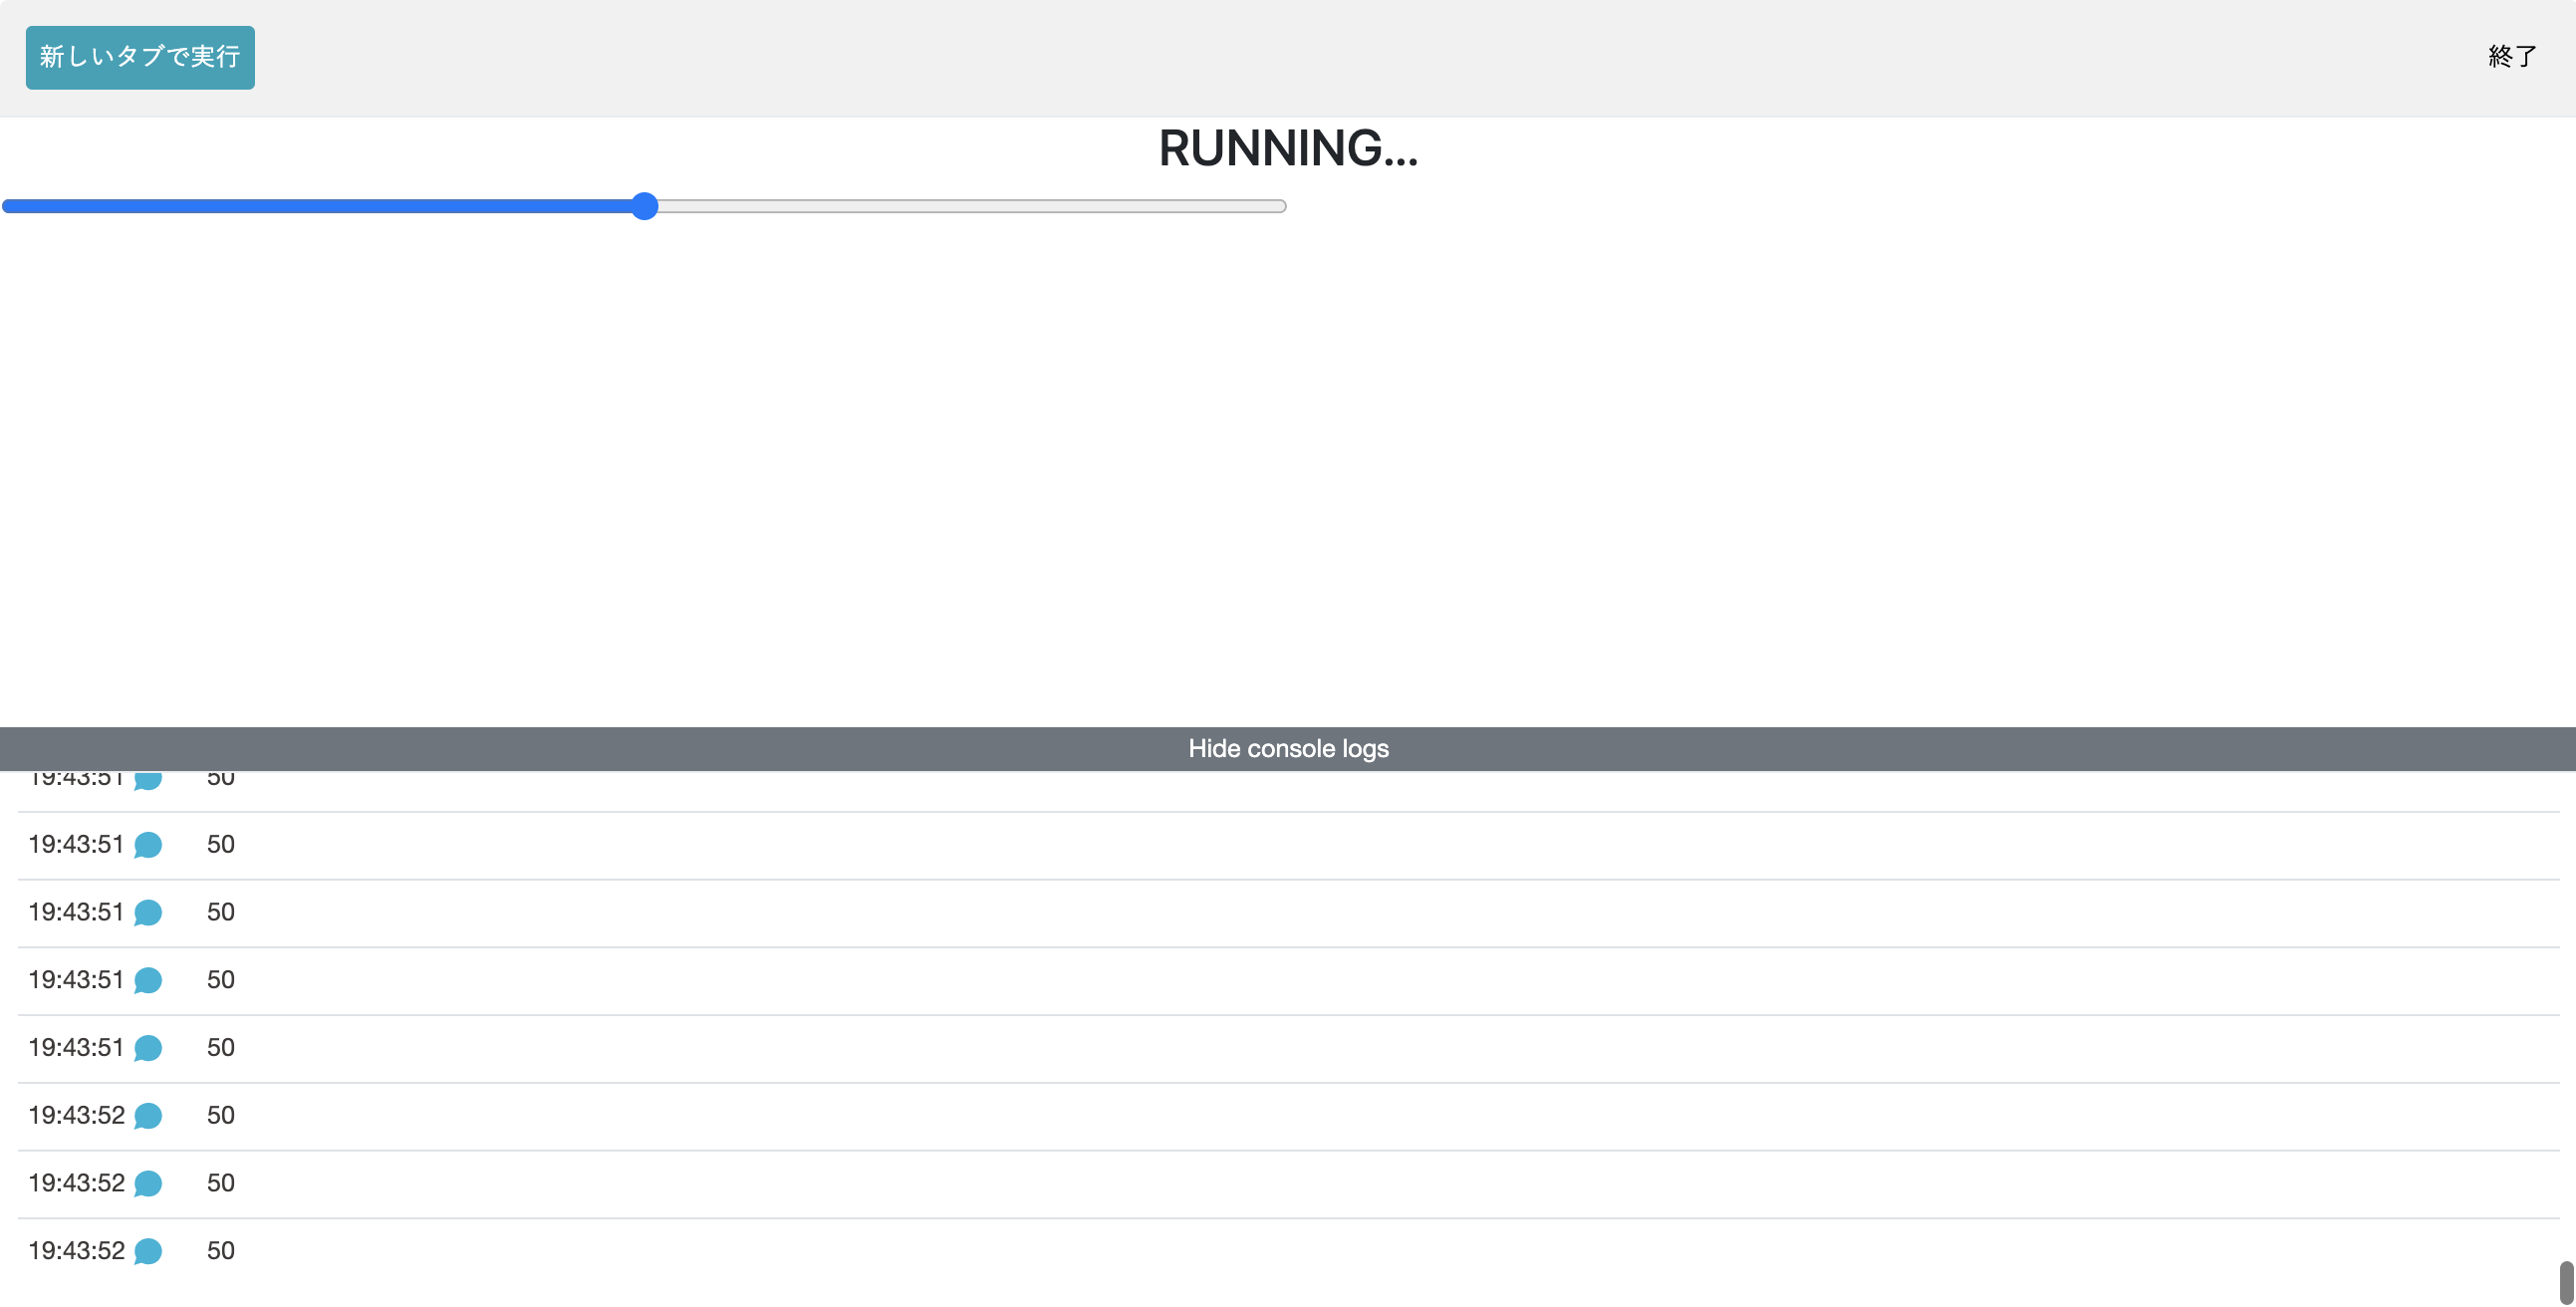
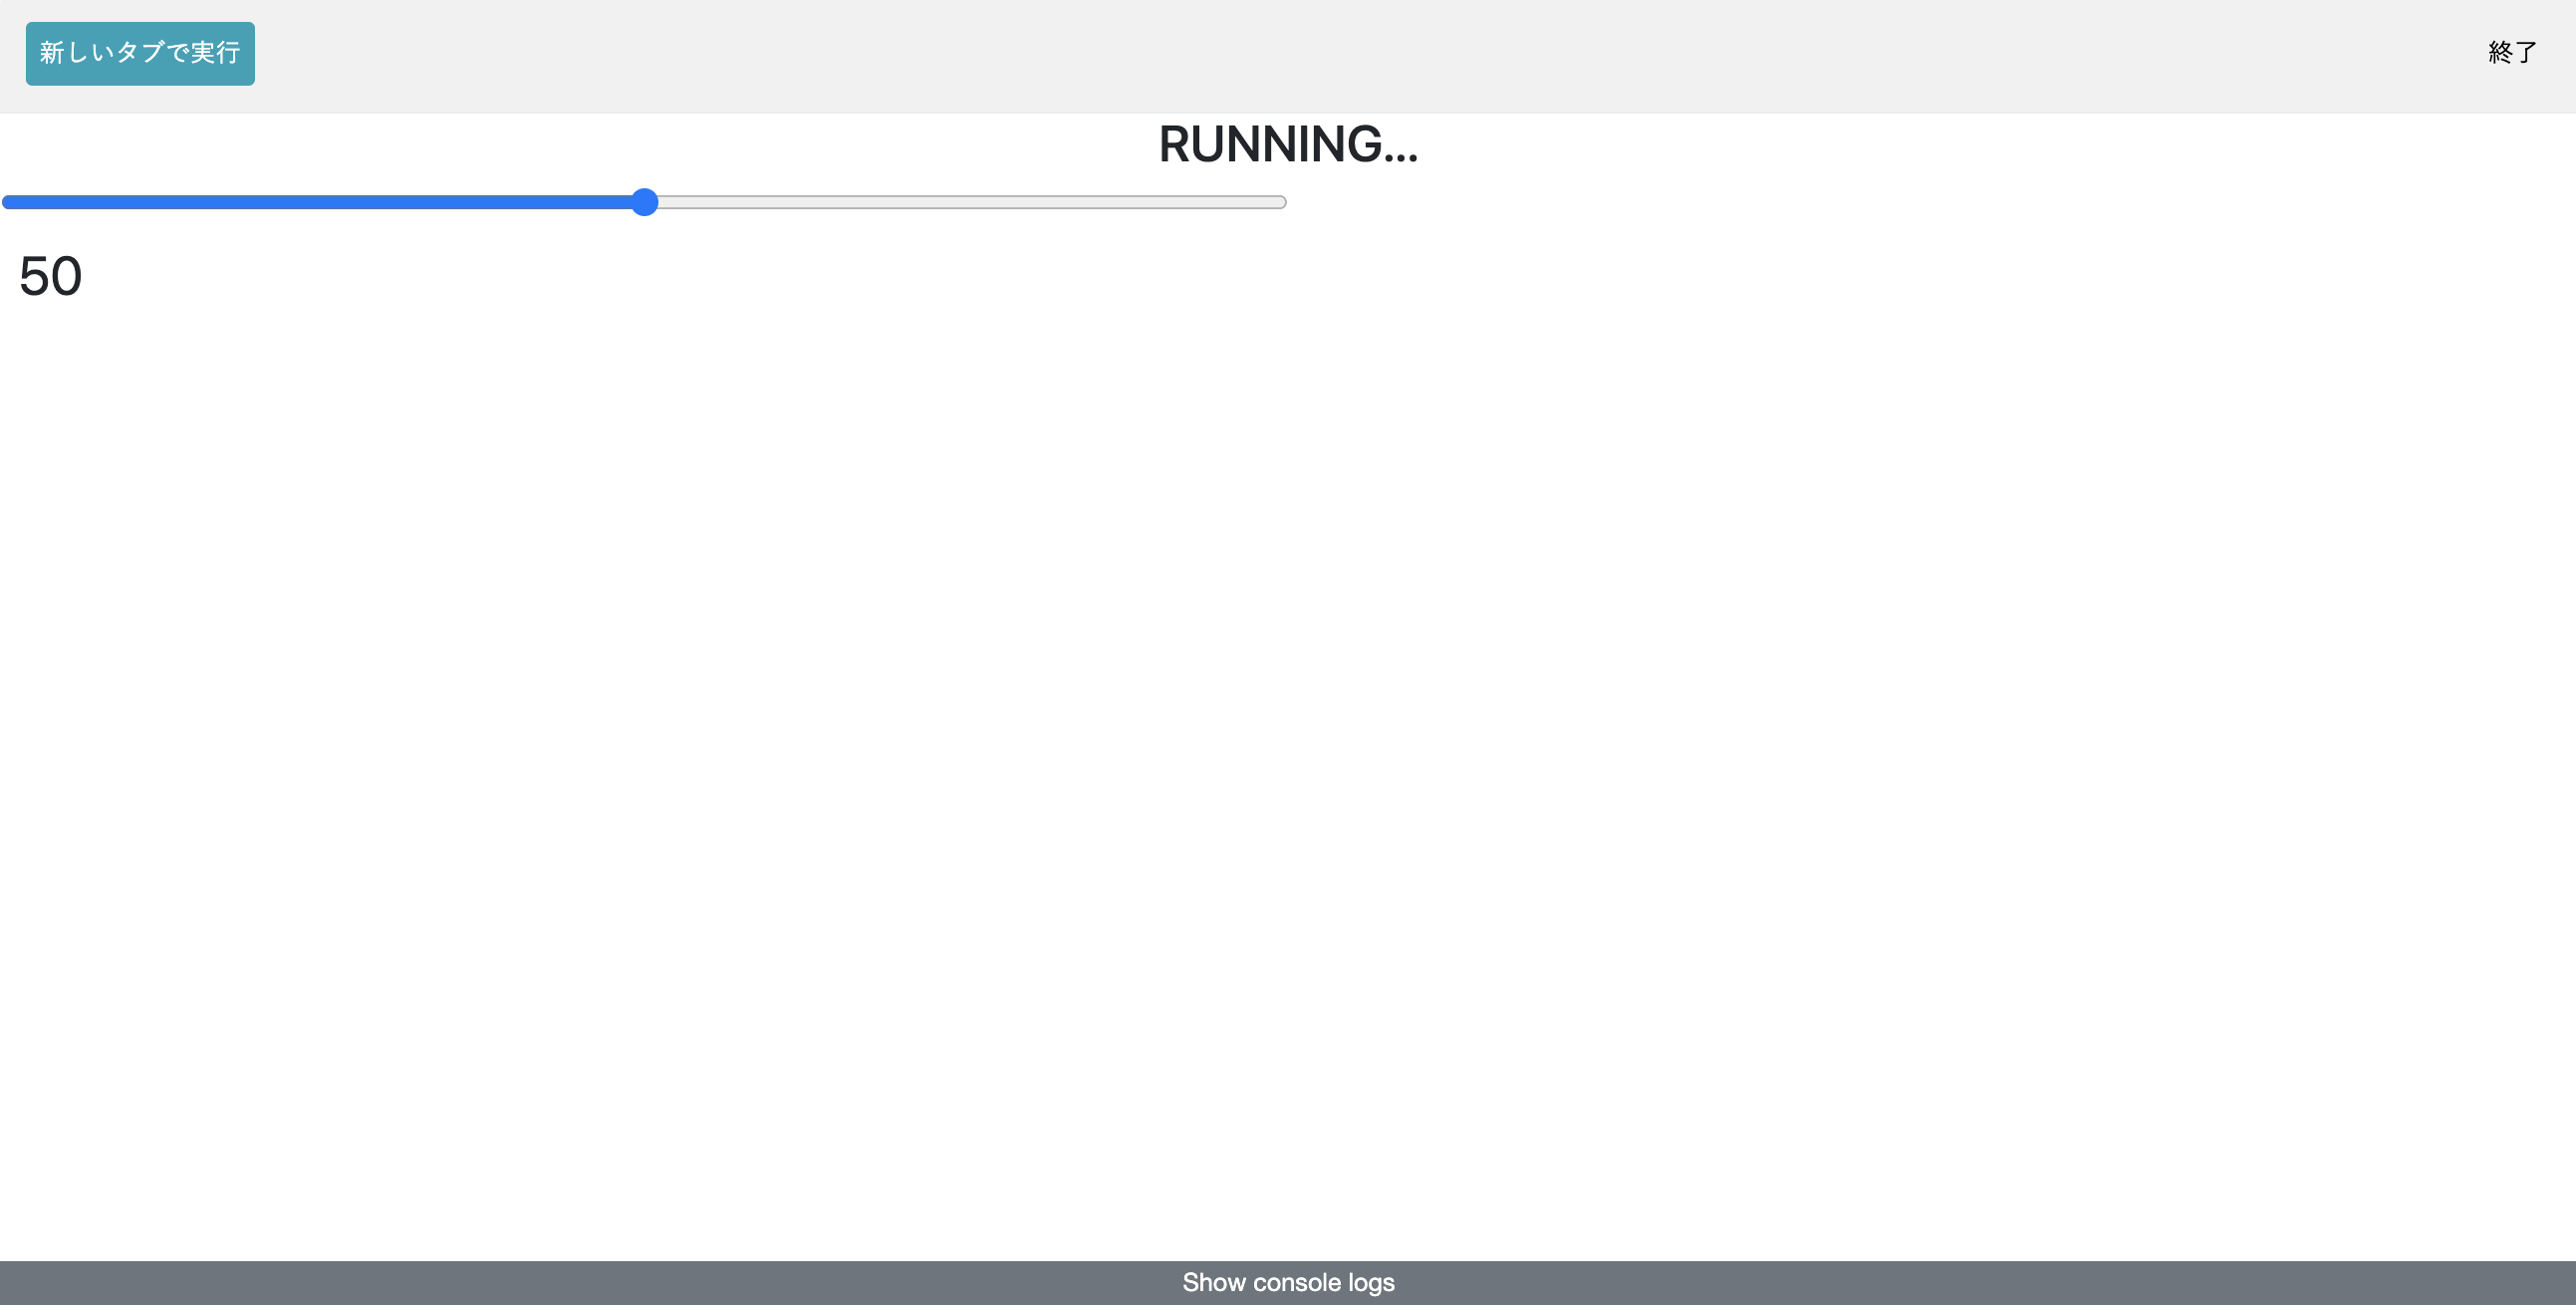
A slider appears on the screen and a number appears on the console. If you move the slider left or right, the numbers in the console log will change.
(If you don't see the console, you can see it by pressing "Show console logs")
The console is a place where you can communicate with your computer, and if something goes wrong or an error occurs in your program, a message will be displayed on the console.
The debug block allows you to display any text you like on this console.
If you move the slider from the leftmost to the rightmost, you can see that the number changes from 0 to 100.
If you program the value of this slider to be the angle of the servo motor, it seems that you will be able to operate the servo motor freely between 0 degrees and 100 degrees. let's do it!
注意
サーボモーターに指定できる角度は範囲が決まっており、Starter Kitのサーボモーターは0度から180度までです(ブロックで直接入力できる数字も0〜180になっています)。
範囲外の角度に指定してしまうと、サーボモーターが壊れてしまう可能性があります。
今回はスライダーの値が0〜100なことを確認しましたが、今後自分でプログラムを書く場合や、別のサーボモーターを使う場合などは、範囲外にならないように気をつけてください。
Program
The slider value displayed on the console is used to specify the angle of the servo motor.
Recall the program that made the servo motor angle 90 degrees in the previous lesson.
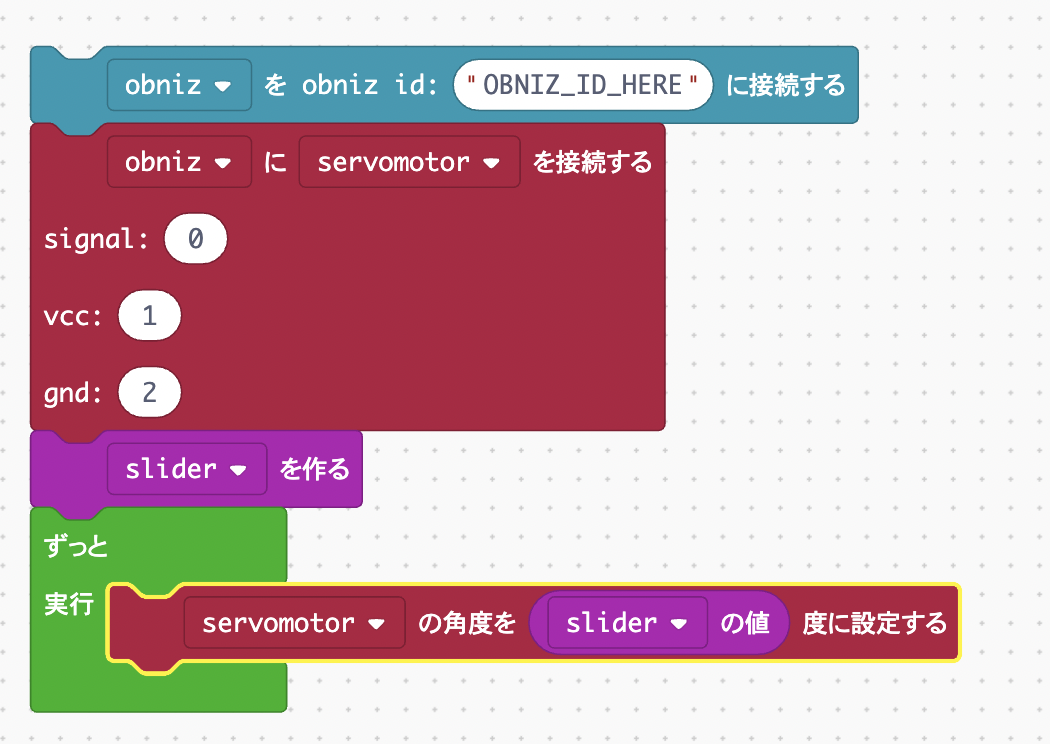
Once you have a program, let's run it. It is successful if the servo motor rotates in response to the slider.
However, in this state, we do not know what the angle of the servo motor is.
Since it's a big deal, let's try to display the angle on the screen using the UI label.
UI labels allow you to display your favorite text on the screen.
Prepare a space for writing text in the "Create label" block, and display the text entered in the "Display ~ with label" block.
The final program looks like this:
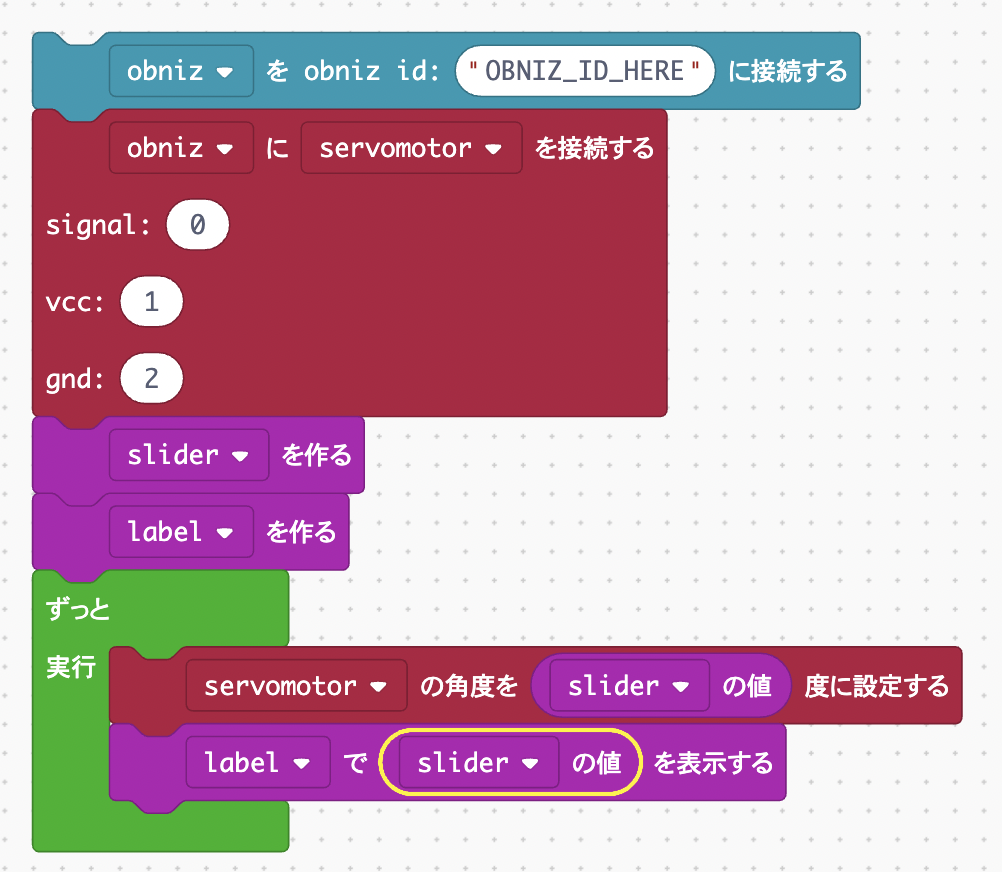
Let's run it.If you can operate the servo motor with the slider and the angle is also displayed, it is a great success!
If the label display is above the slider, try reversing the order of the "make slider" block and the "make label" block.
Since the block program is executed in order from the top, the block above is also on the browser screen.
This concludes the servo motor lesson. Next time, let's use the button parts!