
🎯
Goal of this chapter
Get the Intelligent Edge Kilo ready for use, going through unboxing, registration, making connections, securing the device, and connecting to the internet.
[Flow] Unbox > Register via QR > Connect the antenna (for LTE) > Power and internet connection(for wired connections) Connect to devices > Install and secure > Using and configuring Wi-Fi/Ethernet
Unboxing
Take the Intelligent Edge Kilo unit (hereafter abbreviated as Kilo) out of the box and place it on a stable surface, such as a desk.
After this, connections are made in the following order.
- Register via QR
- (For LTE) Connect the antenna
- Connect to power and confirm the internet connection
- Connect to the target devices
- Secure the Kilo
If you want to secure the unit first at the installation site and then configure it, check the mounting instructions.
Register via QR
❗
If you have a contract for obniz Now, registration has already been completed at the factory, so this step is not necessary.
Proceed to the next step, "■ (For LTE) Connect the antenna."
The following items are included in the Kilo's outer box.
・obnizID: a unique identification number assigned to each unit
XXXX-XXXX (X: single-byte number)
・QR code required for device registration: a QR code that differs for each unit
Register the device by scanning the QR code from the device registration screen of obniz Now.
🚨
・Do not share an unregistered QR code with others.
Once it has been registered, the same QR code can no longer be used for registration.
If you register a device by mistake, please contact obniz with the obnizID of the device in question.
Connect the Antenna (for LTE)
Fit the enclosed antenna onto the "LTE-M/NB-IoT" connector and secure it by turning.
The antenna can be changed as an option at the time of delivery, but in the case of a rod antenna, it looks like the following.
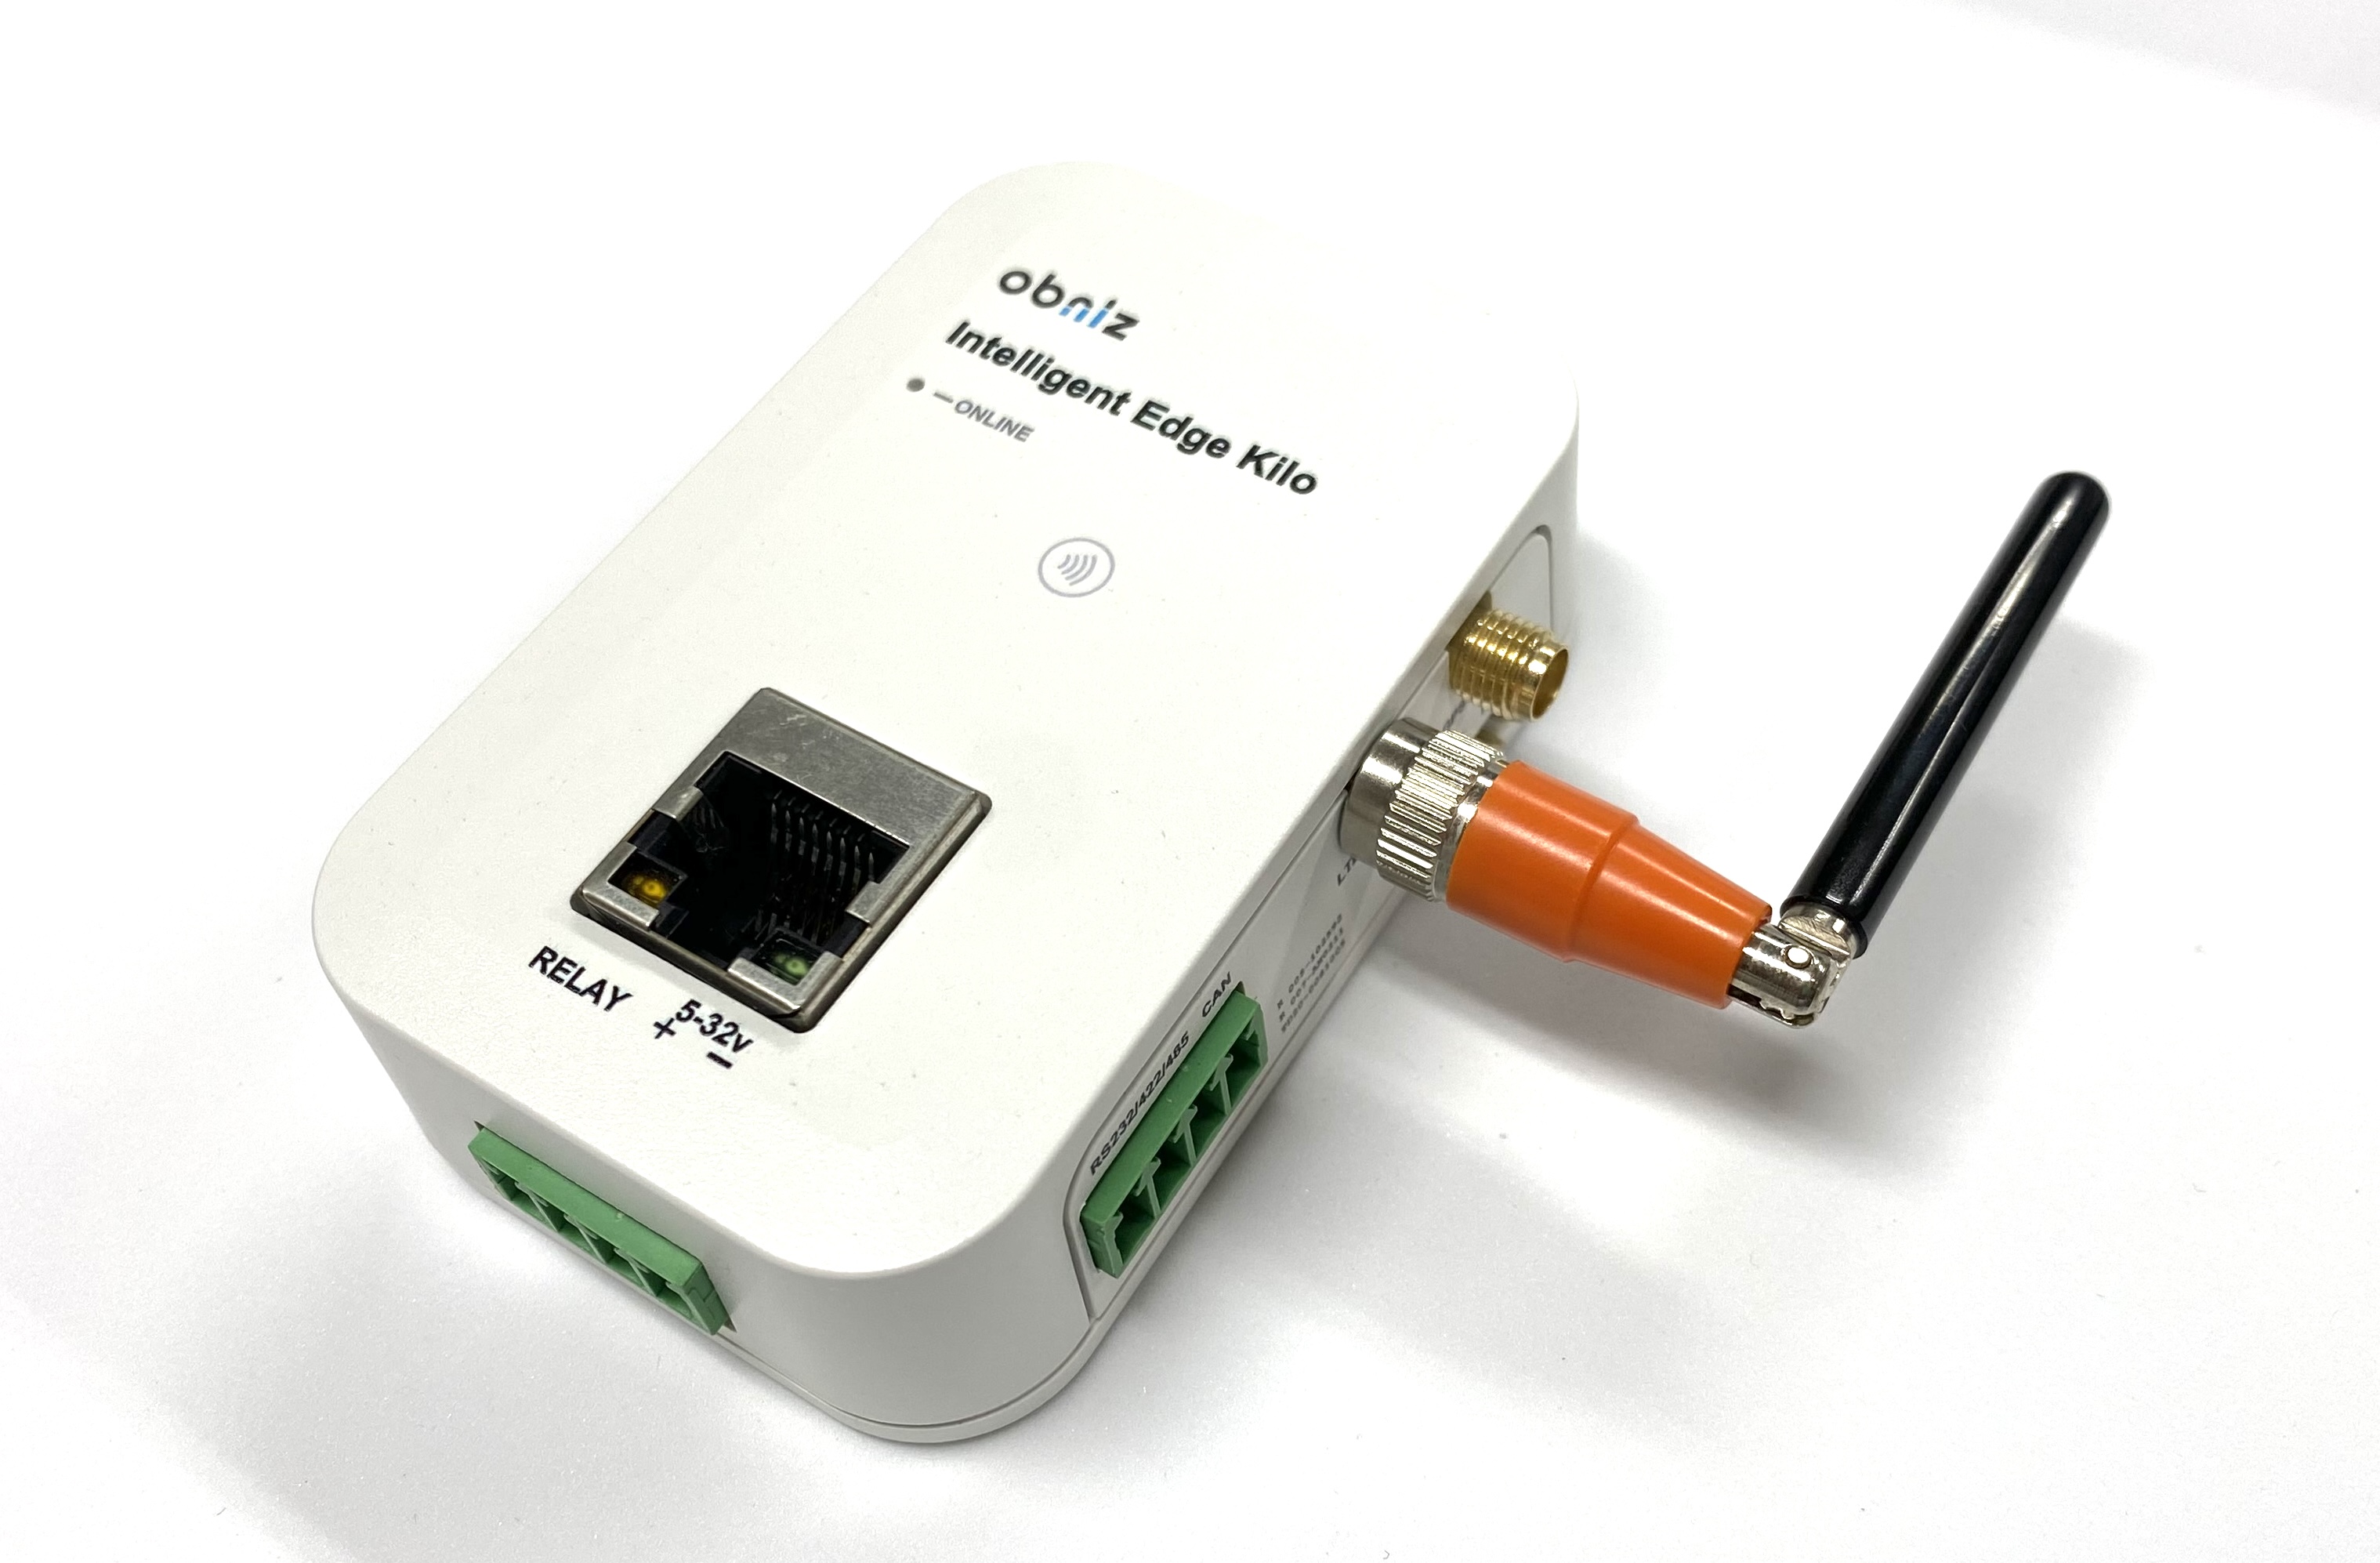
Once online, you can use various services over the internet.
If you are connecting wirelessly to sensors and the like, you are done here.
(For Wired Connections) Connecting to Devices
To connect to devices via RS232, Ethernet, and so on, refer to the page for the connection method that corresponds to each standard.
Install and Secure
In addition to simply leaving the Kilo unit in place or fixing it with double-sided tape, the following installation methods are available.
Using and Configuring Wi-Fi/Ethernet
By switching the settings, you can use Wi-Fi or Ethernet instead of LTE.
For details, see the settings page.
■ Power and internet connection
Power is connected via the connector on the bottom of the Kilo. Using a flathead screwdriver, crimp a DC power source from 5 to 32 V (such as an AC adapter or batteries), and fit the connector onto the Kilo. (For details on power, see the power explanation page.)
As soon as power is applied, the white LED next to "ONLINE" begins to blink. This LED indicates the internet connection status, and a steady light means a successful connection to the internet and the obniz cloud.
If the blinking state continues, the antenna may not be connected properly, or the unit may be out of service range.
For details on the specific lighting states and what each one means, refer to the obnizOS reference below. This applies not only to LTE but is common to Wi-Fi/Ethernet as well.
obnizOS LED status and lighting patterns
Preparation Checklist
Once you have confirmed the following items, the preparation in this chapter is complete.
⚠️
- What if the login screen for the gateway's own Wi-Fi (Wi-Fi) does not appear automatically?
Access http://192.168.254.1/.
→ For details, see "How to display the login screen."- What if you configured the unit with a different Wi-Fi than the one for the location where you want to use it?
It may not work correctly. After resetting, reconfigure it with the name and password of the Wi-Fi that can be used at the actual installation site.
→ For details, see "How to reset."- What if you cannot register successfully with the QR code?
You can register by photographing the QR code with your smartphone and displaying that image on a PC screen.
→ For details, see "How to register the QR with a PC and smartphone."- What if the color of the lamp differs from the description?
The display may differ depending on the situation.
→ For details, see "List of LED statuses."