
Based on device data, you can send notifications to the person in charge or to another system.
When you open the screen from Automation > Notifications in the sidebar, a list of configured notification destinations is displayed.
On this screen, you can view the list of notification destinations, add and edit notifications, and check the notification history.
Notification Types
| Notification method | Configurable destinations |
|---|---|
| You can set To, CC, and BCC. You can specify multiple addresses separated by a comma ,. |
|
| SMS | You can set SMS (short message). |
| Phone | By specifying a phone number, you can receive notifications by phone through an automated voice. |
| Webhook | You can configure calls via REST API from an external service. |
| Slack | By adding a bot, you can receive notifications in a specific Slack channel. |
Adding and Editing a Notification
You can add a notification from Add Notification Method.
For any notification method, you can specify a device group for each notification.

You can edit a notification you have added later.
To change the destination, click the Edit button. To edit the notification content, click Template; to test the notification, click Test; and to delete it, click Delete.
Checking the Notification History
From each item under Notification Setting Name, you can view the notification history for each destination.
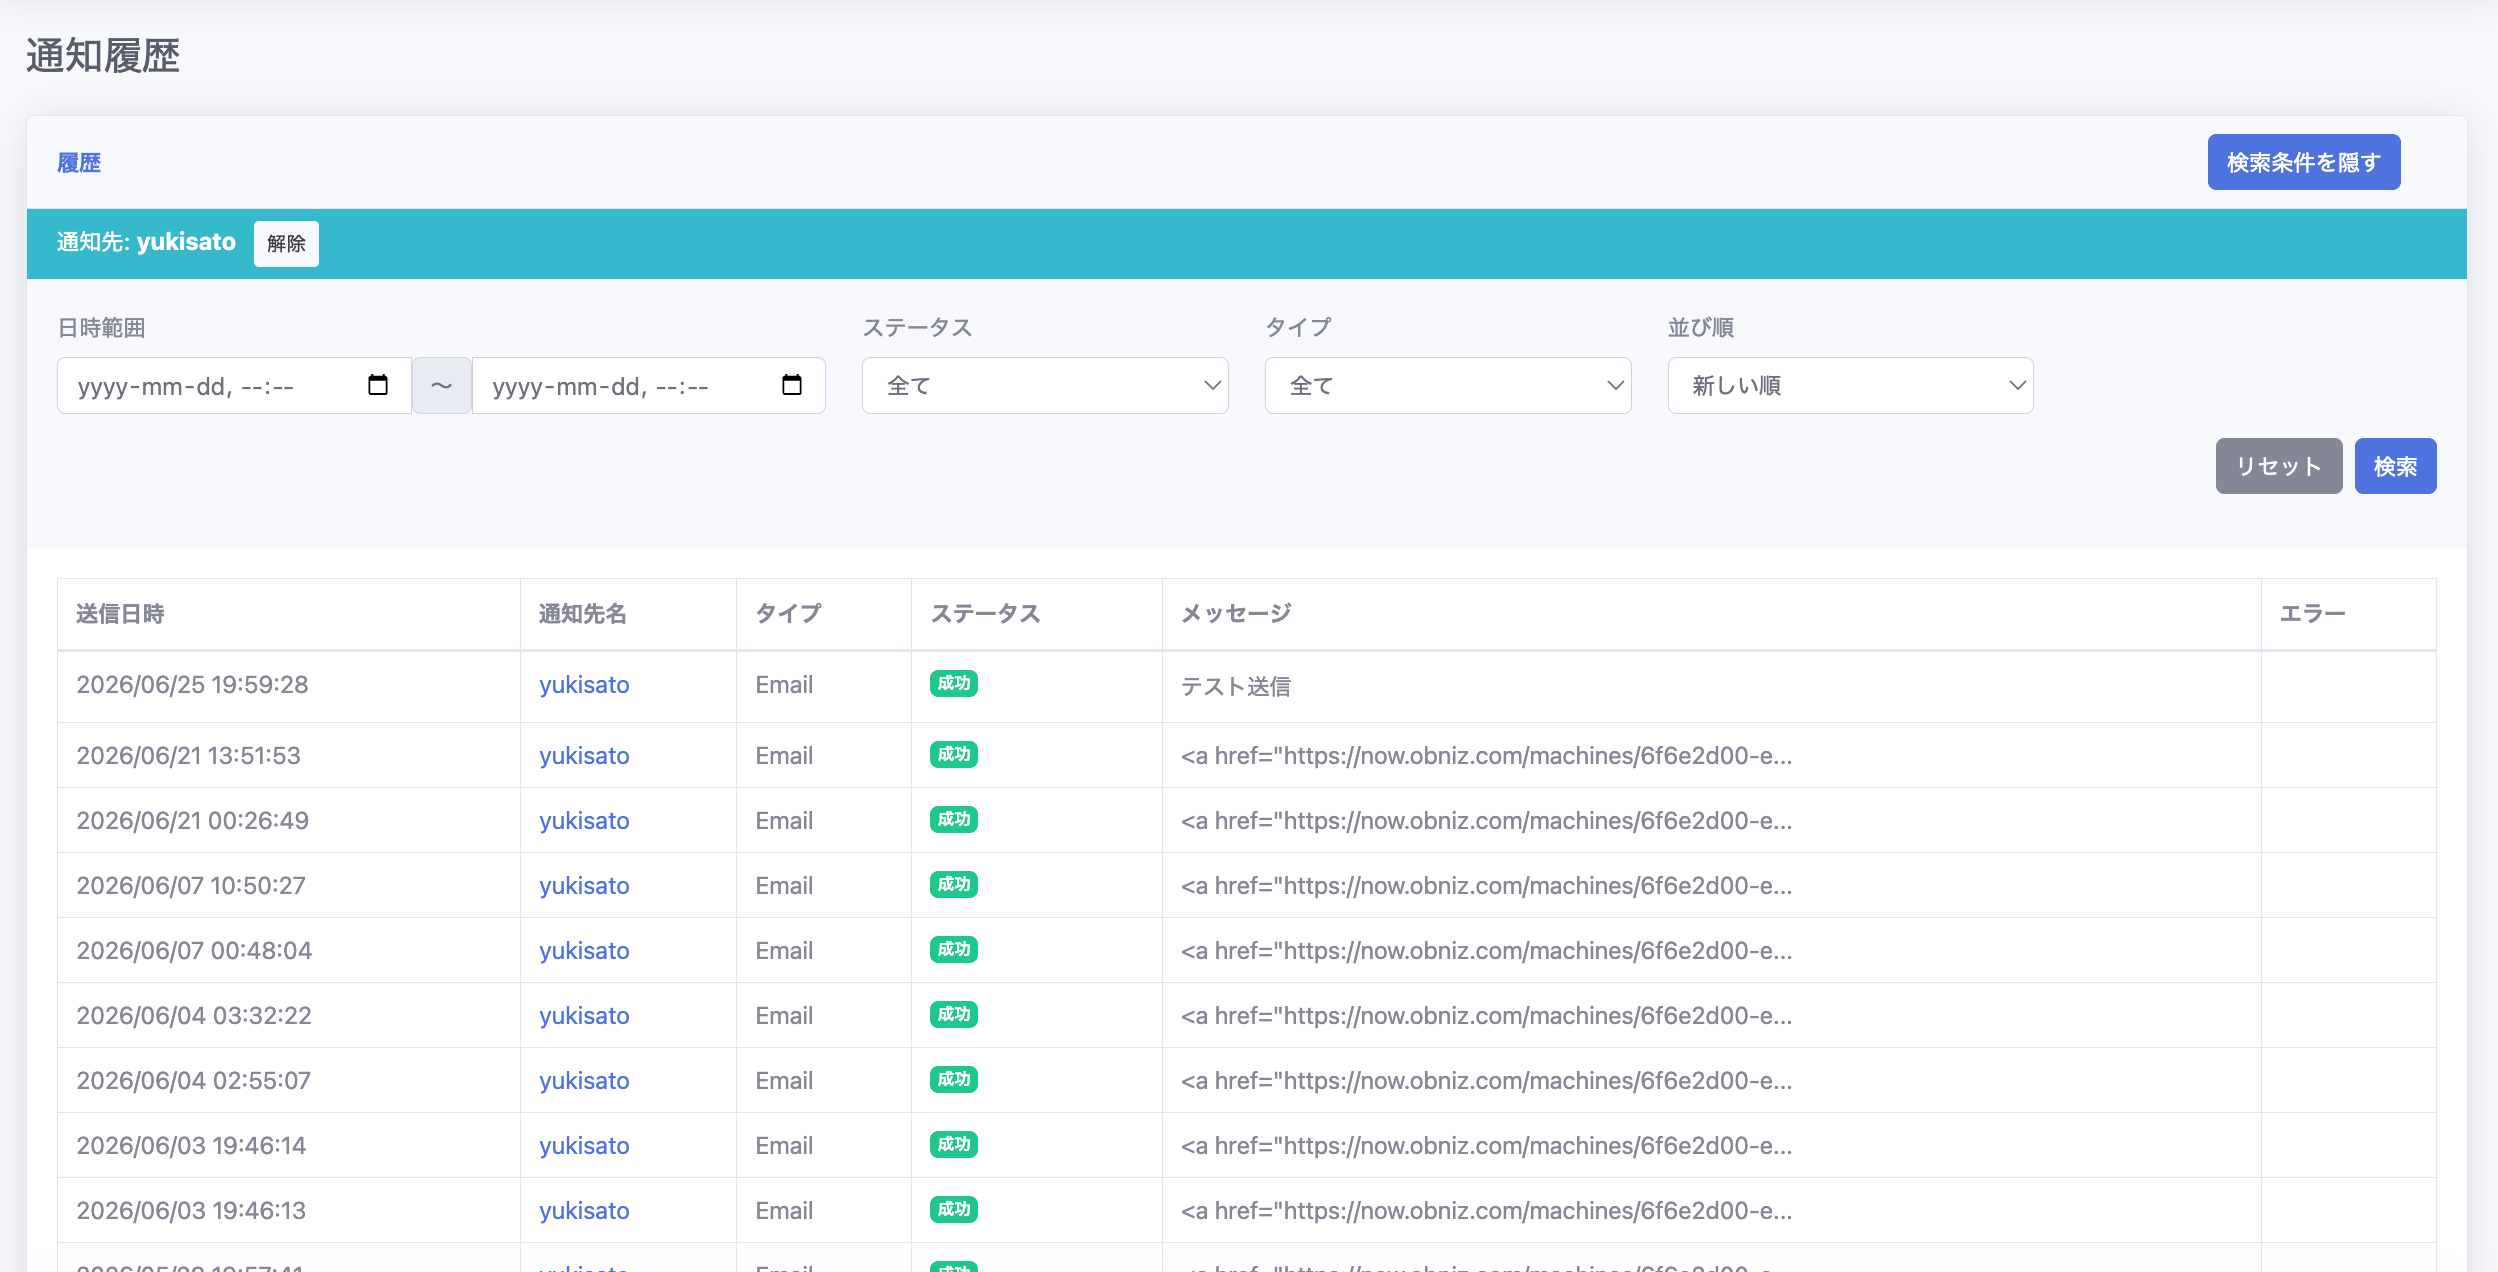
In addition to the destination, you can apply filters such as the date and time range of the notifications, the status (Success, Failure, and so on), the type (Email, SMS, and so on), and the sort order to check what notifications were sent in the past.