This time, let's display a button in the program's screen and link the button and obniz together!
It looks like it's going to be fun to "press the button and the text will appear on the obniz screen.
UI button
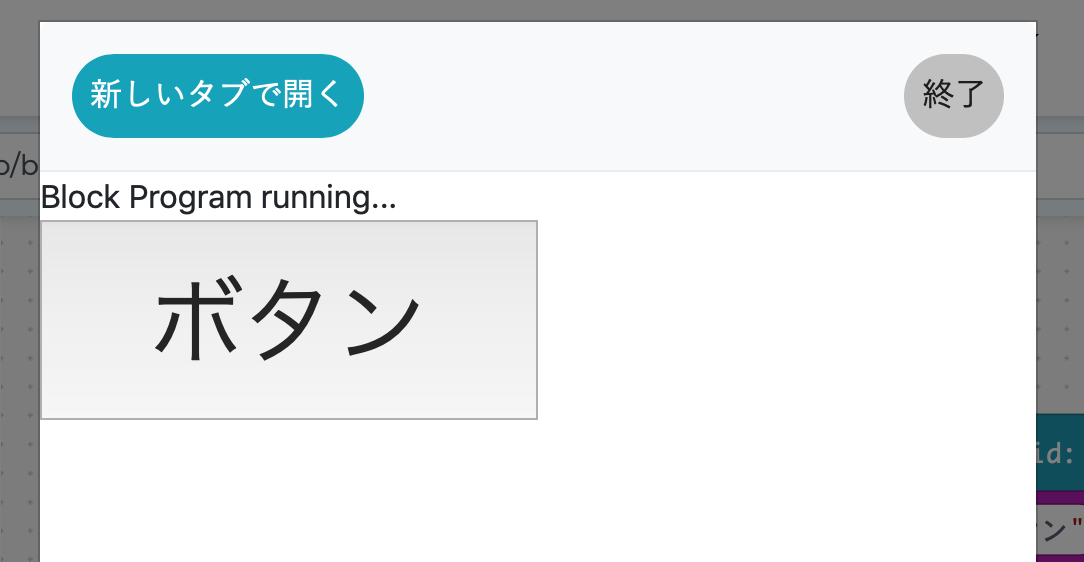
A UI button is a button that can be displayed on the browser where the block program is running.
The one that says "button" in this bottom photo is that.
You can do this with a block program, or you can program what to do when the button is pressed.
This time, when the button is pressed, I will try to show the text on the screen of obniz.
Make a button.
First, you need to display the button.
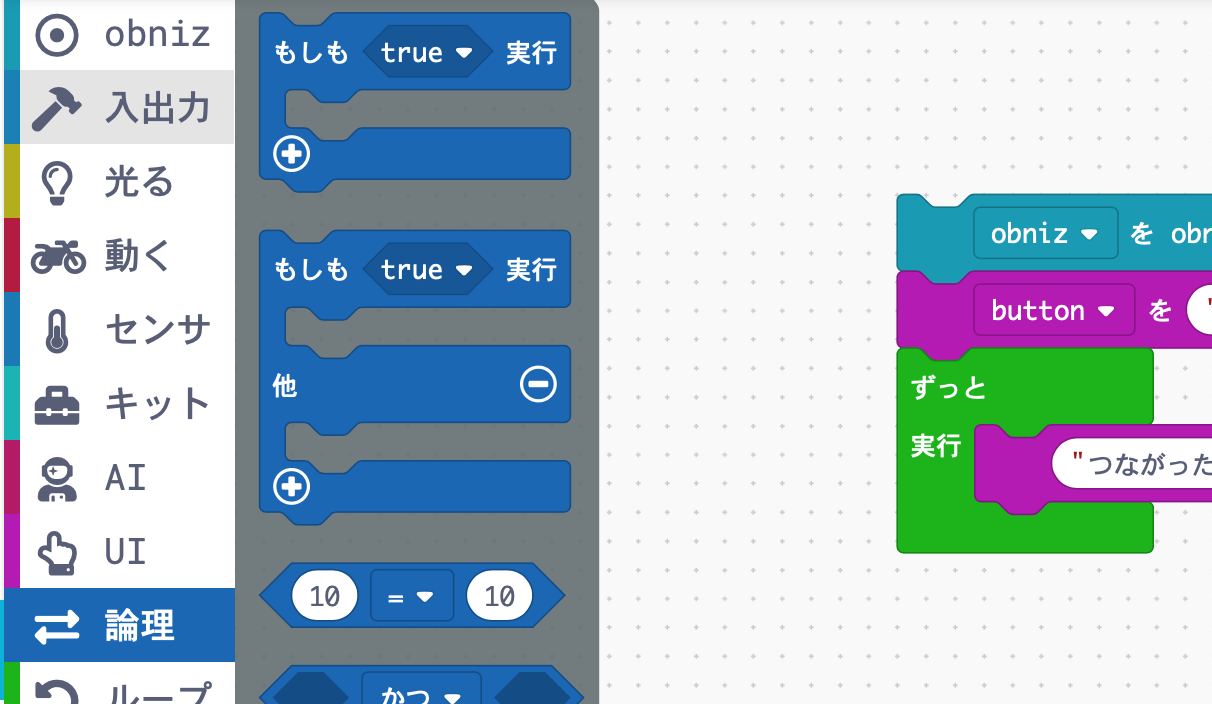
The button is in the "UI" on the left
It's called "make a button with "text"".
I'm going to put this in the place just after obniz connects.
You can put your own characters in the text part.
This time, I'll use "buttons".
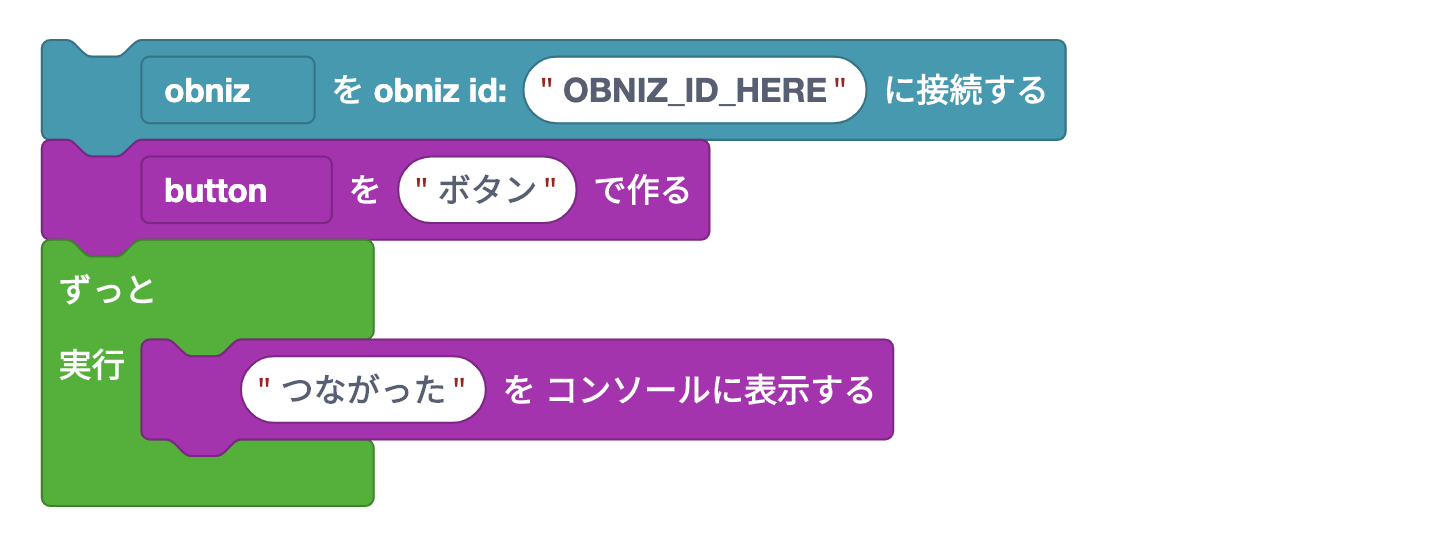
Just do this and you will see a button on the screen after connecting with obniz.
If block
Next, I know the button has been pressed, and when it is pressed, I put the letters on the obniz display.
How to do this is to use the "loop" we did in the previous lesson and the new "if".
The "if" is a block in the "logic".
You can put a block within a block, just like you can put a loop within a block.
However, the block you put in will only be executed if the condition "if" is OK.
To the right of "if" is the part that says "true". You can put a condition here.
Incidentally, the conditions are always rhombus-shaped.
Let's put this in after obniz is connected and put the part to add the button inside.
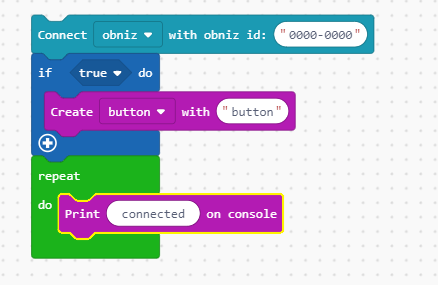
I think that the button will go out properly even if it is executed in this state.
The word "true" in "what if" means "correct", which is a condition for it to be executed.
In other words, because it was true, the block that created the button you put in it was executed and the button was displayed.
Let's change it a bit: select true and switch it to false.
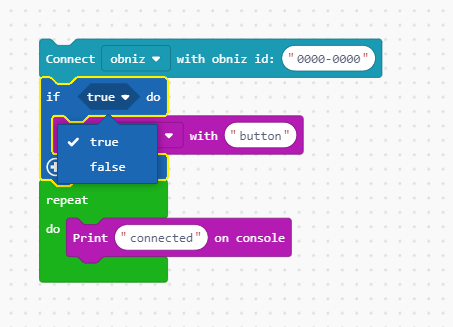
If it is set to false, the button will not be displayed.
False means "not correct". In this case, the block in "What if" will not be executed, so the button will not be displayed.
It went into the next "Run all the way" without being displayed, and the button didn't come up because it was never run again.
Use Loops.
How do I write the letters on the obniz screen when the button is pressed?
Repeatedly, you have to check "if" to see if the button has been pressed. And let's try to draw the letters on the screen of obniz if it is pressed.
First of all, remove the "if" and make sure to make a button.
And then it's gone all the way to the console in execution because it doesn't want to see it anymore.
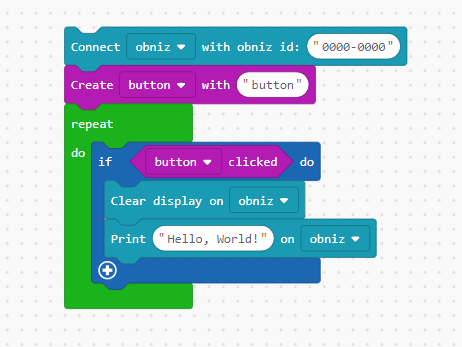
I keep putting the "if" in the execution. Then, put the "Turn off display" and "Show Hello World" blocks in "obniz" into the "What if" block newly.
All that's left to do is to say "if" when the button is pressed and it's perfect.
In the "UI" where the button is located, there is a rhombus-shaped block that says "button clicked".
You can fit this into the true or false rhombus of "if".
To make a rhombus or circle block work well, it's important that the finger or mouse that holds the block is in the desired position.

If done well, it will be a block like this. And you're done!
If you run it and connect to obniz, you will see a button on the screen.
And I'm sure you can see some numbers and such on the obniz display.
Let's press the button on the screen. Press the button and you should see "Hello World" on the obniz display.
The IoT-ish program is now complete. Your obniz is controlled remotely from your smart phone/PC via the internet!