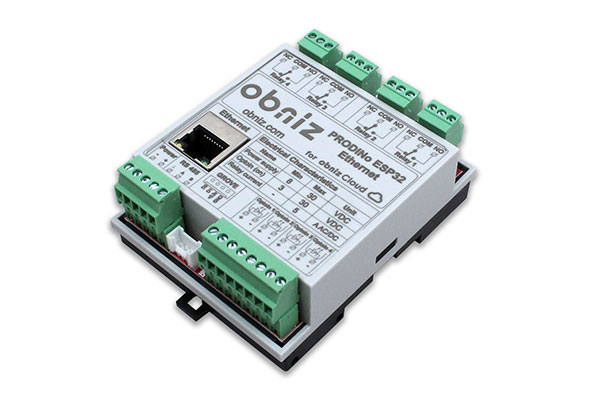
Logtta_CO2
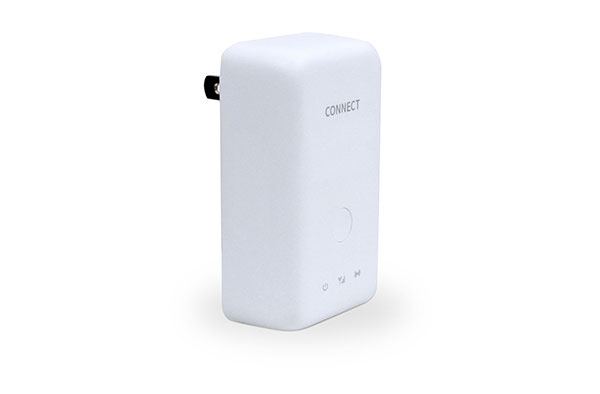
ユニ電子製のCO2濃度センサー
公式製品紹介ページはこちら

対応モード
- ビーコンモード
- 接続可能モード
ビーコンデータ(getData())
- battery: 電池残量(%)またはUSB電源駆動(254)
- co2: CO2濃度(ppm)
- interval: 送信間隔(秒)
接続時のデータ(getDataWait())
- co2: CO2濃度(ppm)
使用例(ビーコンモード)
// Javascript
const Logtta_CO2 = Obniz.getPartsClass('Logtta_CO2');
await obniz.ble.initWait();
obniz.ble.scan.onfind = async (peripheral) => {
  // 動作モードを取得、Logtta_CO2でないときはnullに
  const mode = Logtta_CO2.getDeviceMode(peripheral);
  if (mode === 'Beacon') {
    // インスタンスを生成
    const device = new Logtta_CO2(peripheral, mode);
    // データを取得し、コンソールに出力
    console.log(device.getData());
  }
};
await obniz.ble.scan.startWait(null, { duplicate: true, duration: null });
使用例(接続可能モード)
接続して1回だけデータ取得&電池残量取得
batteryService.getBatteryLevelWait()を使用して電池残量を取得できます。
値が254の時はUSB電源駆動、それ以外は電池駆動で残量がパーセント単位で返ってきます。
// Javascript
const Logtta_CO2 = Obniz.getPartsClass('Logtta_CO2');
await obniz.ble.initWait();
obniz.ble.scan.onfind = async (peripheral) => {
  // 動作モードを取得、Logtta_CO2でないときはnullに
  const mode = Logtta_CO2.getDeviceMode(peripheral);
  if (mode === 'Connectable') {
    // インスタンスを生成
    const device = new Logtta_CO2(peripheral, mode);
    console.log(`Connecting to Logtta_CO2[${device.address}]`);

    // デバイスに接続
    await device.connectWait();
    console.log(`Connected to Logtta_CO2[${device.address}]`);

    // デバイスからデータ取得
    const data = await device.getDataWait();
    console.log(`Logtta_CO2[${device.address}]: ${data.co2}ppm`);

    if (device.batteryService) {
      // デバイスから電池残量を取得
      const batteryLevel = await device.batteryService.getBatteryLevelWait();
      // 254の時はUSB電源駆動と出力
      if (batteryLevel === 254)
        console.log(`Logtta_CO2[${device.address}]: USB power supply`);
      // 254以外の時は電池残量を出力
      else
        console.log(`Logtta_CO2[${device.address}]: BatteryLevel ${batteryLevel}%`);
    }

    // デバイスから切断
    await device.disconnectWait();
    console.log(`Disconnected from Logtta_CO2[${device.address}]`);
  }
};
await obniz.ble.scan.startWait();
接続して定期的にデータ取得
startNotifyWait()を使用してデバイスからのデータを常に待ち受けることができます。
// Javascript
const Logtta_CO2 = Obniz.getPartsClass('Logtta_CO2');
await obniz.ble.initWait();
obniz.ble.scan.onfind = async (peripheral) => {
  // 動作モードを取得、Logtta_CO2でないときはnullに
  const mode = Logtta_CO2.getDeviceMode(peripheral);
  if (mode === 'Connectable') {
    // インスタンスを生成
    const device = new Logtta_CO2(peripheral, mode);
    console.log(`Connecting to Logtta_CO2[${device.address}]`);

    // デバイスに接続
    await device.connectWait();
    console.log(`Connected Logtta_CO2[${device.address}]`);

    // デバイスからのデータの待ち受けを開始
    device.startNotifyWait((data) => {
      console.log(`Logtta_CO2[${device.address}]: ${data.co2}ppm`);
    });
  }
};
await obniz.ble.scan.startWait();
接続してビーコンモードを有効化
setBeaconModeWait()を使用して定期的にビーコンを発信するモードの有効無効を制御できます。
設定後に切断すると有効になります。
事前にauthPinCodeWait()を使用してデバイスと認証する必要があります。(デフォルト認証コード: 0000)
ビーコンモードを終了する場合、デバイスにあるボタンを2秒以上長押しする操作が必要になります。
// Javascript
const Logtta_CO2 = Obniz.getPartsClass('Logtta_CO2');
await obniz.ble.initWait();
obniz.ble.scan.onfind = async (peripheral) => {
  // 動作モードを取得、Logtta_CO2でないときはnullに
  const mode = Logtta_CO2.getDeviceMode(peripheral);
  if (mode === 'Connectable') {
    // インスタンスを生成
    const device = new Logtta_CO2(peripheral, mode);
    console.log(`Connecting to Logtta_CO2[${device.address}]`);

    // デバイスに接続
    await device.connectWait();
    console.log(`Connected to Logtta_CO2[${device.address}]`);

    // 認証コードを送信
    await device.authPinCodeWait(0000);
    console.log(`Logtta_CO2[${device.address}]: Sent auth pin code`);

    // ビーコンモードに有効化
    await device.setBeaconModeWait(true);
    console.log(`Logtta_CO2[${device.address}]: Enabled beacon mode`);

    // デバイスから切断
    await device.disconnectWait();
    console.log(`Disconnected from Logtta_CO2[${device.address}]`);
  }
};
await obniz.ble.scan.startWait();
Supported from: obniz.js 3.5.0


