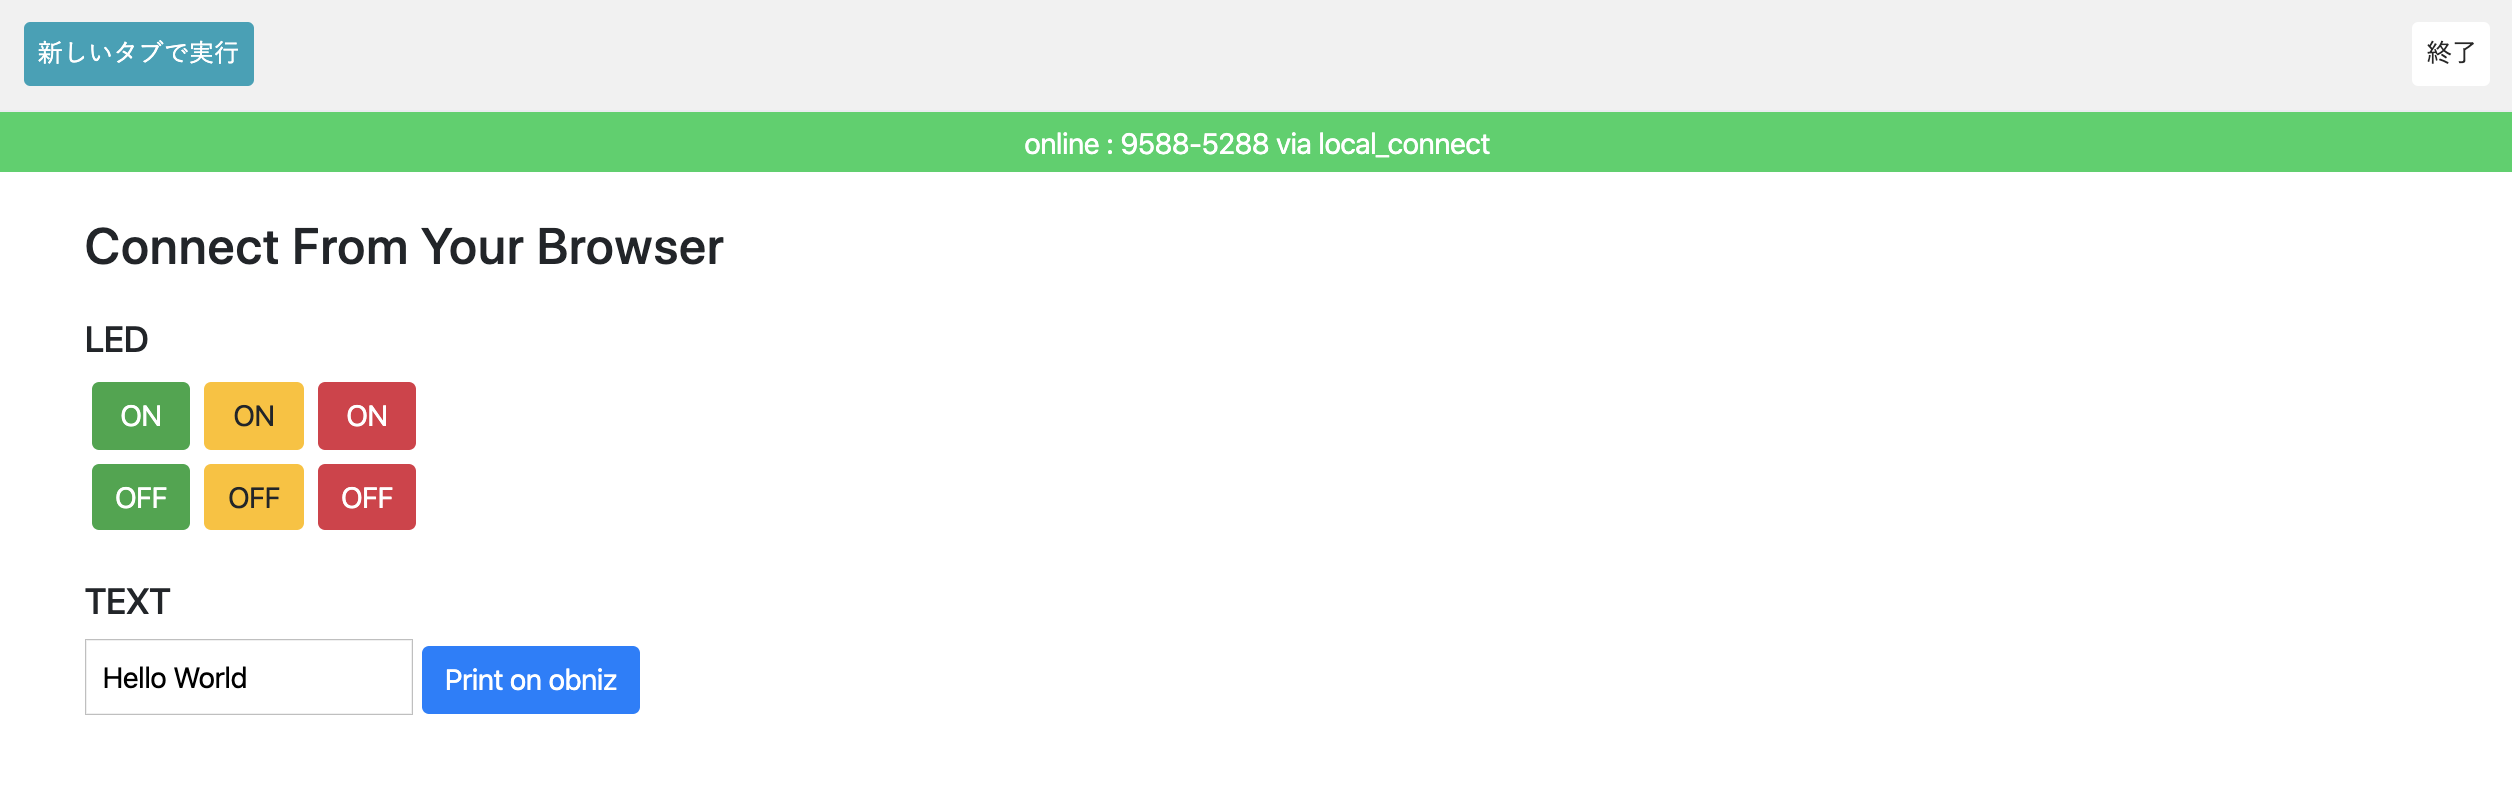
[サンプルプログラム](/guides/obniz-starter-kit/start-guide/lesson-run-sample-program/)では、赤色のLEDを操作することができないので、赤色のLEDを操作するプログラムを書き加えてみましょう。
## 操作ボタンの追加(HTML)
まずはHTMLで赤色のボタンを追加します。
黄色のボタンのHTML
```html
```
の下に、以下のコードをコピーして追加します。
```html
```
CSSは[Bootstrap](http://getbootstrap.com/)と呼ばれるものを読み込んで使用しています。
たとえば、btn-dangerというクラス名はボタンを赤色にするためのクラス名です。興味がある人はリファレンスを参照して好きなデザインに変更してみてください。
## 動きの追加(JavaScript)
次に、このボタンが押されたときに赤色LEDのON/OFFを操作できるようにします。
jQueryではonというidが押されたときに何かしたいときにこんな風に書くことができます。
```html
$("#on").on("click",function(){
// on pressed
})
```
先ほど追加した赤色のボタンには、それぞれred\_onとred\_offというidがつけられているので、ボタンのONが押されたらLEDをONに、OFFが押されたらLEDをOFFにするのはこのように書けます。
```html
$('#red_on').click(function () {
light.red.on();
});
$('#red_off').click(function () {
light.red.off();
});
```
上記のプログラムを緑色と黄色のプログラムの下(サンプルプログラムの以下の部分の下)に追加し、実行してみてください。
```html
$('#yellow_off').click(function () {
light.yellow.off();
});
```
以下のような画面になり、赤色のボタンで赤色LEDを操作できれば成功です。