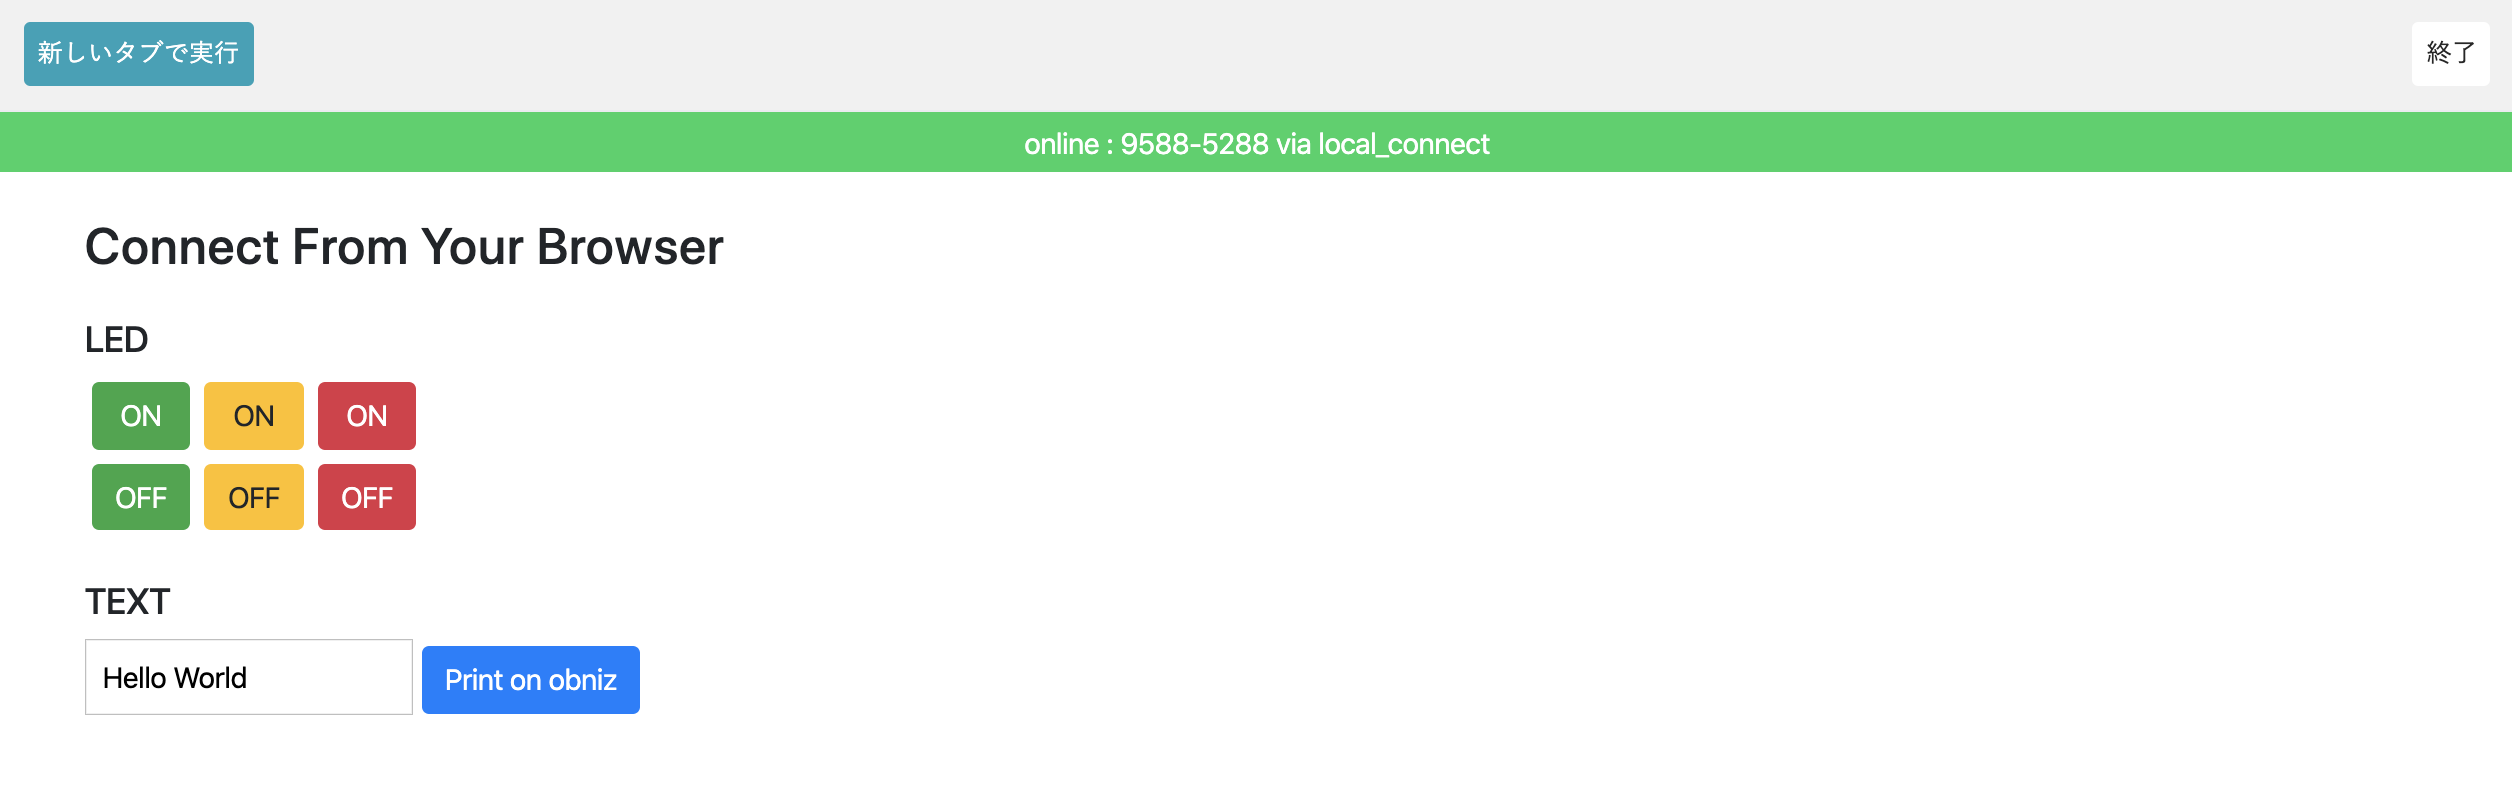
[Sample Program](/guides/obniz-starter-kit/start-guide/lesson-run-sample-program/), we cannot control the red LED, so let's add a program to control the red LED.
## Adding operation buttons (HTML)
First, we will add a red button in HTML.
HTML for the yellow button
```html
```
Copy and add the following code above it
```html
```
The CSS is loaded and used from something called [Bootstrap](http://getbootstrap.com/).
For example, the class name btn-danger is used to make the button red. If you are interested, you can refer to the reference and change the design as you like.
## Add movement (JavaScript)
Next, we will make it possible to control the ON/OFF of the red LED when this button is pressed.
In jQuery, when you want to do something when the id "on" is pressed, you can write something like this.
```html
$("#on").on("click",function(){
// on pressed
})
```
The red buttons that we just added are given the ids red\_on and red\_off, respectively, so we can write this to turn the LED on when the ON button is pressed and turn it off when the OFF button is pressed.
```html
$('#red_on').click(function () {
light.red.on();
});
$('#red_off').click(function () {
light.red.off();
});
```
Add the above program under the green and yellow programs (under the following part of the sample program) and try to run it.
```html
$('#yellow_off').click(function () {
light.yellow.off();
});
```
The screen will look like the following, and if you can control the red LED with the red button, you have succeeded.